Basic Configuration
Applies to: 1-Touch for Solaris 10, 1-Touch for Solaris 11
Enable 1-Touch
After you install the File System iDataAgent, follow the steps given below to enable 1-Touch for the default subclient:
-
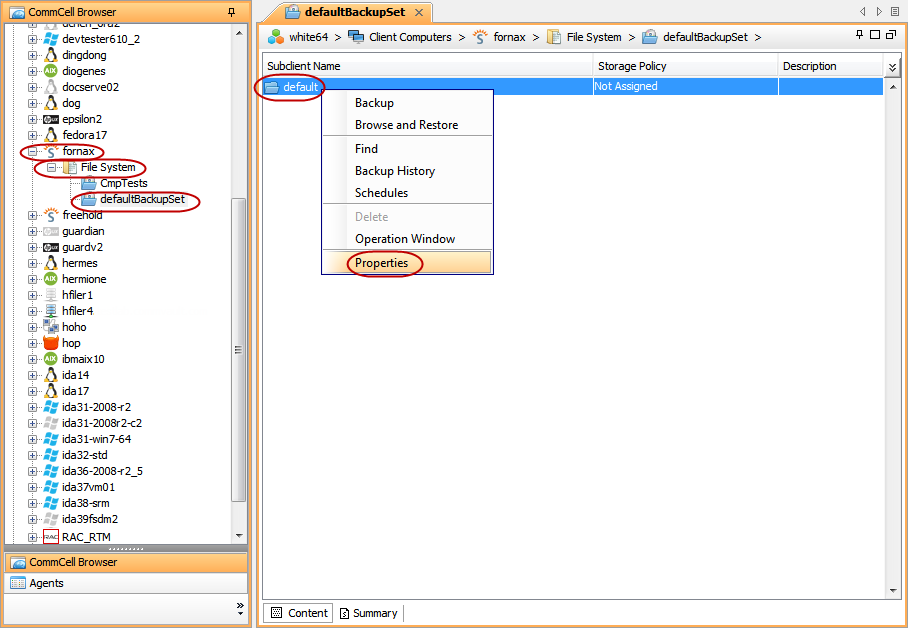
From the CommCell Console, navigate to <Client> | File System iDataAgent | defaultBackupSet.
Right-click the default subclient and then click Properties.
Note
Do not modify the names of the default backup set and the default subclient later.
-
In the Subclient Properties dialog box, click Advanced.
The Advanced Subclient Properties dialog box appears.
-
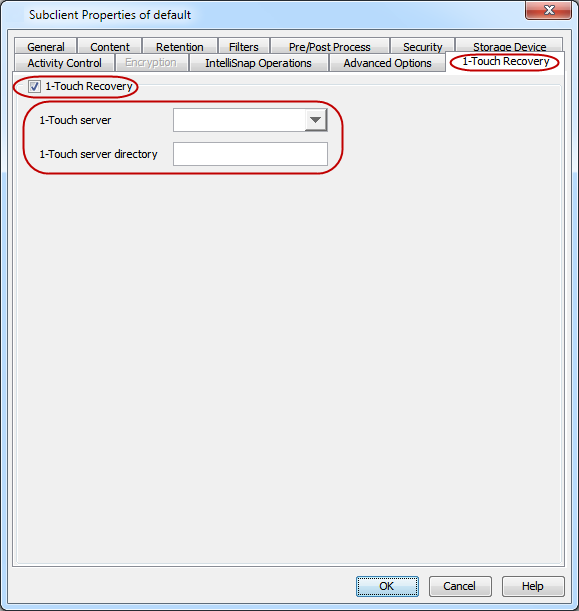
Click the 1-Touch Recovery tab.
Select the 1-Touch Recovery check box.
Select the 1-Touch Server from the 1-Touch Server list.
Enter the 1-Touch server directory path in the 1-Touch server directory box.
Notes:
-
For 1-Touch for Solaris 11, enter /rpool/CommVaultRecovery/Server.
-
1-Touch recovery of Solaris 11.2 and 11.3 clients require Solaris 11.2 and 11.3 boot servers respectively.
Click OK.
-
Note
If the client host ID (MAC address) has changed since the most recent 1-Touch backup, be sure to update the client's Ethernet address in the /etc/ethers file on the 1-Touch server. Otherwise, you will not be able to boot the client.
Perform a Backup
After you enable 1-Touch, perform backups of the default subclient periodically to capture any changes in the client system configuration. Before recovering a client, ensure that you have run at least one full backup of the default subclient.
-
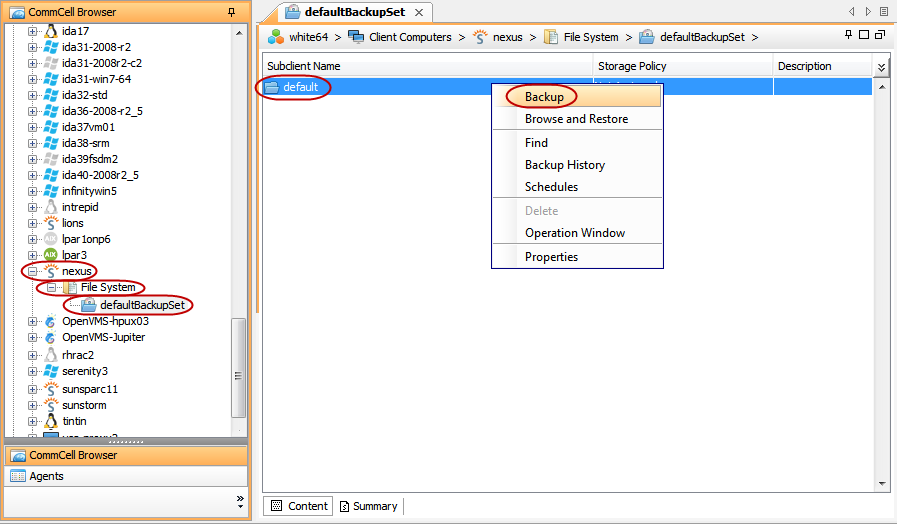
From the CommCell Browser, navigate to Client Computers | <Client> | File System | defaultBackupSet.
Right-click the default subclient and click Backup.
-
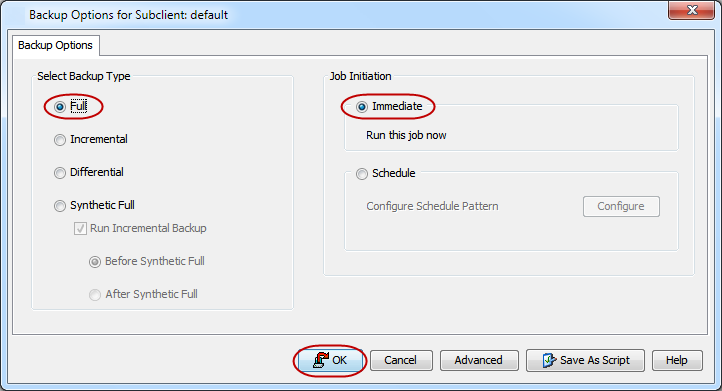
Click Full as backup type and then click Immediate.
Click OK.
-
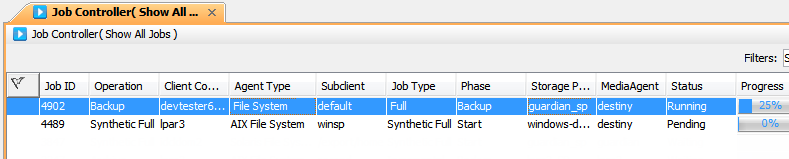
You can track the progress of the backup job from the Job Controller window.