After the Commvault software is installed on all the physical nodes that host the cluster, you must configure a cluster group client in the CommCell Console to protect cluster resources on the physical nodes.
Procedure
-
On one of the cluster nodes, expand Server Manager > Local Server > Tools > Failover Cluster Manager.
-
In the Roles window, right click the scale-out role, point to Add Resource > More Resources and click IP Address.
-
In the New IP Address properties dialog box, specify the following selections:
-
In the Name box, enter the name of the IP address.
-
In the Network list, click the appropriate subnet network.
-
In the IP Address area, click Static IP Address and in the Address box enter the IP address.
Make a note of the IP address you entered.
-
Click the Dependencies tab.
-
On the Dependencies tab, click Insert and in the Resource list, click scale-out file server.
The configuration is replicated to the other cluster node.
-
-
Log on to the CommCell Console.
-
From the CommCell Browser, right-click the Client Computers node and then click New Client > Clustered Server > WindowsCluster.
-
In the New Windows Cluster Client dialog box, specify the details of the cluster resource group that you want to protect to create the cluster group client.
-
In the Client Name box, type a name for the resource group. The client name should have a unique name.
-
In the Host Name box, enter the static IP address that you noted.
Remember: Do not use the Fully Qualified Domain Name (FQDN) or Domain Name System (DNS).
-
Click Next.
-
Review the cluster group information and click Finish.
The Advanced Client Properties dialog box appears. If the dialog box does not automatically open, right-click the Cluster_Group_Client, and then click Properties. In the Client Computer Properties dialog box, click Advanced.
-
-
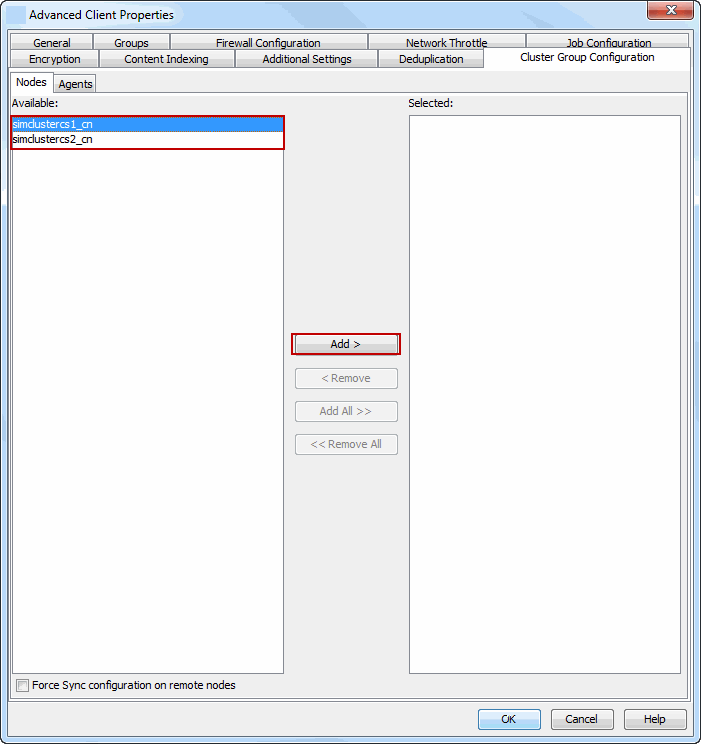
On the Advanced Client Properties dialog box, click the Cluster Group Configuration tab.
-
All the Windows clients that are available in the CommCell will be listed in the Available list. Select the physical computers (nodes) where you installed the necessary Agents from the Available list, and then click Add > to move the client to the Selected list.
-
Select the Force Sync configuration on remote nodes check box.
-
Click the Agents tab.
Select the Agents you want to use in the cluster group client from the Available list and click Add > to move the Agent to the Selected list.
-
-
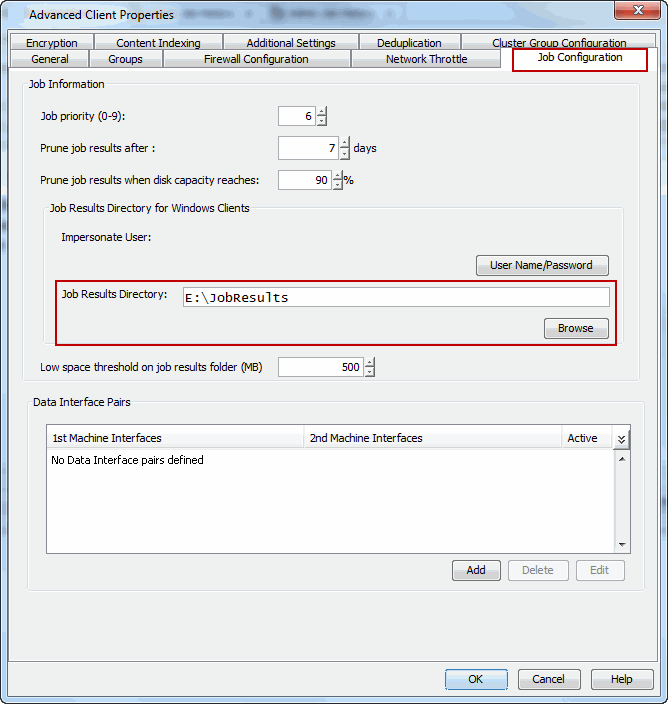
Click the Job Configuration tab.
In the Job Results Directory box, type the path for the job results directory. Ensure that the directory resides on a shared clustered drive.
Note: The Browse button does not work when you configure the cluster group client for the first time. After the initial configuration, you can use the button to update the directory (if required).
-
In the Information dialog box, click OK.
The scale-out file server is now configured.
What to Do Next
Create a subclient to define the data that you want to backup. After a subclient is created and a storage policy is configured for this cluster group client, you can perform backup and recovery operations. For information about configuring a subclient, see Subclients for the Windows File System Agent.