Cloning is the process of creating a virtual replica of a client computer from its backup. You can clone a physical or virtual machine. This is useful in these cases:
-
You want to create a virtual replica of a client computer and still retain the original client computer as the active client on the CommServe.
-
You have configured a client computer with all the required software, and you want to create multiple replicas with the exact same configuration.
-
You want to migrate from a physical environment to a virtual environment.
Follow these steps to create the virtual replica of the client computer and still retain the original client computer:
-
Open the CommCell Console and go to Client Computers.
-
Right-click the <Client>, point to All Tasks | Virtualize Me,click VMware.
-
Click Next.
By default, the latest data and configuration of the client computer, backed up by the default backup set, will be used to create the virtual machine.
-
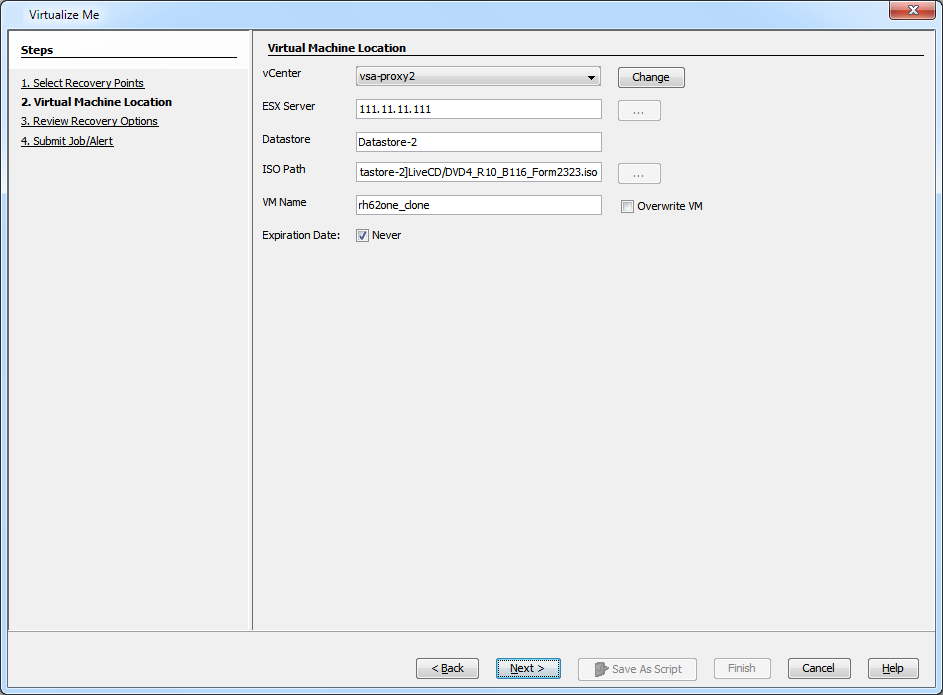
If you are virtualizing your client computer using VMware:
-
Select a vCenter from the vCenter list.
-
Click the ... button and browse to select an ESX Server and a Data Store.
-
The selected data store will be the default data store for the virtual machine and all the disks will be created in it.
-
Click the ... button for the ISO Path box and browse to the location of the Boot CD image on the ESX Server. 1Touch.iso is available in the Windows Live CD directory of the Commvault Installation Media List. You can also download 1Touch.iso.
-
Go to the Commvault Store.
-
Click the MEDIA KITS tab and then 1-Touch to download the 1Touch.iso.
-
-
Enter the name of the virtual machine in the VM Name box. By default, the name of the client computer will be used as the name of the virtual machine.
-
If a virtual machine with the same name already exists, select the Overwrite VM check box. The existing virtual machine will be deleted during the virtualization operation.
-
Click Next.
-
-
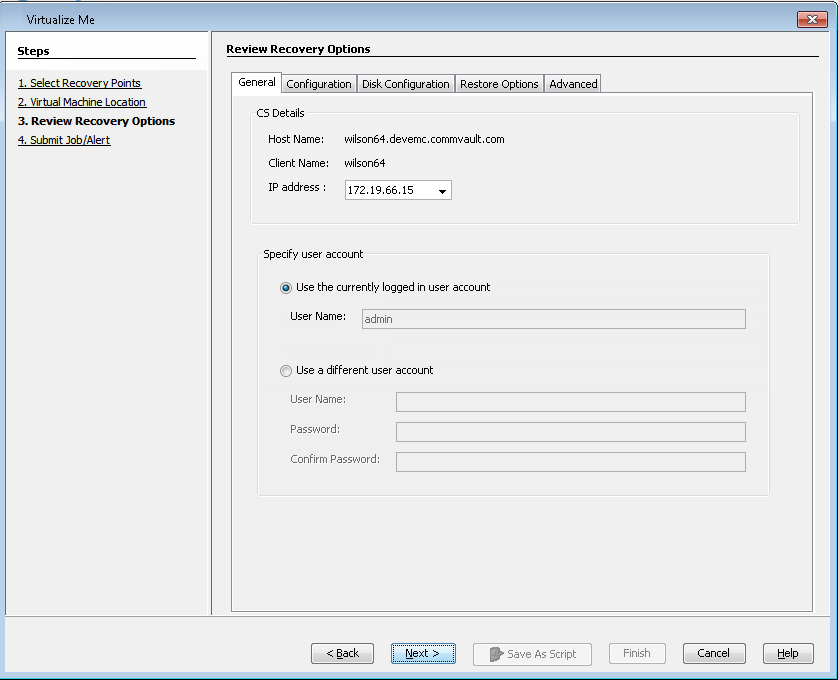
By default, the user account which you have used to login to CommCell console will be used to perform the virtualization job.
-
If you are using Active Directory User account to login to the CommCell console, enter the password for the user account.
-
If you have logged in as CommCell console administrator, the password is not required to perform the virtualization job.
-
-
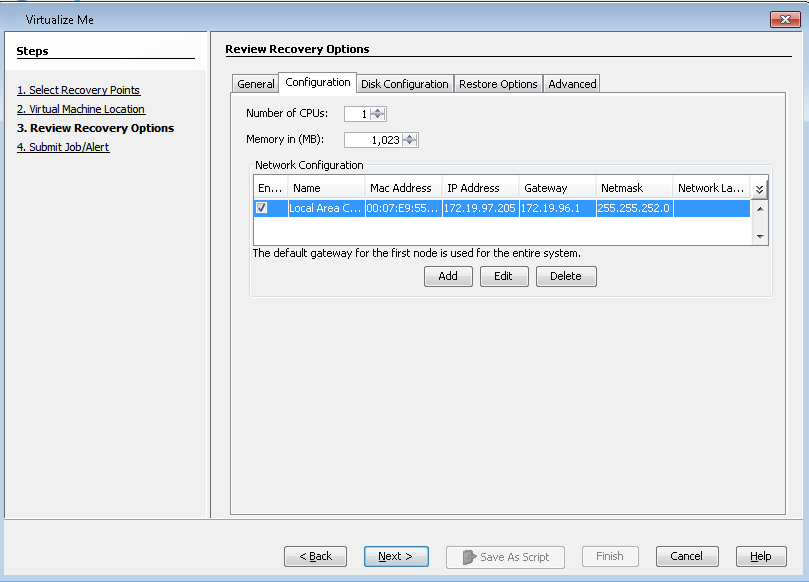
Click Configuration tab and review the following configuration:
-
Number of CPUs
-
Memory in (MB)
-
Network Configuration
The virtual machine will be created with this configuration.
-
-
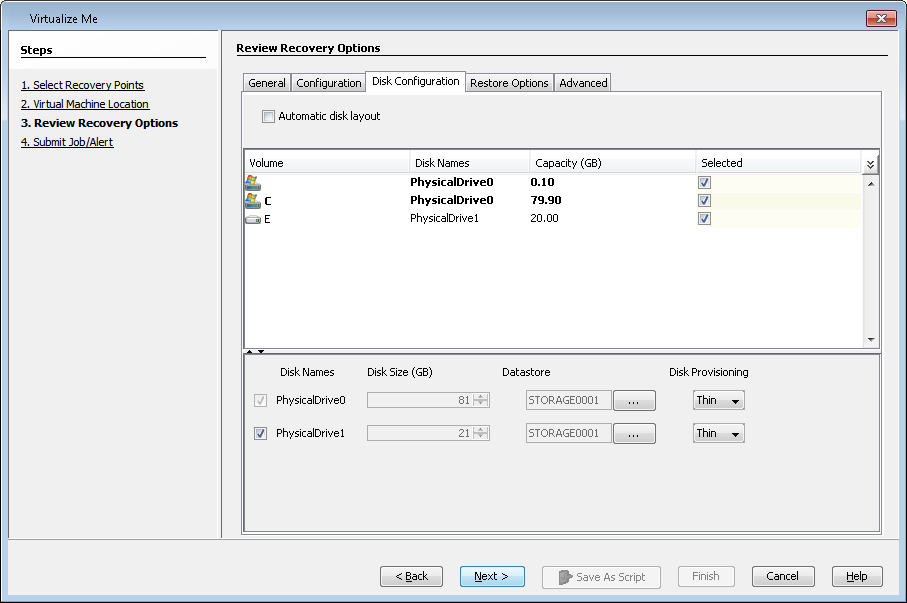
Click the Disk Configuration tab and review the available disk configuration. From the SCSI Controller list, select the storage controller. The virtual machine will be created with the available disk configuration.
-
Note: With Hyper-V, you can only create four SCSI controllers.
-
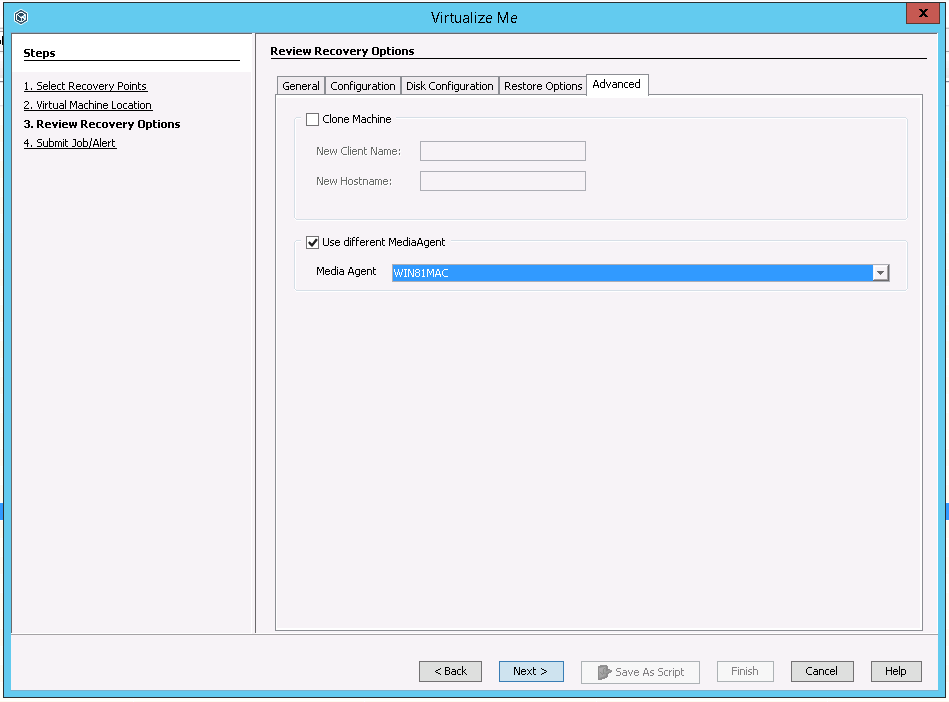
Click Advanced tab and perform the following:
-
Select the Clone Machine check box.
-
Type the client name for the clone machine in the New Client Name box.
The Client Name is the name of the client which will be created for the clone computer in the CommServe. Ensure that the client name is not used by any other client in the CommServe.
You can type the same name which you entered in the VM Name box in step 3 or you can specify any other client name. The VM Name is the name of the virtual machine which is created on the ESX server.
-
Type the name of the clone machine in the New Hostname box. Do not enter the fully qualified domain name or the IP address of the virtual machine.
-
You can select a different MediaAgent computer than the one used to perform the system state backup. Select the Use different MediaAgent check box and select a MediaAgent from the MediaAgent list.
-
Make sure that the Allow restore jobs to use alternative MediaAgent and Drive Pool to access required media parameter in the Control Panel is set to a value of 1. For more information on how to set the parameter, see Media Management Configuration: Resource Manager.
-
Client is a MediaAgent feature is not supported for Virtualize Me. You can use 1-Touch interactive and non-interactive restores to restore a MediaAgent computer.
-
-
-
Optional: You can add the destination or the cloned computer to a domain based on your requirement. On the Review Recovery Options > Restore Options tab, click Change and enter the domain credentials.
-
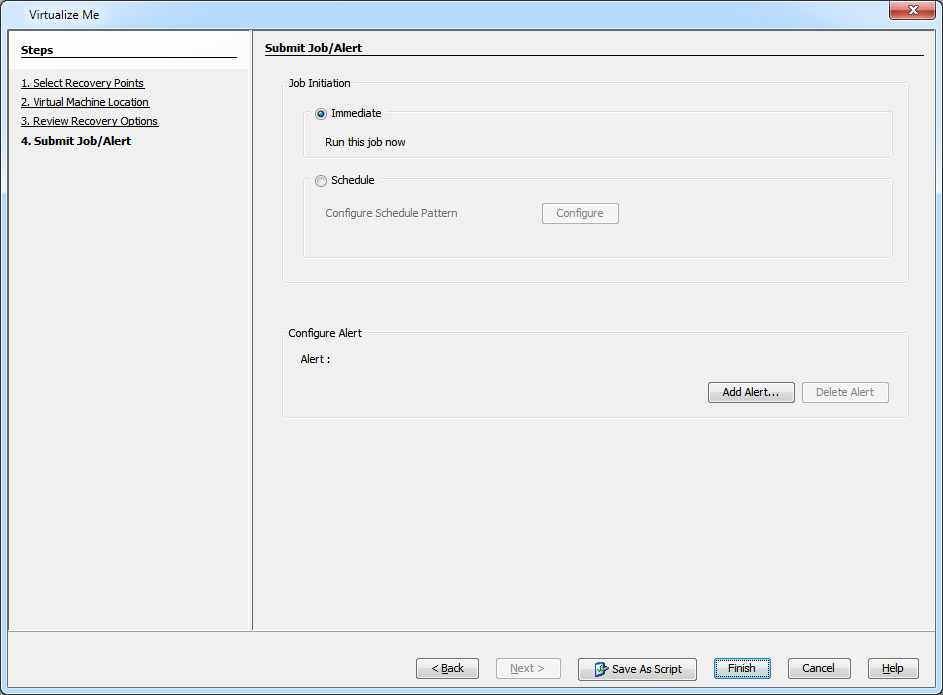
Click Finish to start the virtualization job.
-
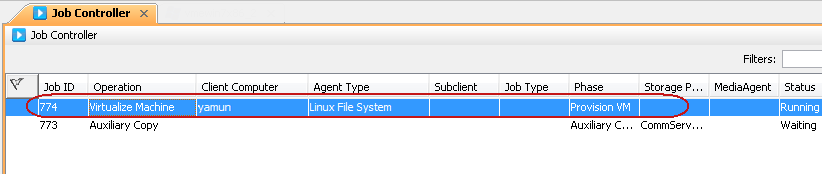
You can track the progress of the Virtualization job from the Job Controller window of the CommCell Console. The virtualization operation includes the following three phases:
-
Provision VM
-
Configuration Restore
-
Full System Restore
After the VirtualizeMe job completes, the original client computer will be retained as the active client on the CommServe.
-
-
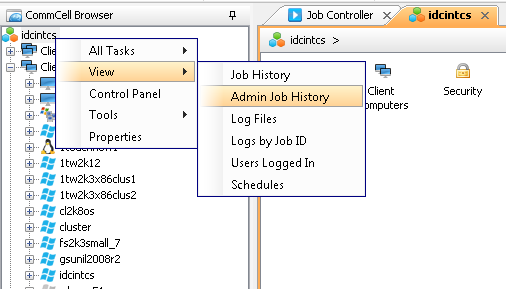
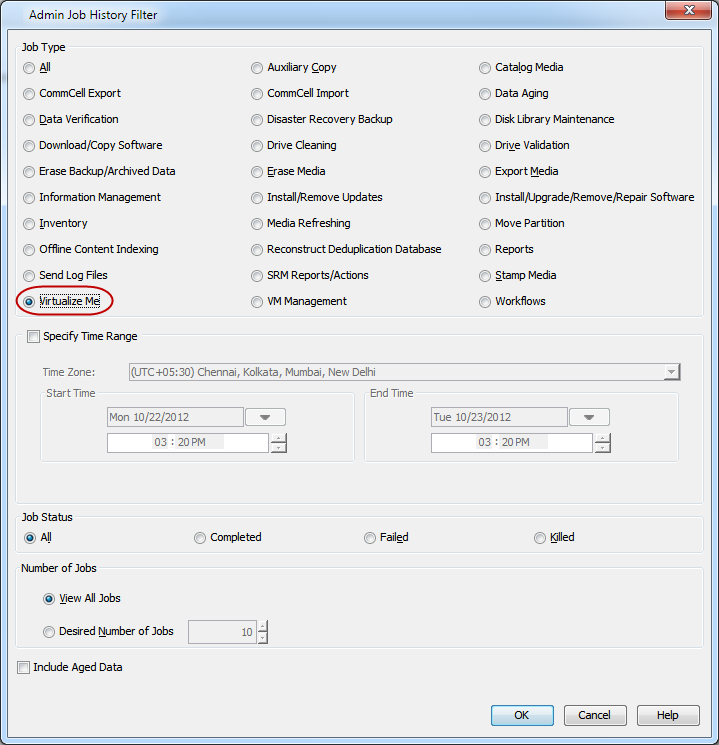
Once the job is complete, view the job details from the Admin Job History. From the CommCell Browser, right-click <CommServe> and select View | Admin Job History.
-
Select Virtualize Me under Job Type.
Click OK.
-
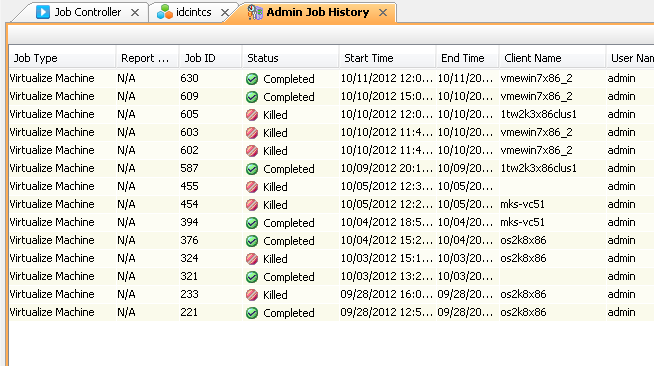
You can view the following options about the job by right-clicking the job:
-
Details of the job
-
Events of the job
-
Log files of the job
-
Resubmit the job to run it again
-