Configuration
Once the Oracle iDataAgent has been installed, create virtual client using cluster client configuration from the CommCell Console.
Then configure an instance and a subclient to facilitate backups.
The following sections provide the necessary steps required to create and configure these components for a first backup of an Oracle database.
Configuring the Cluster Group Client
After installing the software successfully on all the physical nodes that host the cluster group, you must configure the cluster group client from the CommCell Console. Use the following steps to configure the cluster group client.
-
From the CommCell Browser, right-click the Client Computers node, point to New Client | Clustered Server and then click Unix Cluster.
-
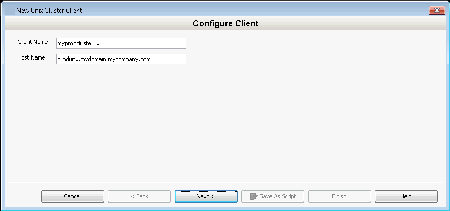
In the Client Name box, type a name for the cluster group. The client name can be any unique name.
In the Host Name box, you can type either the fully qualified domain name of the cluster group or the IP address of the cluster group.
Note
-
The Host name of the cluster group client should not be used by any existing client in your CommCell.
-
If you want to specify the IP address of the cluster group, ensure that the IP address is static.
-
-
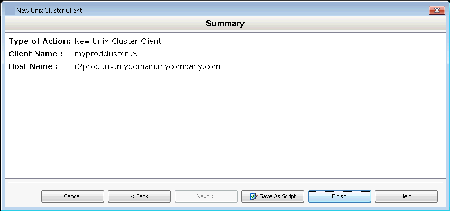
Review the cluster group information and click Finish.
The Advanced Client Properties dialog box is displayed.
-
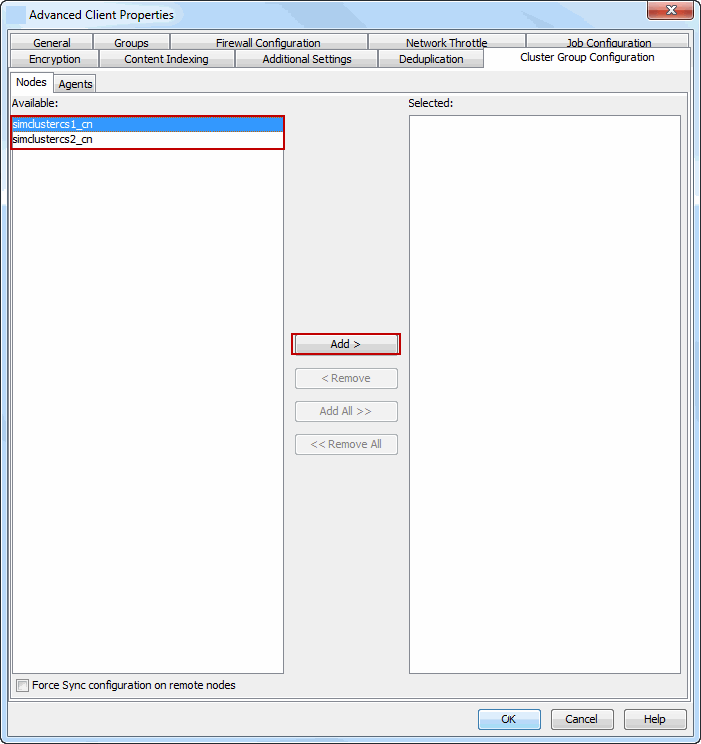
On the Advanced Client Properties dialog box, click the Cluster Group Configuration tab.
-
All the Linux clients that are available in the CommCell will be listed in the Available list. Select the physical computers (nodes) where you installed the necessary agents from the Available list, and then click Add > to move the client to the Selected list.
-
Click the Agents tab.
Select the agents you want to use in the cluster group client from the Available list and click Add > to move the Agent to the Selected list.Note
If the client computer properties dialog box is not displayed automatically, then you need to open it manually: Right-click the <Cluster Group Client>, and then click Properties. Click Advanced on the Client Computer Properties dialog box. Click Cluster Group Configuration tab on the Advanced Client Properties dialog box.
-
-
Click the Agents tab.
Select the agents you want to use in the cluster group client from the Available list and click Add > to move the agent to the Selected list.
Note
In order to configure a Cluster Group Client, the agents should be installed on all the clustered nodes for proper failover. If an agent is not installed on all the nodes, then the agents selection tab on the Advanced Client Properties window will display the agent name in plain text (not in bold). However, you can still configure the Cluster Group Client even when the Agents are not installed on a particular node; installation can be done later using remote install procedure.
-
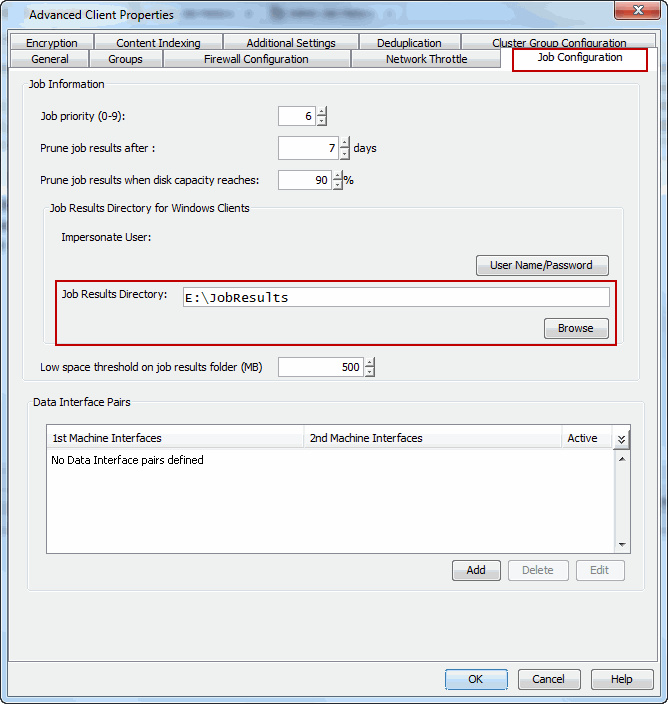
Click the Job Configuration tab.
In the Job Results Directory box, type the path for the job results directory. Ensure that the directory resides on a shared clustered file system.
Note
-
The Browse button does not work when you configure the cluster group client for the first time. After the initial configuration, you can use the button to update the directory (if required).
-
In the case of MediaAgent and ContinuousDataReplicator, the Job Result directory path will be used for both the Index Cache and CDR Log directories respectively unless another directory location is provided.
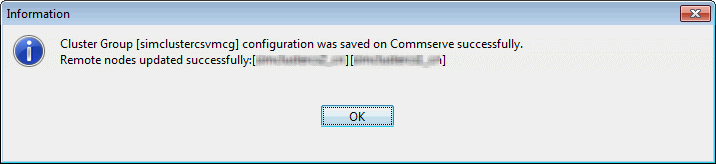
Click OK.
-
-
Click OK.
The cluster group client is successfully created.
Note
 Note:
Note: - Ensure that the path provided for the Job Results Directory is an absolute path.
For example, /addon/ commvault_pool/job_results/p22-dbsm1-se
- Ensure that the path provided for the Job Results Directory is an absolute path.
Note
If MediaAgent is installed on a physical node, ensure that the path provided for Index Cache is an absolute path. Else, post installation, edit the MediaAgent properties to provide a different path for Index Cache.
Instance and Subclient Configuration
-
Create a storage policy for the subclient. For more information, see Storage Policy - Getting Started.
-
Create and discover Oracle instances. For more information, see Configuration - Managing Instances.
-
Create an online subclient. For more information, see Configuration - Creating a Subclient for Online Backups