Setup a static IP for the iRMC (Integrated Remote Management Console) on all the nodes. This is needed to setup the HyperScale 1.5 Appliance. In addition, this will also ensure that the iRMC is accessible in the network using the static IP. For example, it would be useful to power-on or power-off the node using the iRMC console.
Procedure
-
Power on the node.
-
Press
<F2>during the boot sequence to start the Setup Utility.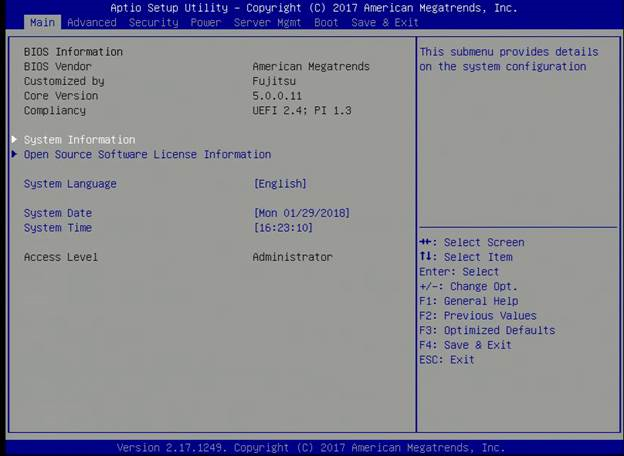
-
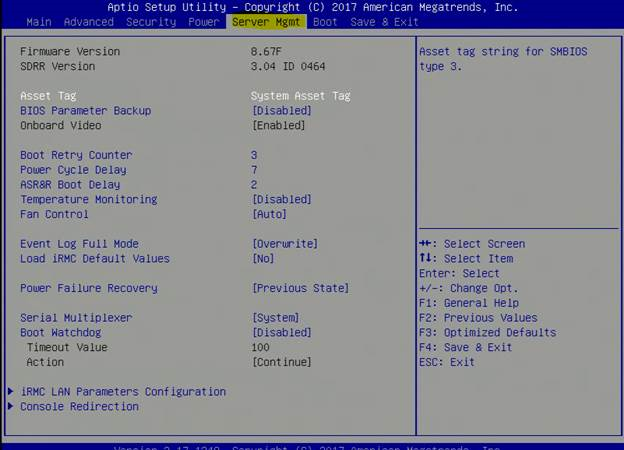
Navigate to the Server Mgmt tab.
-
Navigate to the iRMC LAN Parameter Configuration option.
-
Press
<Enter>to select the option and then navigate to the IP Configuration option. -
Change the option to [use static configuration].

-
Enter values for the IP Address, Subnet Mask, and Gateway Address for the selected node. Use the data collected in the Pre-Installation Checklist to add the information.
-
Press
<F4>to save and exit the Setup Utility. -
Verify that the iRMC is accessible using the static IP address as follows:
-
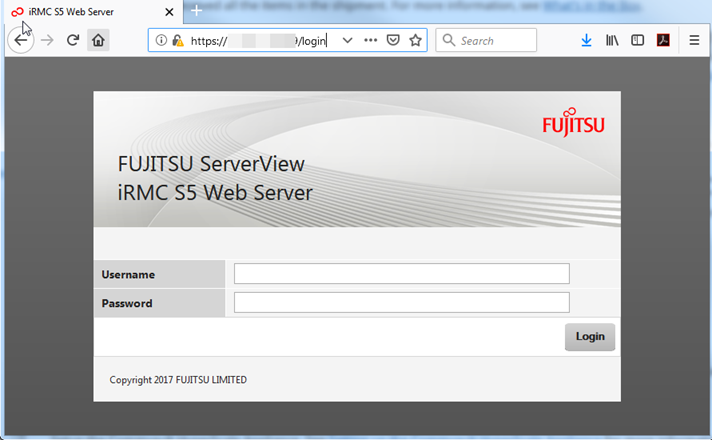
Open a web browser from a remote workstation and enter the static IP of the iRMC.
The login screen is displayed.
-
Type in the credentials for the default administrator account as follows:
Username: admin
Password: admin
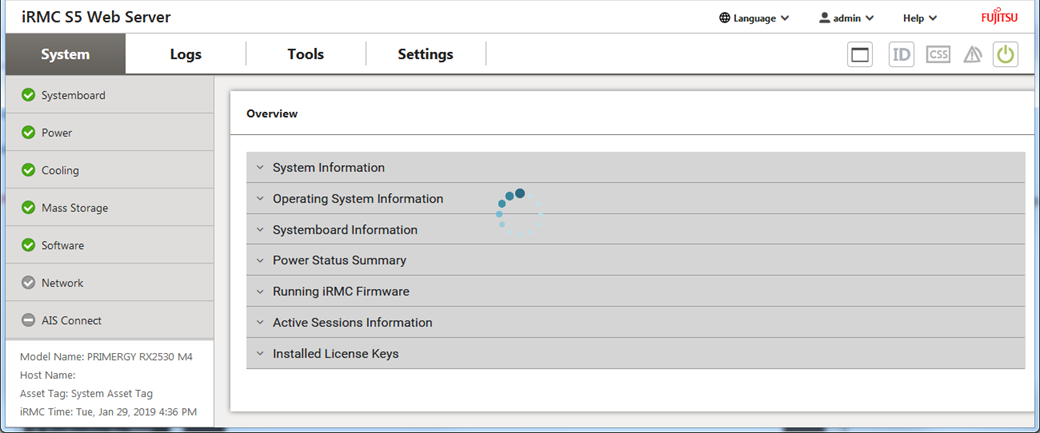
Click Login.
The iRMC Web Server interface is displayed.
-
-
Launch the Advanced Video Redirection window as follows:
-
Click the Advanced Video Redirection (AVR) button displayed on the top-right section of the iRMC Web Server interface, and then click Start Video Redirection.

This will launch a Java Applet. (If you do not want to use Java Applet, you can use HTML5 viewer. Click Settings > Services > Advanced Video Redirection (AVR) > Favour HTML5 over Java Applet.)
-
Click the Run button in the Do you want to run this application? prompt.
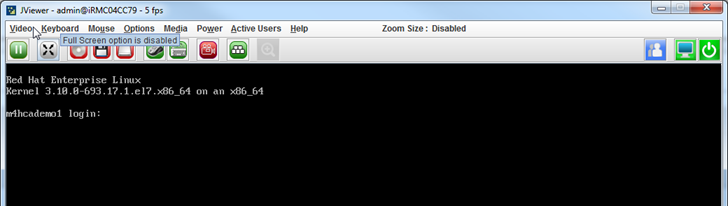
The AVR window will be displayed.
-
Login using the following default credentials:
Login: root
Password: cvadmin
Note
This password can be changed during setup.
-
-
Run the
ifconfigcommand from each node and note down the IP address and the corresponding network interfaces.A sample output of the command is shown below:
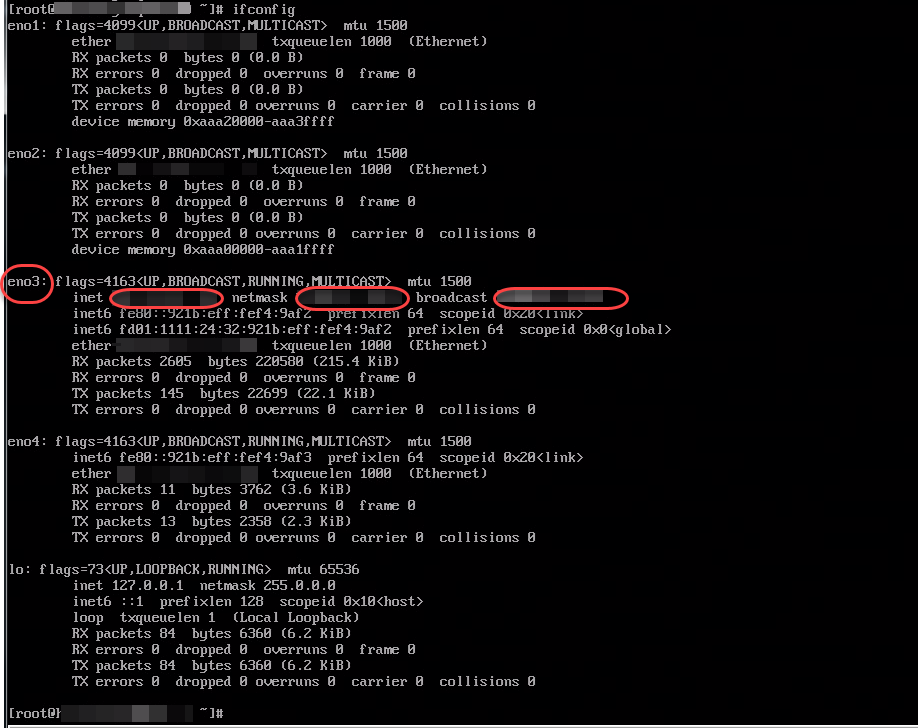
Note
If DHCP is not available the IP addresses for the interfaces will not be displayed. You must assign static IP addresses for the interfaces. For more information, see Assigning a Static IP If DHCP is Not Enabled.
-
Repeat the above steps and setup the iRMC in the other nodes.
What to Do Next
-
If DHCP is not available assign static IP addresses for the interfaces. For more information, see Assigning a Static IP If DHCP is Not Enabled.
-
Setup a block consisting of 3 nodes to ensure that the correct nodes are identified and configured when the setup is run. For more information, see Setting up a Block.