Use the following procedure convert the client computer to a virtual machine:
-
Log on to the CommCell Console.
-
From the CommCell Browser, right-click client computer, click All Tasks > Virtualize Me >Microsoft Azure.
-
On the Select Recovery Points tab,click Next.
By default, the latest data and configuration of the client computer, backed up by the default backup set, will be used to create the virtual machine.
-
On the Virtual Machine Location tab, make the following selections:
-
In the Client box specify the name of the Azure proxy client computer used for the Virtualize Me operation.
-
In the Resource Group box, for Azure Resource Manager, specify the Resource Group for the restored VM.
-
In the Storage Account box, select the storage account to be used for all selected virtual machines or disks. You can specify any storage account in the same region as the selected resource group.
-
In the Size box, select a size specification for the restored virtual machine.
-
In the VM Name box, enter name of the virtual machine.
-
Select the Create Public IP check box to automatically assign a public IP address to the virtual machine that is created.
Note
A public IP address is necessary to access the newly created virtual machine after the restore operation finishes. If you do not select the Create Public IP check box, then you can you can assign a public IP address to Azure Resource Manager virtual machines later after the restore operation finishes using the Azure portal.
-
Click Next.

-
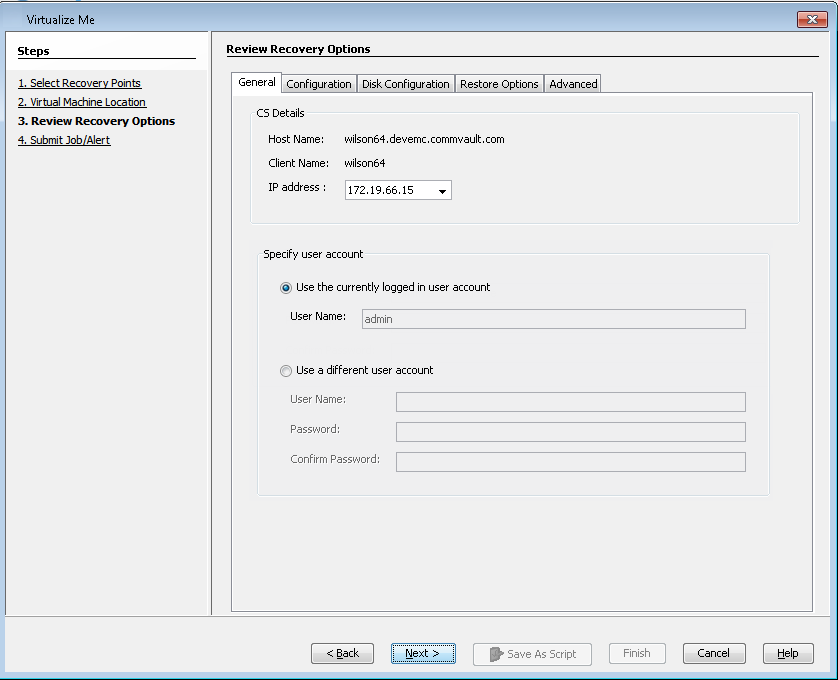
-
By default, the user account which you have used to login to CommCell console will be used to perform the virtualization job.
-
If you are using Active Directory User account to login to the CommCell console, enter the password for the user account.
-
If you have logged in as CommCell console administrator, the password is not required to perform the virtualization job.
-
-
Click the Configuration tab and review the network interface configuration and security group. The virtual machine will be created with this configuration.

-
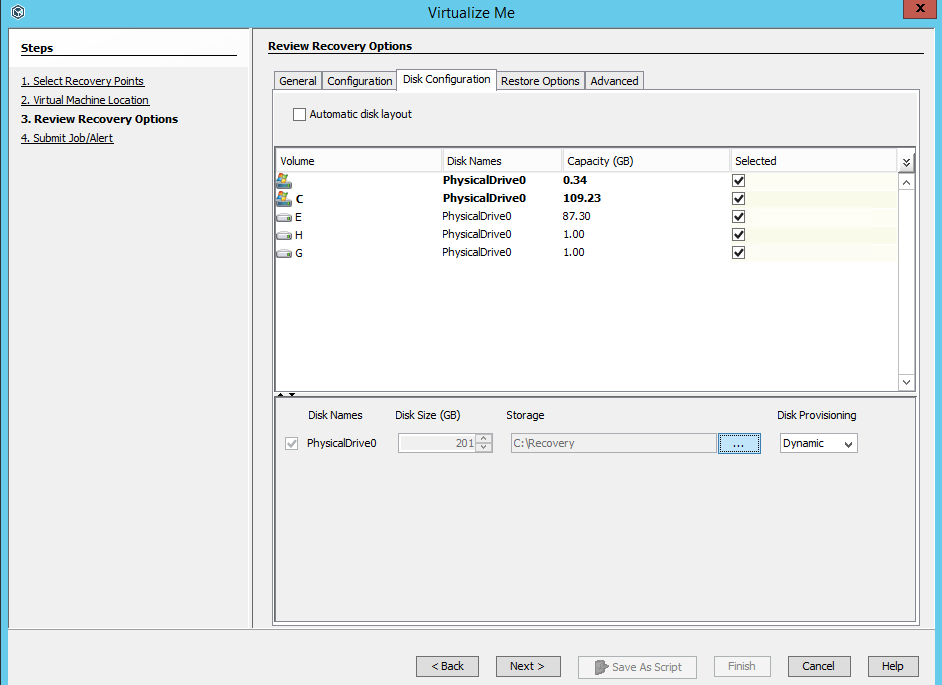
Click the Disk Configuration tab and review the available disk configuration. From the SCSI Controller list, select the storage controller. The virtual machine will be created with the available disk configuration.
-
Note: With Hyper-V, you can only create four SCSI controllers.
-
Optional: You can add the destination or the cloned computer to a domain based on your requirement. On the Review Recovery Options > Restore Options tab, click Change and enter the domain credentials.
-
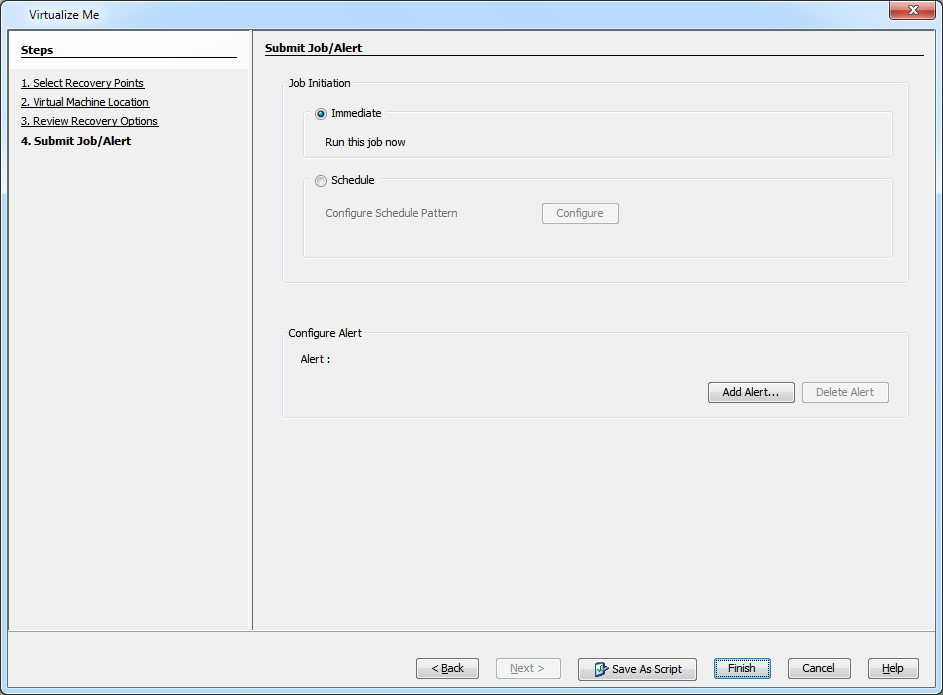
Click Finish to start the virtualization job.
-
You can track the progress of the Virtualization job from the Job Controller window of the CommCell Console. You cannot suspend or resume the job.
After Virtualize Me Job completes if you power on the original client computer, it will no longer be authenticated by the CommServe. The newly created virtual machine will become the active client.
-
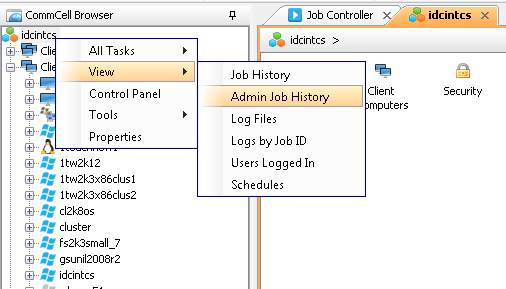
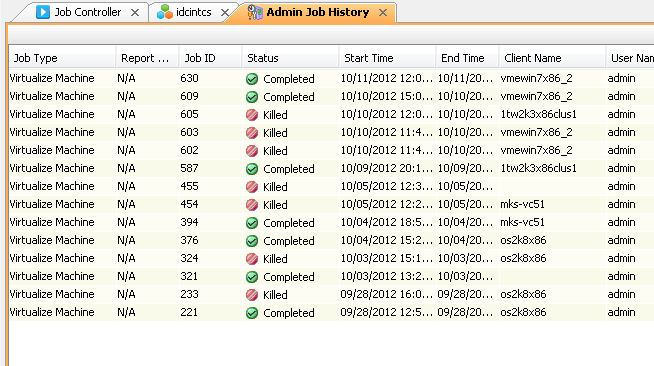
Once the job is complete, view the job details from the Admin Job History. From the CommCell Browser, right-click <CommServe> and select View | Admin Job History.
-
Select Virtualize Me under Job Type.
Click OK.

-
You can view the following options about the job by right-clicking the job:
-
Details of the job
-
Events of the job
-
Log files of the job
-
Resubmit the job to run it again
-