You can deploy Commvault infrastructure in several ways: use a Commvault-provided VMware image, use a cloud service provider marketplace image, or install the software manually.
Prerequisites
- VMware
- Permissions to deploy a VM from a template and to download templates
- 6vCPU, 24 GB RAM, 1.4 TB disk space
- Operating system credentials for the VM
- Commvault software
- Admin username and password
Download a VMware image
-
Go to the Commvault Store.
-
In the upper-right area of the page, click Login to log in.
-
In the search bar, type VMware, and then download the latest VMware image for the operating system that you want to use.
Linux and Windows images are available.
Cyber resilience tips
- Don't store operating system credentials for this VM in a password management system that a cyber attacker can gain access to.
- Do store all the information that you provide when deploying the VM in a secure way, because you'll need it later.
Deploy the VMware image in vCenter
-
Log on to VMware vCenter.
-
Deploy the downloaded
.ovafile.Steps to deploy the image
-
Go to the datacenter where you want to deploy the VM.
-
Right-click a cluster or a specific ESXi host, and then select Deploy OVF Template.
The Deploy OVF Template wizard appears.
-
Select Local file.
-
Click Upload Files or Browse, and then select the downloaded
.ovafile. -
Specify a name and a location:
- To proceed past source verification, click Next.
- Enter the VM's FQDN, for example, my_commvault_control_plane.mydomain.com.
- Select the location, such as a folder or datacenter, for the VM.
- Click Next.
-
Select the compute resource:
- Select the destination cluster, host, or resource pool.
- Click Next.
-
Review the details:
- Verify the template details, such as the version and size.
- Click Next.
-
Select storage:
- Choose a datastore with enough space.
- Select thin provisioning unless your environment requires thick provisioning.
- Click Next.
-
Select networks:
- Choose the appropriate VM network.
- Select your IP allocation method, either DHCP or static.
- Click Next.
-
Enter the requested configuration details.
The fields depend on the image that you selected and can include operating system credentials, host name, and network settings.
-
Review the summary screen.
- If available, you can select Power on after deployment.
- Click Finish.
-
-
After deployment is complete, wait for the VM to finish any startup tasks and updates.
-
Go to https://[FQDN]/commandcenter to complete the configuration.
-
When the configuration is complete, log on to cloud.commvault.com.
Activate your Commvault license
-
From the Command Center navigation pane, go to Manage > Account > Subscription and Usage > License.
-
In the New license is available section, click Apply.
Configure Air Gap Protect storage in the pre-defined backup plan
-
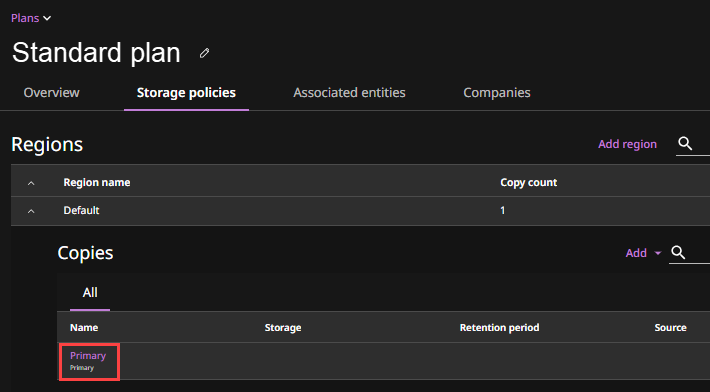
From the Command Center navigation pane, go to Manage > Plans.
-
Click Standard plan.
-
On the Storage policies tab, expand Default.
-
Click the add button for storage, and then select Copy.
-
Specify details for the copy, click the add button for storage, and then select Air Gap Protect.
-
Specify details for the storage, and select the deployed VM as both MediaAgents. For storage type, you can select Amazon S3 or Microsoft Azure.
-
Click Save.
-
Specify the rest of the details for the storage, such as retention.
Compliance lock for retention
Due to security requirements, once you specify retention for Air Gap Protect, you can't reduce the retention.
-
Click Save.