You can restore the detected threat content to a an out-of-place destination or cleanroom environment to support incident response, validation, and deeper threat analysis without reintroducing risk to production data.
Forensic recovery restores the most recent recovery point with all detected threat content including malware, encryption, and anomalies, enabling security teams to conduct thorough investigation and forensics.
Available restore destinations: Out-of-place or clean room.
Start the Wizard
-
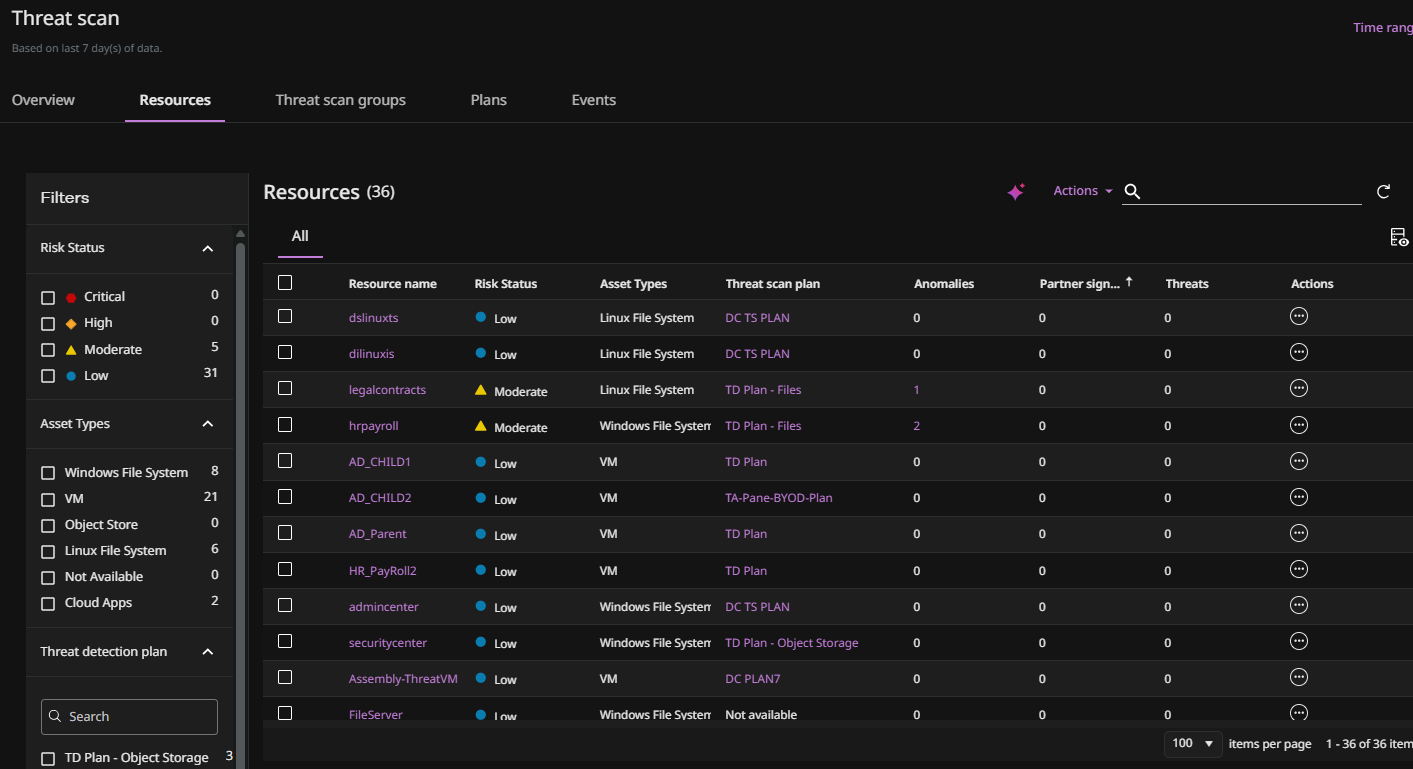
From the Command Center navigation pane, go to Security services > Threat scan.
The Threat Scan page appears.
-
Click the Resources tab to show the resources that are currently scanned by Threat Scan.
-
For the resource you want to restore, click the Action button
 , and then select Restore.
The Restore wizard appears.
-
Select Forensic and then click Next.
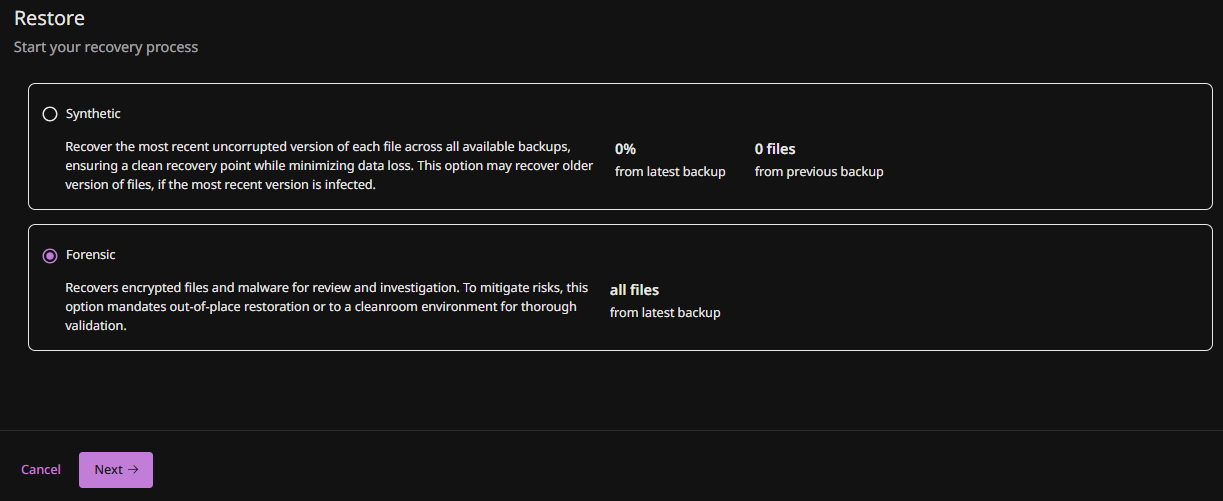
The Restore Options page appears.
-
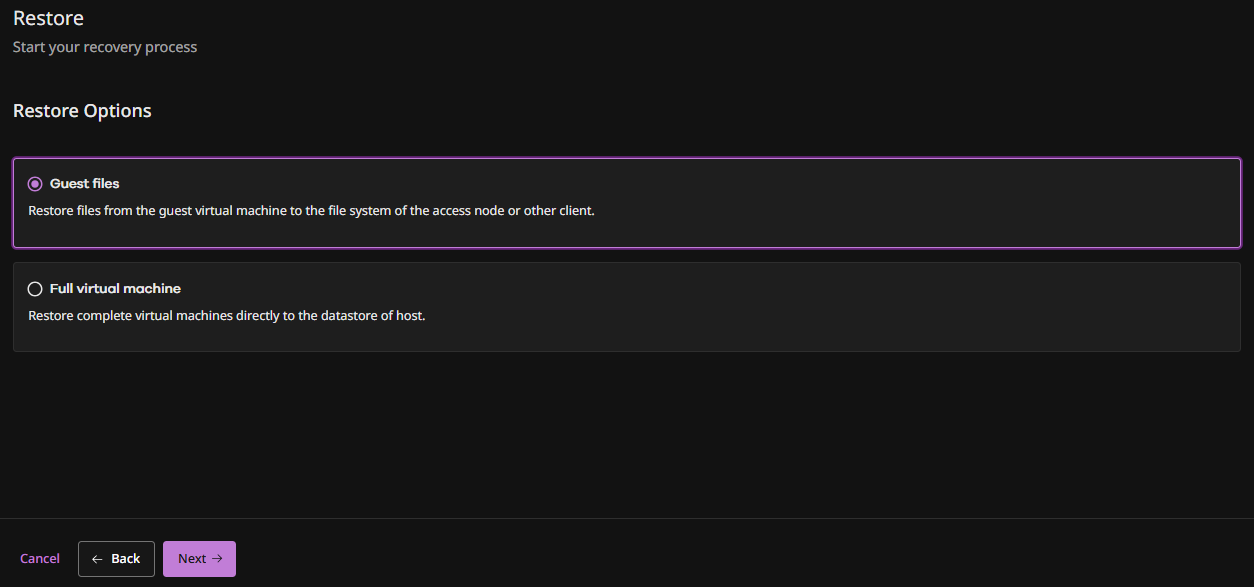
Select the type of restore to perform: Guest files or Full virtual machine, and then click Next.
Restore Guest Files
-
Select Guest files and then click Next.
The Recovery Location page appears.

-
Select Out of place and then click Next.
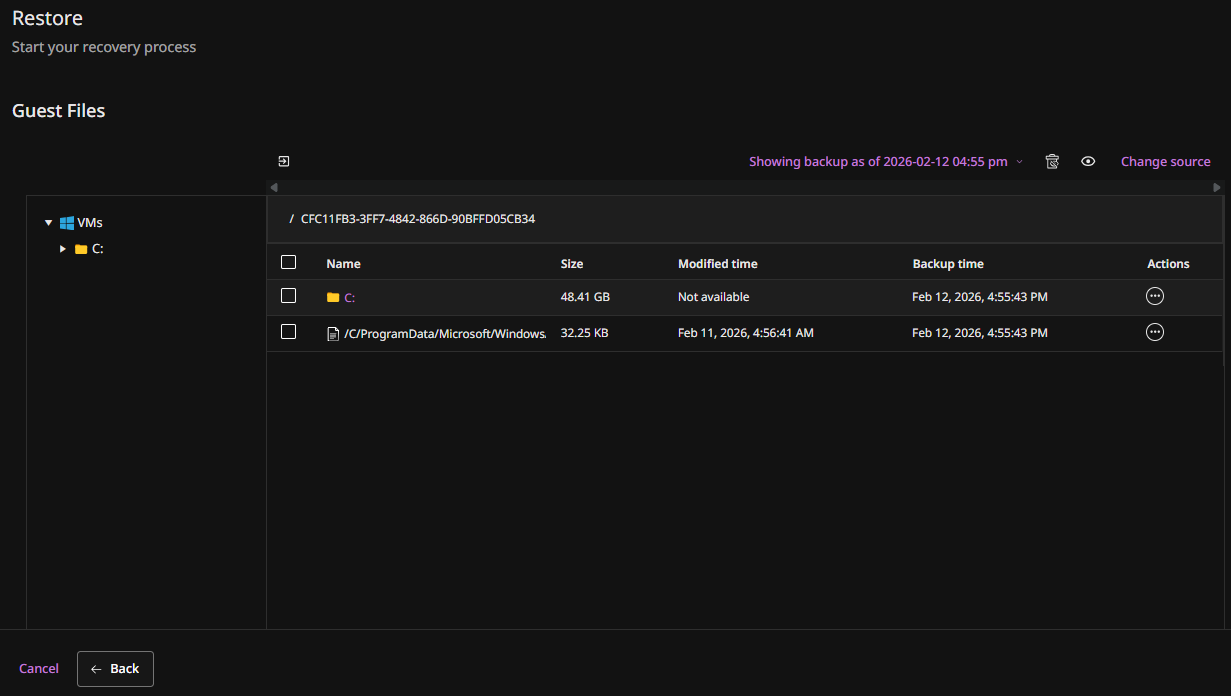
The Guest Files screen appears.
-
Select the files you want to restore, and then click Restore.
The Restore options pane appears.
-
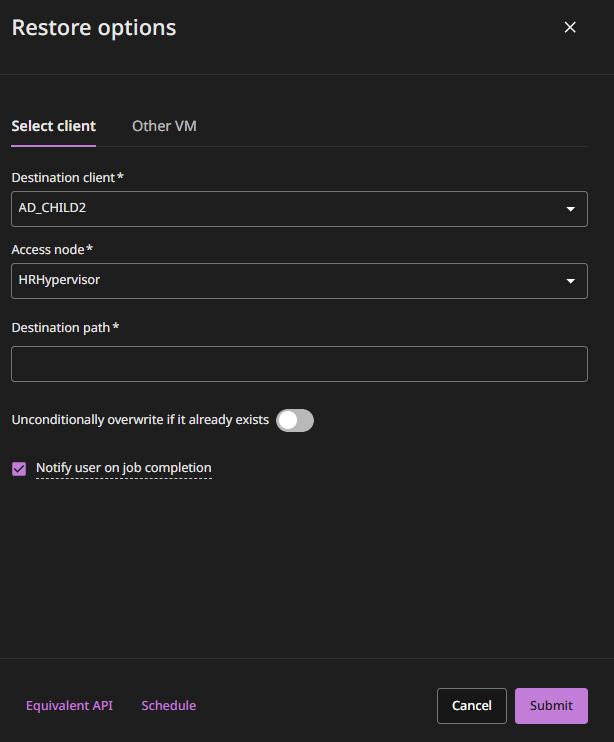
To restore to the source VM:
-
Select the Select client tab (the default option).
-
Verify that the source VM is selected in the Destination client box (the default option).
-
Optional: To use a different VSA access node, change the value in the Access node box.
-
In the Destination Path box, type the full path to the destination folder.
-
Unconditionally overwrite if it already exists: Overwrites current state of the VM with the restored VM.
-
Click Submit.
-
-
To restore to a different VM:
-
Select the Other VM tab.
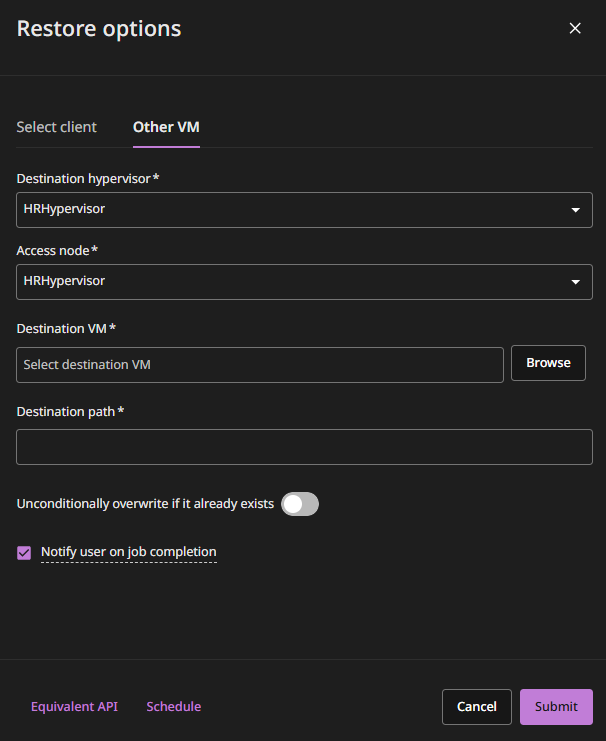
By default, the same access node that was used for the backup performs the restore.
-
Optional: To use a different access node, change the value in the Access node box.
-
If the destination VM resides on another hypervisor, select the host name of the hypervisor from the Destination VM list, and then browse to select the destination VM.
-
In the Destination Path box, type the full path to the destination folder.
-
Unconditionally overwrite if it already exists: Overwrites current state of the VM with the restored VM.
-
Click Submit.
-
Restore Full Virtual Machines
-
Select Full virtual machine and then click Next.
The Recovery Location page appears.

-
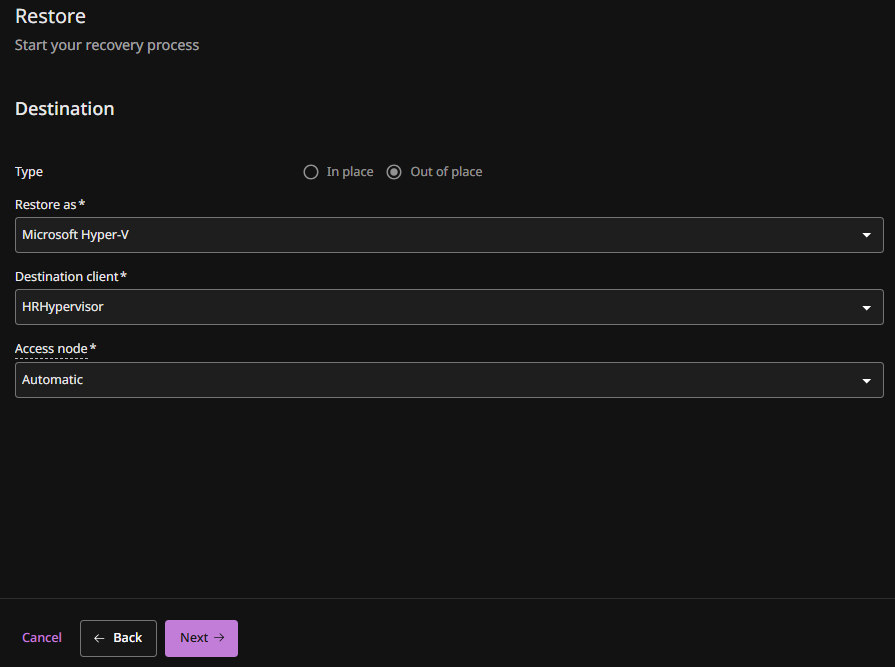
To restore out-of-place (to a newly defined location):
-
Select Out of place and then click Next.
The Destination page appears.
-
In the Restore as list, select the type of hypervisor you want to restore to.
-
Select the Destination client.
-
Select the Access node.
-
Click Next.
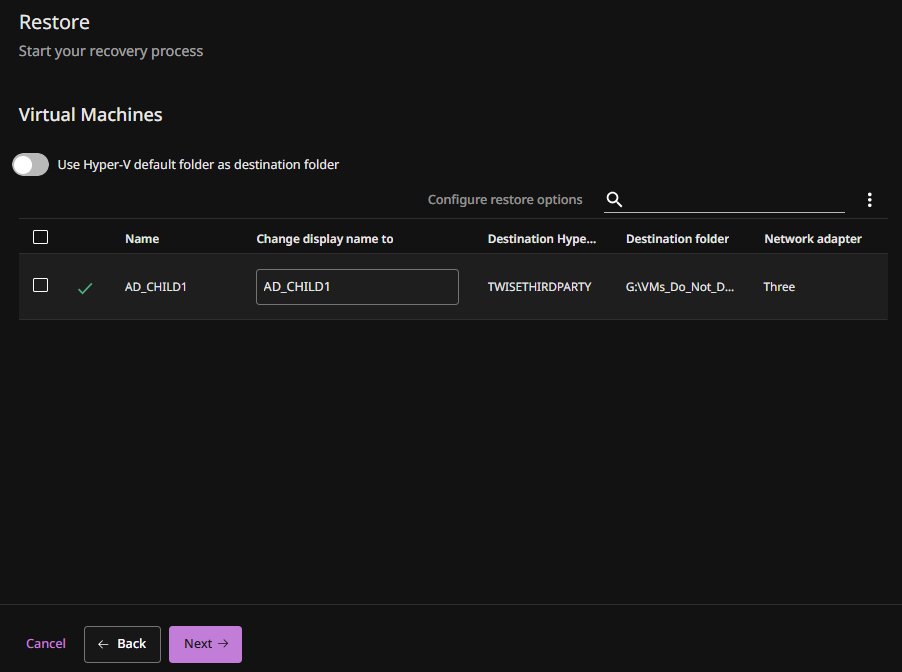
The Virtual Machines page appears.
-
Click Next.
The Restore Options page appears.
-
Enter the following options:
-
Power on VMs after restore: Automatically restart VMs after they are restored.
-
Unconditionally overwrite if it already exists: Delete an existing VM and replace it with the restored VM.
-
Register virtual machine with failover cluster: Select this option to register replicated virtual machines to the failover cluster for the destination client.
-
Notify user on job completion: Receive an email notification that the restore is complete.
-
Schedule restore job: To schedule the restore job at a specific interval for a period of time, enable this option, and then provide the schedule details.
-
Restore virtual machine using live recovery. If using this option, to delay the restore, in the Delay migration (in hours) field, enter the number of hours (1-12) for the delay.
-
Reuse Source VM client: Reuse the existing VM client and map its information, such as Client Name, Host Name, and Client ID to the source VM.
-
-
Click Next and then click Submit.
-
-
To restore to a clean room:
-
Select Cleanroom.
The Recover resources pane appears.
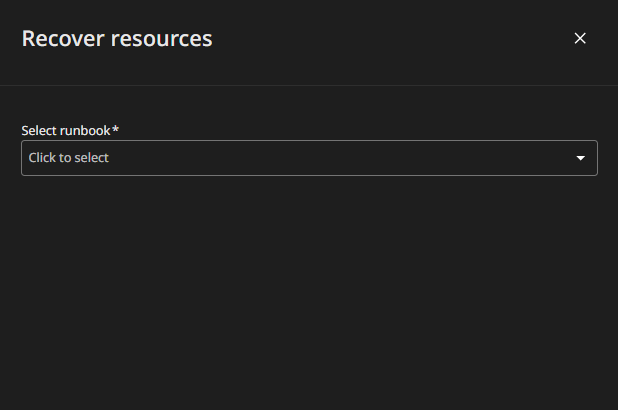
-
Select the runbook for the recovery group that contains the resources you want to recover.
The Recover resources pane expands.
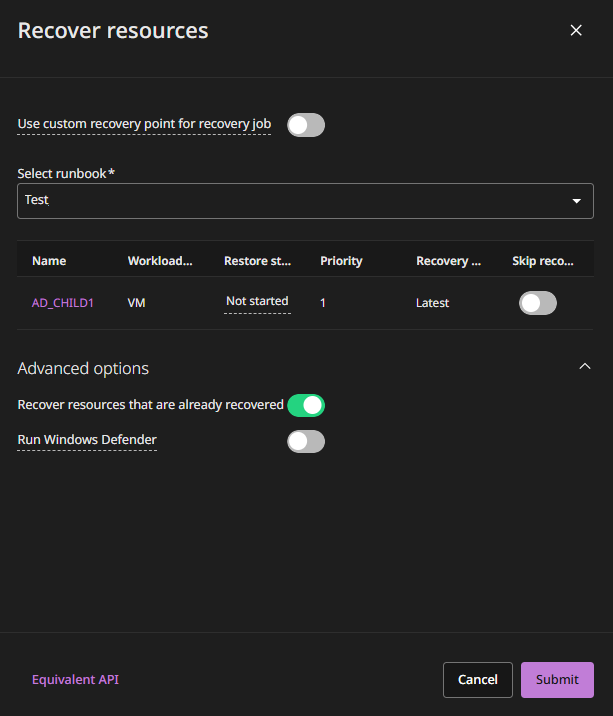
-
To select a specific backup for the recovery, enable the Use custom recovery point for recovery job toggle key, and then select a specific recovery point.
-
Expand all phases to verify they have a Restore status of Ready, and enable the Skip recovery toggle key for any steps you want to skip.
-
Click Submit.
-