You can manually select a point-in-time restore set while excluding detected malware from the restore path.
Note
Although malware is excluded from restore, any detected anomalies or encrypted files will be recovered as part of the selected recovery point.
Available restore destinations: In-place or out-of-place.
Procedure
-
From the Command Center navigation pane, go to Security services > Threat scan.
The Threat Scan page appears.
-
Click the Resources tab to show the resources that are currently scanned by Threat Scan.
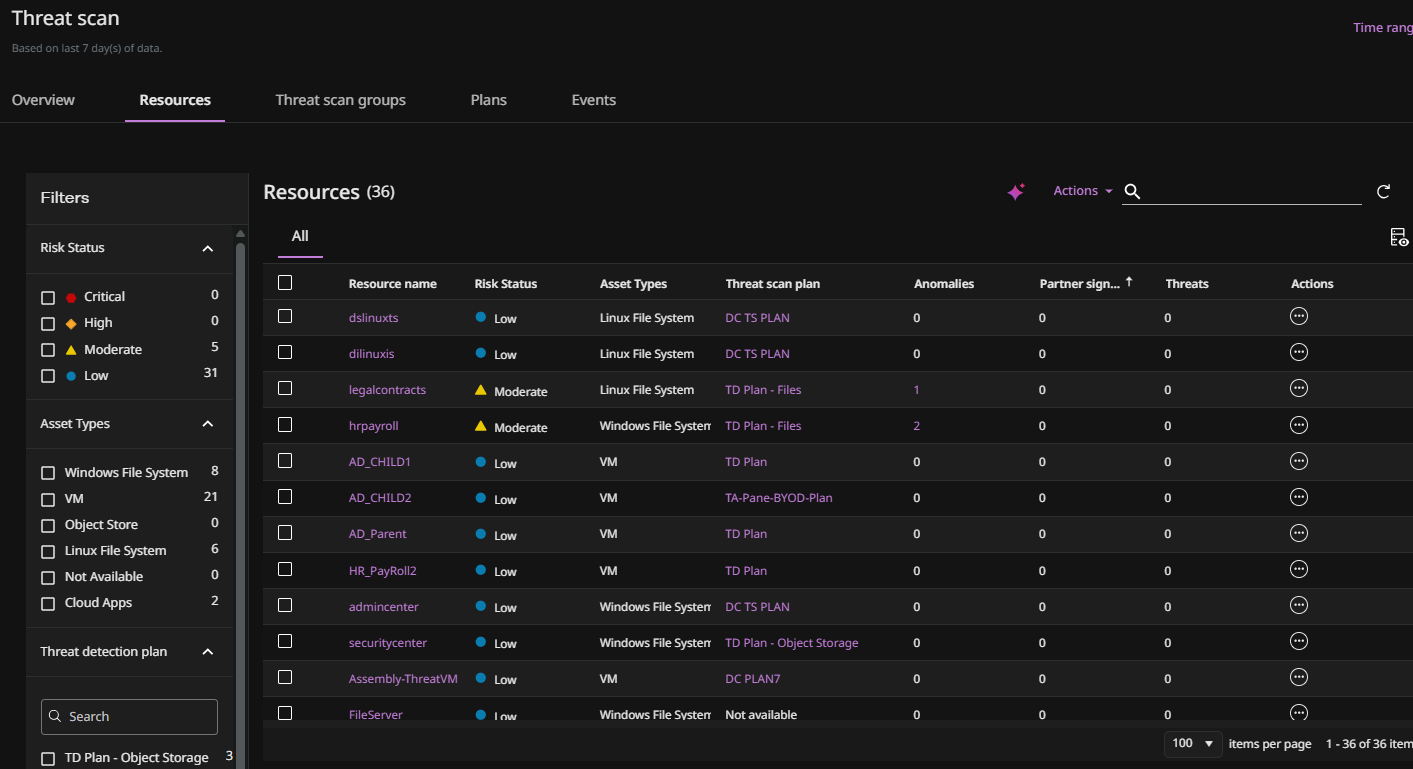
-
For the resource you want to restore, click the Action button
 , and then select Restore.
The Restore wizard appears.
-
Select Manual.
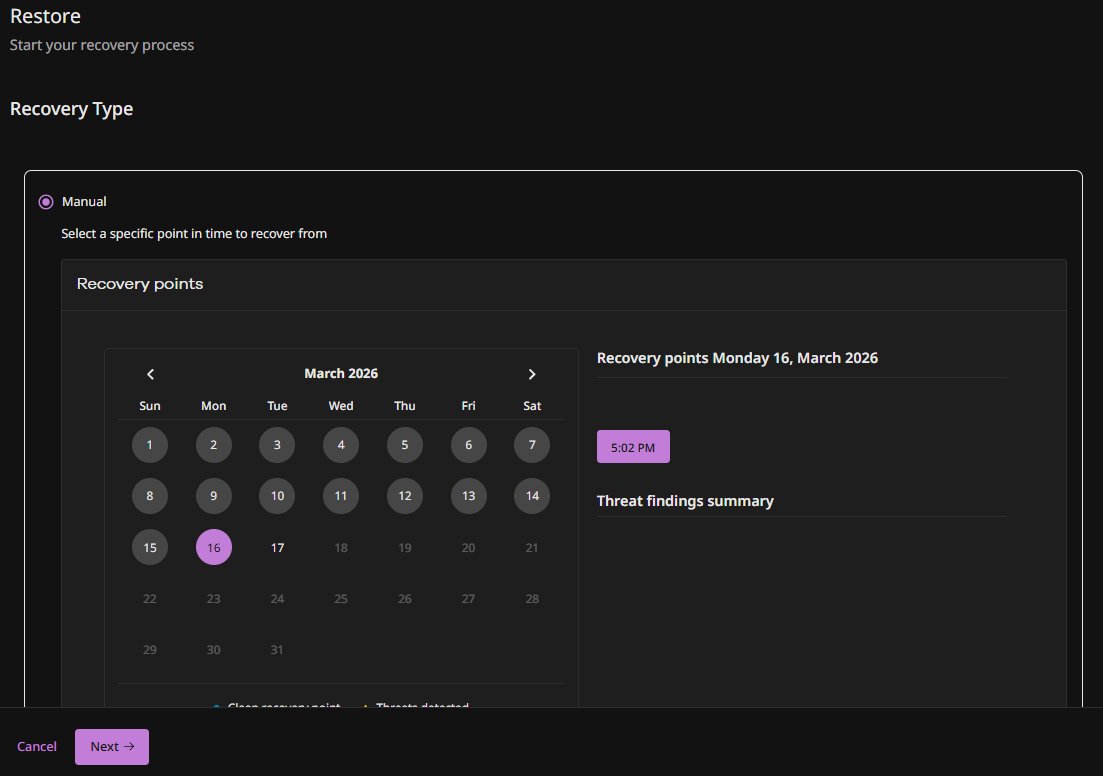
-
In the Recovery points calendar, click the date to restore from (the dates on which backup jobs were run are marked in gray).
The backup job times appear.
-
Click a backup job time and then click Next.
The Restore Options page appears.
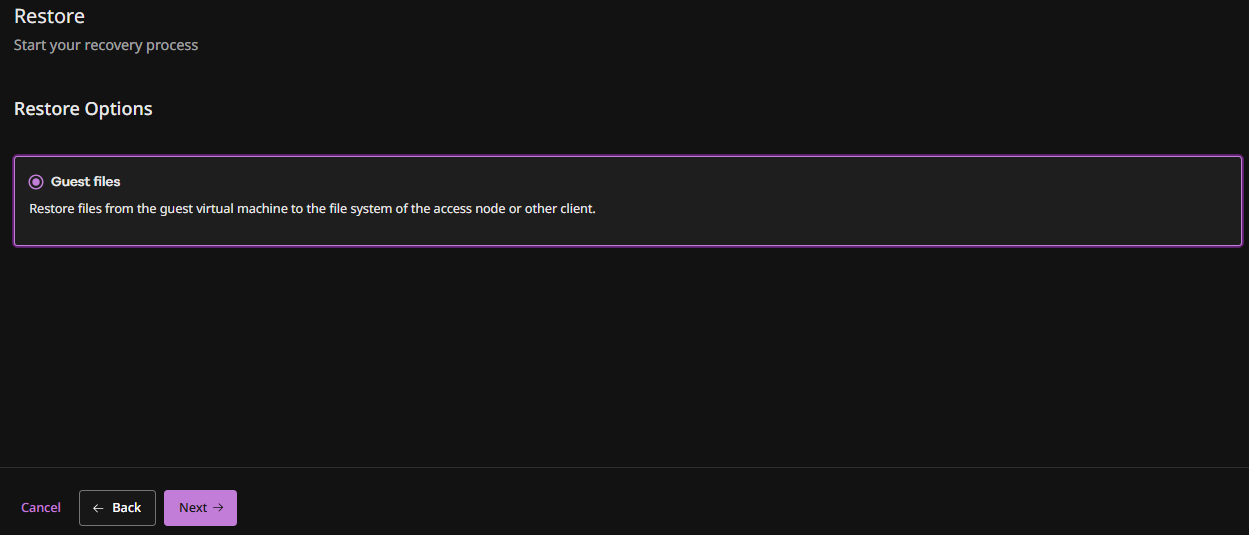
-
Select Guest files and then click Next.
The Recovery Location page appears.
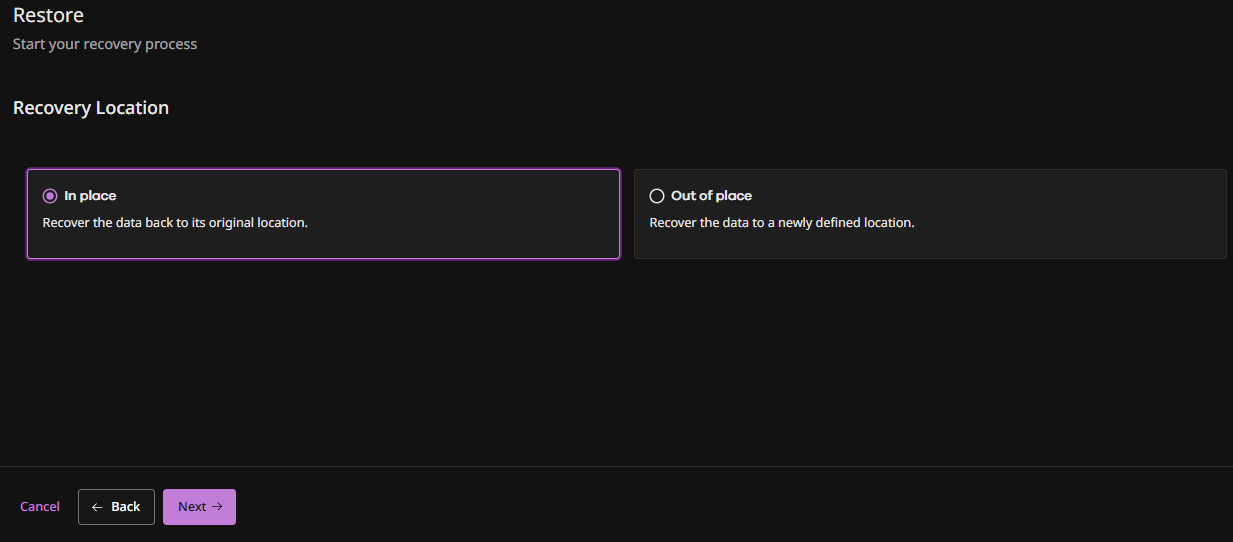
-
Select the type of restore to perform: In place or Out of place and then click Next.
Note
The following steps may vary depending on the type of VM being restored.
The Guest Files screen appears.
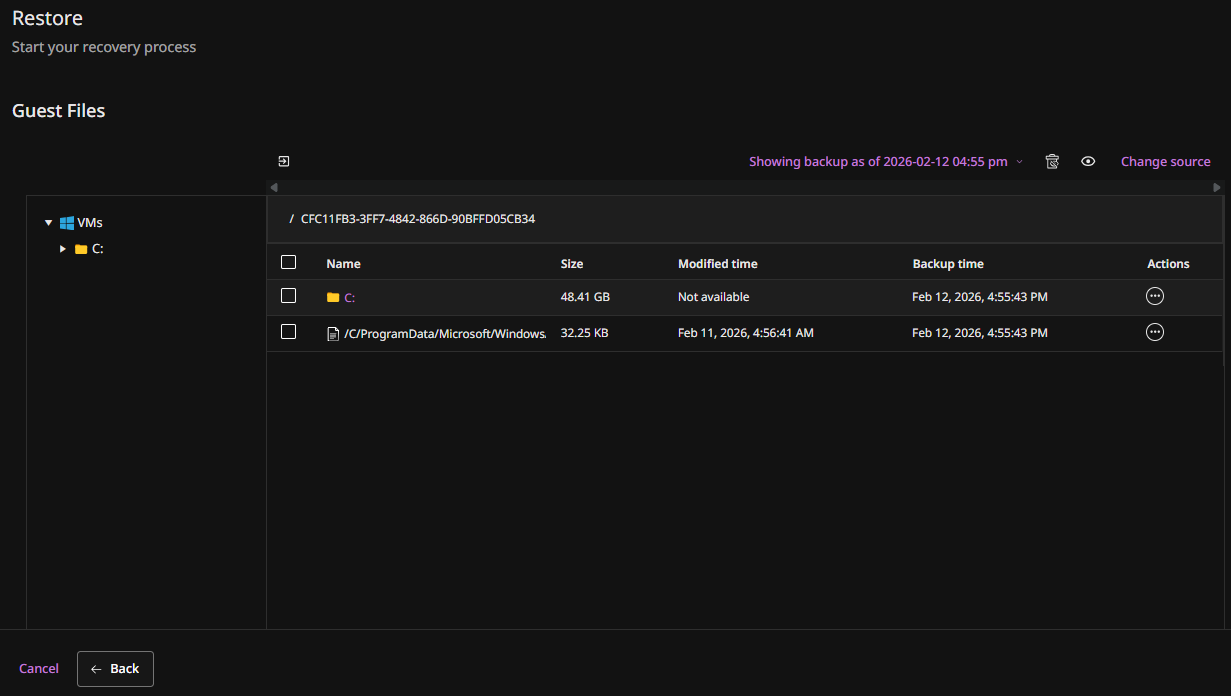
-
Select the files you want to restore, and then click Restore.
The Restore options pane appears.
-
To restore to the source VM:
-
Select the Select client tab (the default option).
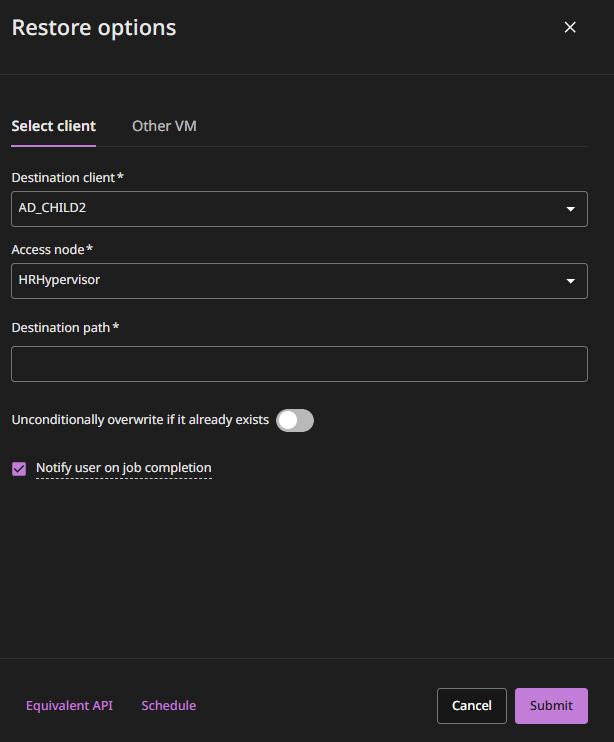
-
Verify that the source VM is selected in the Destination client box (the default option).
-
Optional: To use a different VSA access node, change the value in the Access node box.
-
In the Destination Path box, type the full path to the destination folder.
-
Unconditionally overwrite if it already exists: Overwrites current state of the VM with the restored VM.
-
Click Submit.
-
-
To restore to a different VM:
-
Select the Other VM tab.
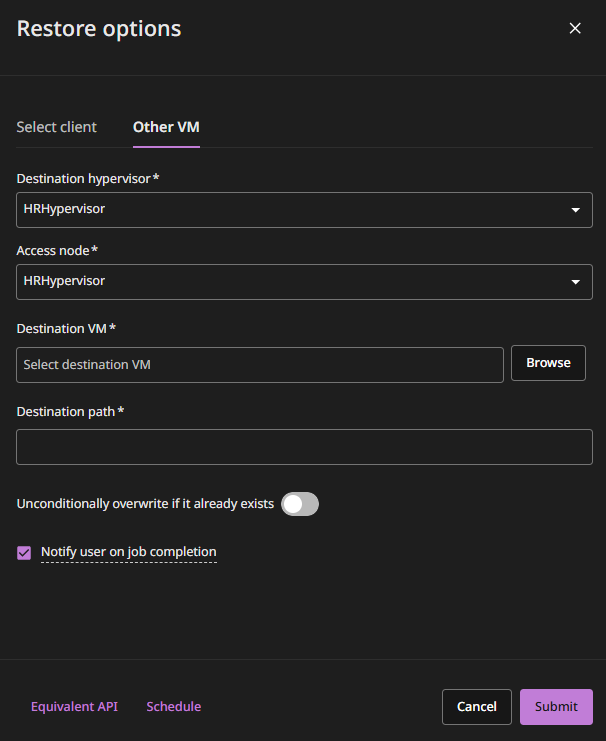
By default, the same access node that was used for the backup performs the restore.
-
Optional: To use a different access node, change the value in the Access node box.
-
If the destination VM resides on another hypervisor, select the host name of the hypervisor from the Destination VM list, and then browse to select the destination VM.
-
In the Destination Path box, type the full path to the destination folder.
-
Unconditionally overwrite if it already exists: Overwrites current state of the VM with the restored VM.
-
Click Submit.
-