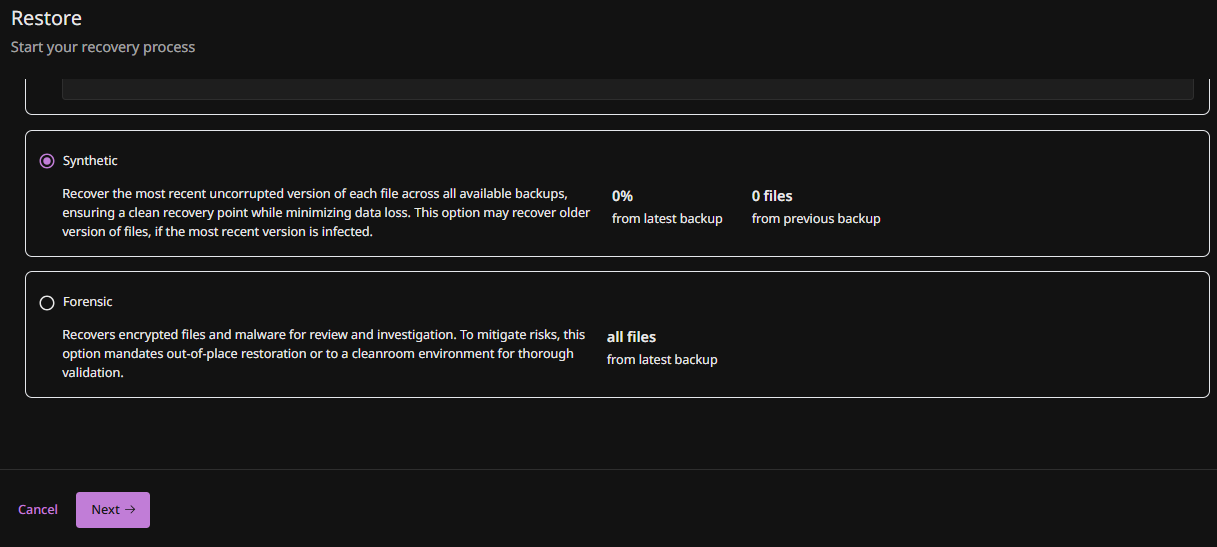
You can compose a restore set from the last known good versions of files across backup sets, removing malware and minimizing rollback/disruption.
This method recovers the most recent uncorrupted version of each file across all available backups, ensuring a clean recovery point while minimizing data loss. This option may recover older version of files, if the most recent version is infected.
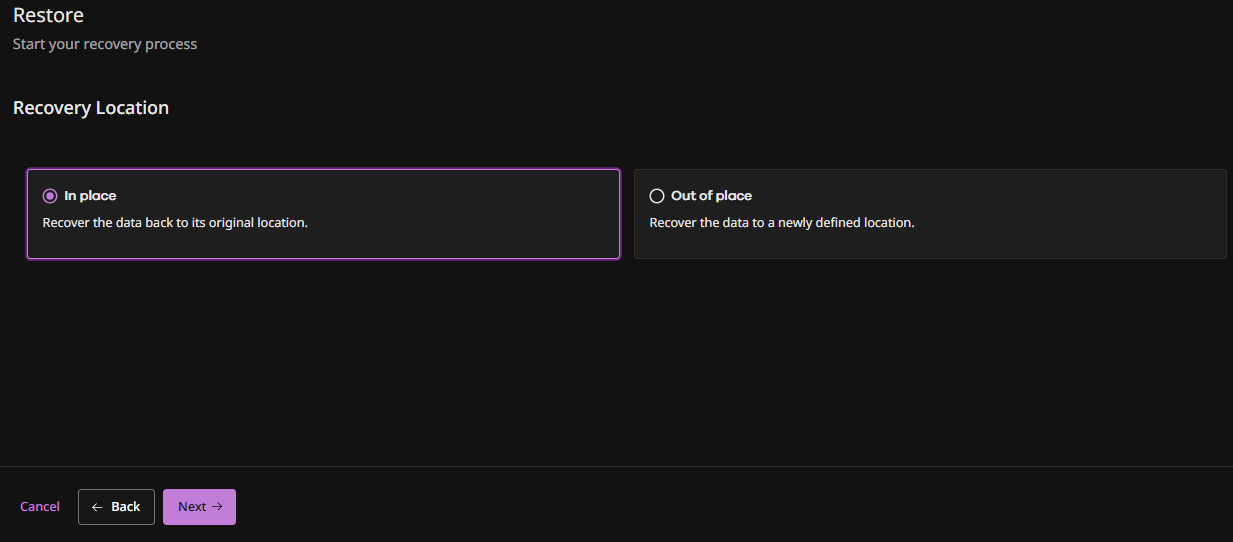
Available restore destinations: In-place or out-of-place.
Procedure
-
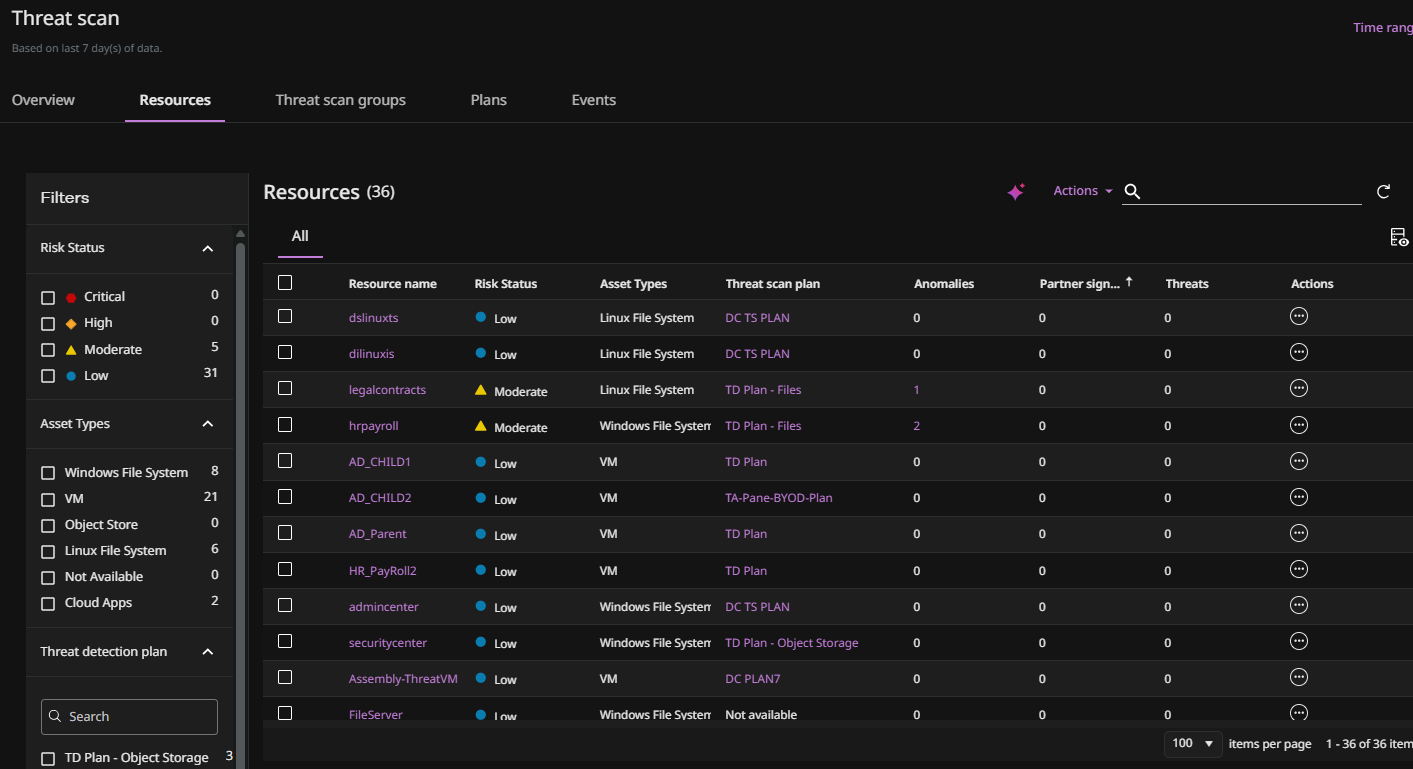
From the Command Center navigation pane, go to Security services > Threat scan.
The Threat Scan page appears.
-
Click the Resources tab to show the resources that are currently scanned by Threat Scan.
-
For the resource you want to restore, click the Action button
 , and then select Restore.
The Restore wizard appears.
-
Select Synthetic and then click Next.
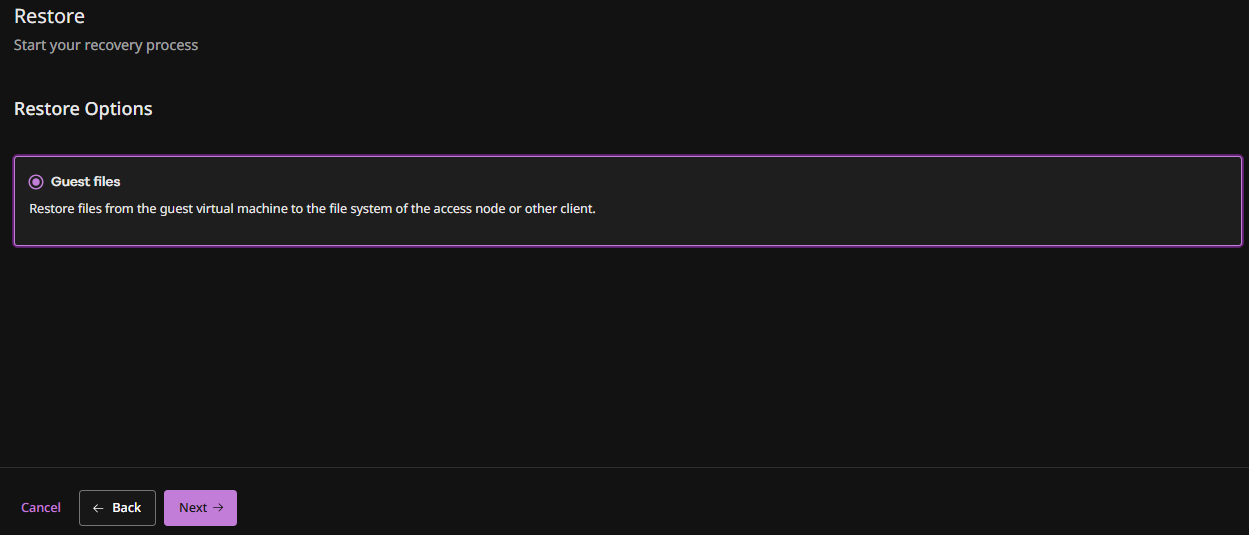
The Restore Options page appears.
-
Select Guest files and then click Next.
The Recovery Location page appears.
-
Select the type of restore to perform: In place or Out of place and then click Next.
Note
The following steps may vary depending on the type of VM being restored.
The Guest Files screen appears.
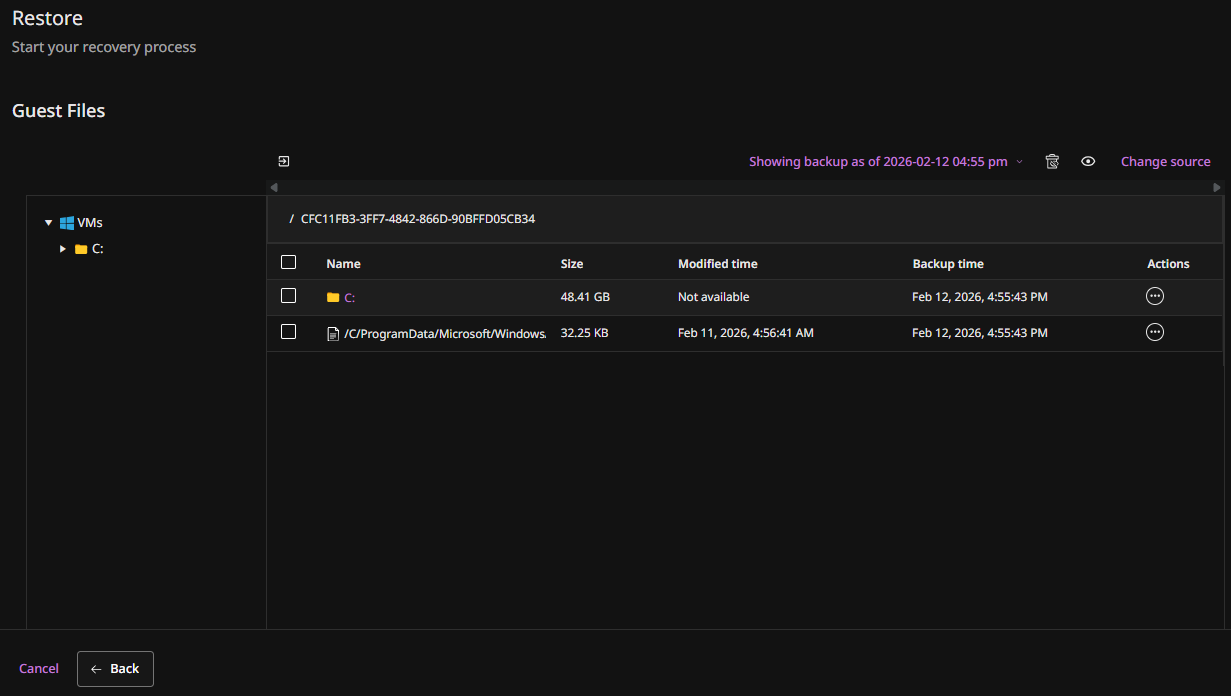
-
Select the files you want to restore, and then click Restore.
The Restore options pane appears.
-
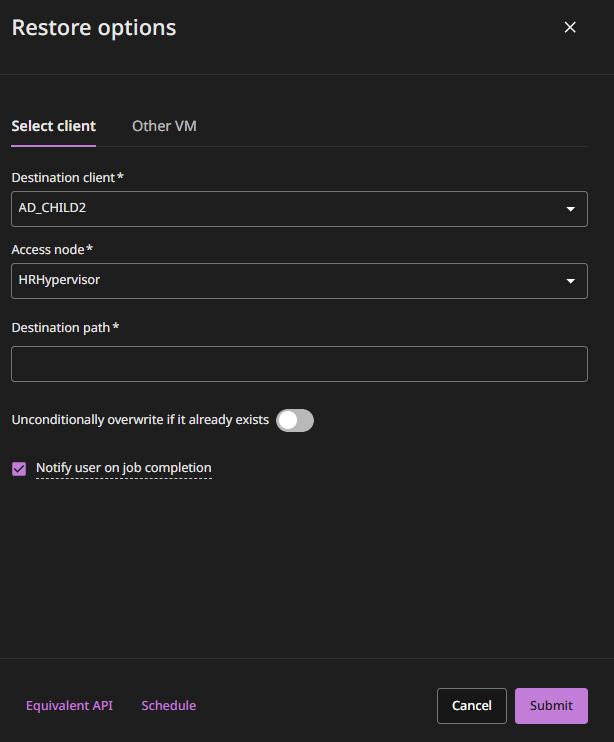
To restore to the source VM:
-
Select the Select client tab (the default option).
-
Verify that the source VM is selected in the Destination client box (the default option).
-
Optional: To use a different VSA access node, change the value in the Access node box.
-
In the Destination Path box, type the full path to the destination folder.
-
Unconditionally overwrite if it already exists: Overwrites current state of the VM with the restored VM.
-
Click Submit.
-
-
To restore to a different VM:
-
Select the Other VM tab.
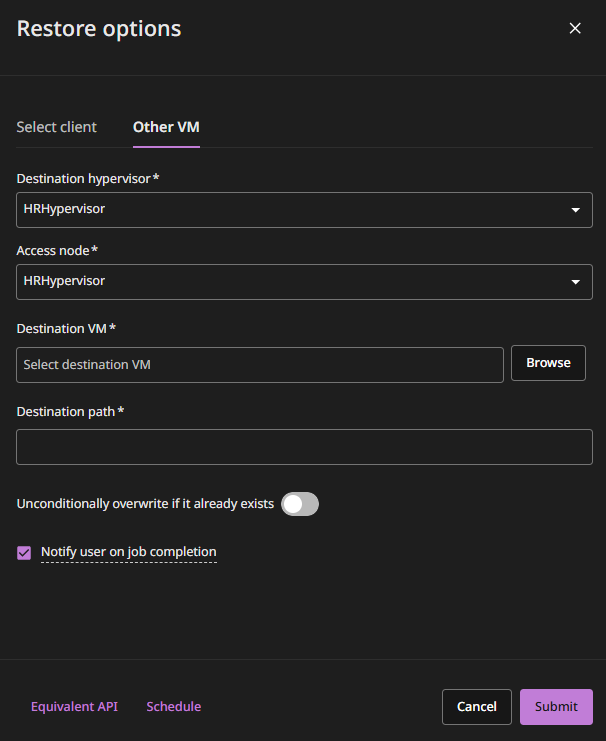
By default, the same access node that was used for the backup performs the restore.
-
Optional: To use a different access node, change the value in the Access node box.
-
If the destination VM resides on another hypervisor, select the host name of the hypervisor from the Destination VM list, and then browse to select the destination VM.
-
In the Destination Path box, type the full path to the destination folder.
-
Unconditionally overwrite if it already exists: Overwrites current state of the VM with the restored VM.
-
Click Submit.
-