You can restore individual files from Threat Scan resources.
Procedure
-
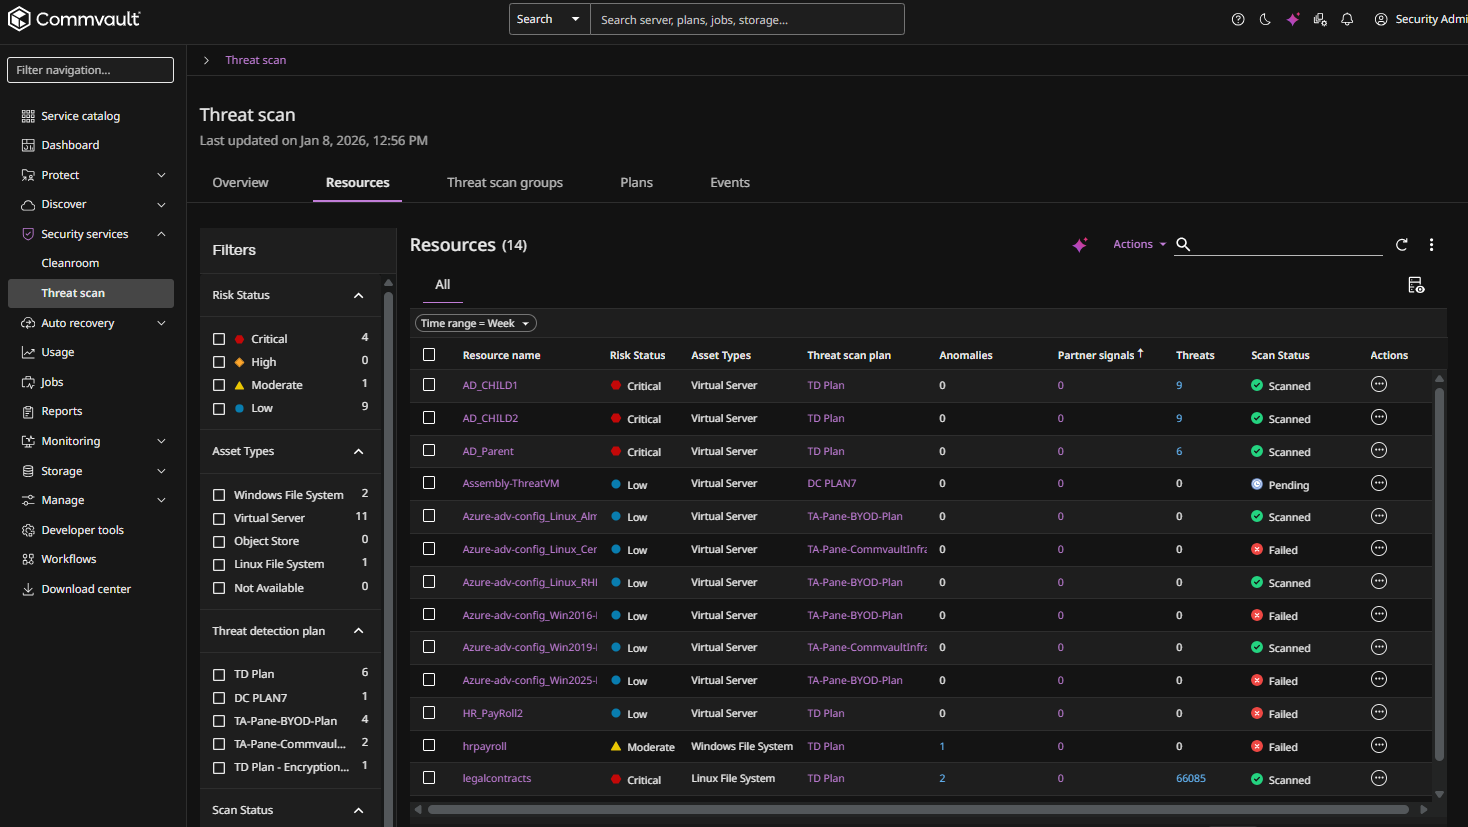
From the Command Center navigation pane, go to Security services > Threat scan.
The Threat Scan page appears.
-
Click the Resources tab to show the resources that are currently scanned by Threat Scan, as follows:
-
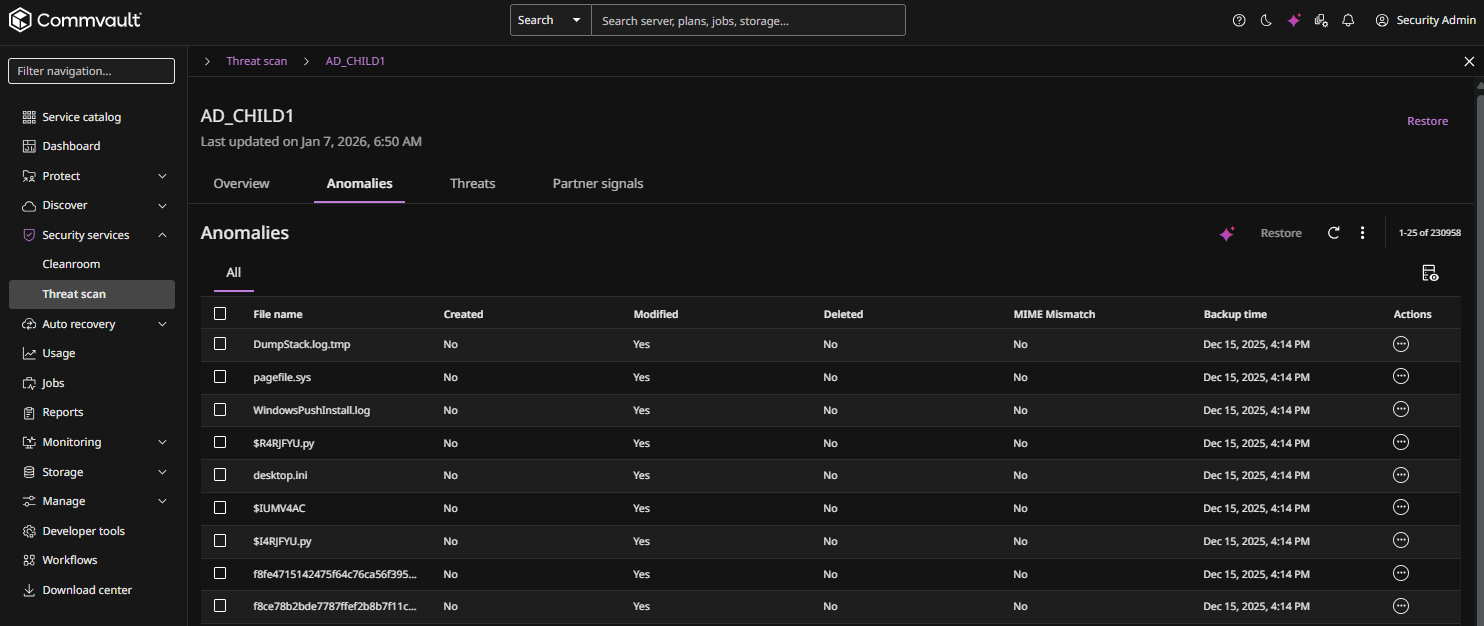
Click the name of a resource.
The resource page appears.
The Anomalies tab displays all Threat Scan anomalies found on the resource, as follows:
-
Select one or more files, and then click Restore at the top of the page.
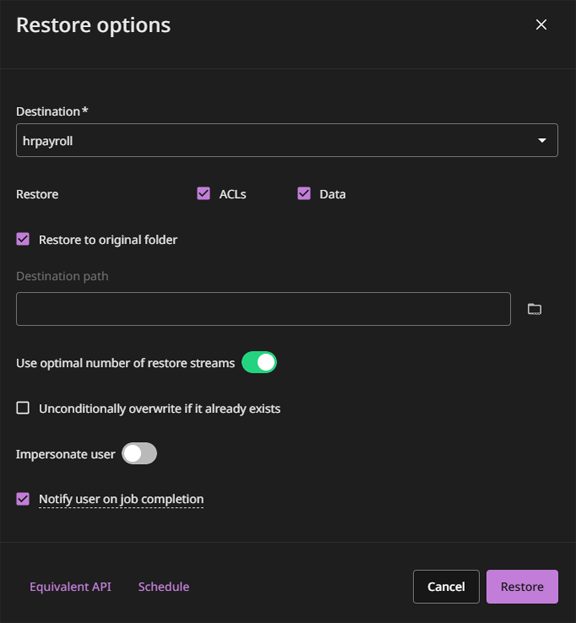
The Restore options dialog box appears, as follows:
-
Specify the destination to restore the recovered files to.
-
To restore to the same resource, do not change the value in the Destination list.
-
To restore to a different resource, select a different value in the Destination list.
-
-
To restore permissions from the backup and apply them to the files specified for the restore, select the ACLs check box.
-
To restore files and folders with the default permissions for the destination path, select the Data check box.
-
If you clear the Restore to original folder check box, for the Destination path box, enter a full path or click the browse button to select a destination folder.
-
The Use optimal number of restore streams toggle is enabled by default. With this, an optimal number of restore streams are automatically used based on the size of the data that you have selected for restore. To configure the number of restore streams manually, move the toggle to the left and then enter the number of streams.
-
To delete an existing file and replace it with the restored file, select Unconditionally overwrite if it already exists.
-
To use the Impersonate user option, enable the toggle, and then enter the credentials for a user that has permissions to create files in the destination path on the destination client.
-
Select Notify user on job completion to receive an email notification that the restore is complete.
-
Click Restore.