You can configure a new Threat Scan plan.
Start the Wizard
-
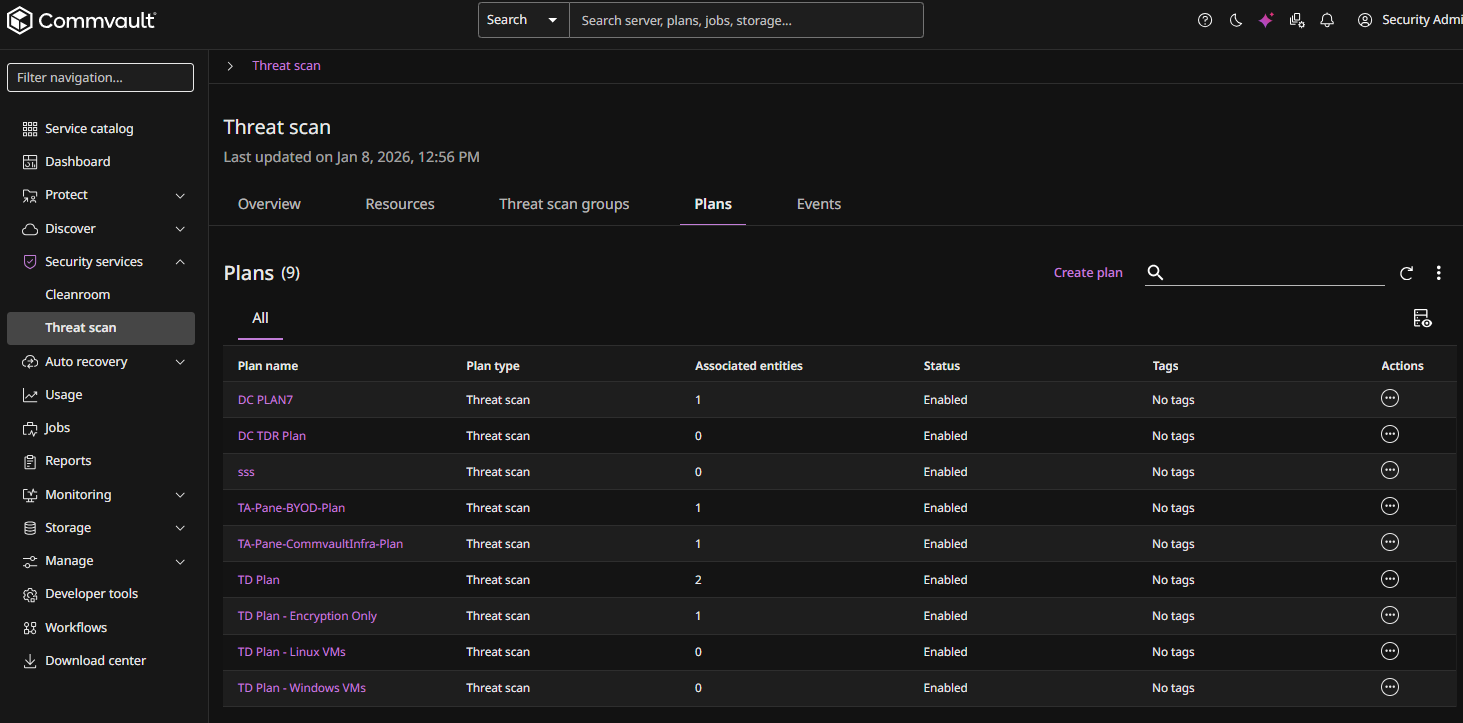
From the Command Center navigation pane, go to Security services > Threat scan.
The Threat Scan page appears.
The Plans tab shows all existing plans.
-
Click Create plan at the top of the page.
The Create Threat Scan Plan wizard appears.
General
-
Enter a Plan name.
-
Click Next.
The Configuration page appears.
Configuration
-
Anomaly detection is enabled by default and cannot be disabled. It automatically monitors backup metadata and file attributes to identify suspicious or unusual activity patterns.
-
For Threat detection, select from the following:
-
Encryption detection. Scans backups for encrypted files and ransomware threats.
-
Malware detection. Scans backups for known malware signatures to identify threats.
-
-
Click Next.
The Compute page appears.
Compute
-
Either select Commvault included storage, or select Bring your own compute to use your own computing resources to run Threat Scan scans.
-
For Storage, select the storage to use.
-
For Access nodes. Either select an existing access node, or click the Add button
 and then add a new access node.
 -
Click Next.
The Advanced Options page appears.
Advanced Options
-
To create a schedule for the plan, click the Edit button
 and then enter criteria for the schedule.
 -
If you enable the Auto scan anomalous resources only option, resources flagged as anomalous are scanned automatically.
-
Click Submit.