When you add a map component to a report, you must use a data set that contains fields with either degrees of latitude and longitude that can be located on a map or a country code.
You can use a map component to group aggregate data on a map according to regional location. Users can pan and zoom in to view specific data points.
Before You Begin
-
To build, edit, and deploy reports, your CommCell user account requires the following:
-
A role with the Add Report permission
-
An association with the CommCell entity
-
Procedure
-
On the Web Console, click Reports.
The Reports page appears.
-
From the navigation pane, go to Configuration > Reports, and in the row for the report, under Actions, click Edit.
-
Optional: If the report has multiple pages, click the tab for the page where you want to add a map.
-
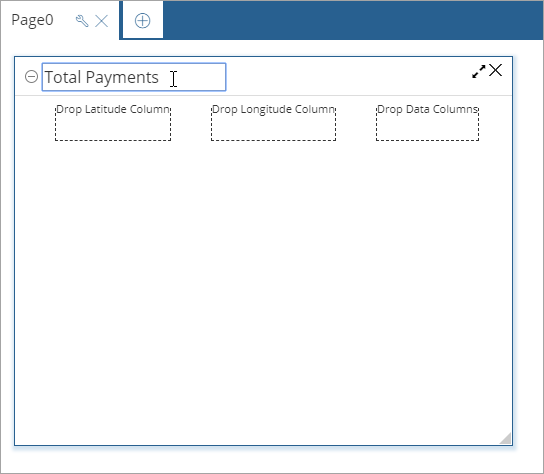
From Visualization, drag Map to the Drop components to build the report box.
-
In the box at the top of the map component, enter a title for the map.
-
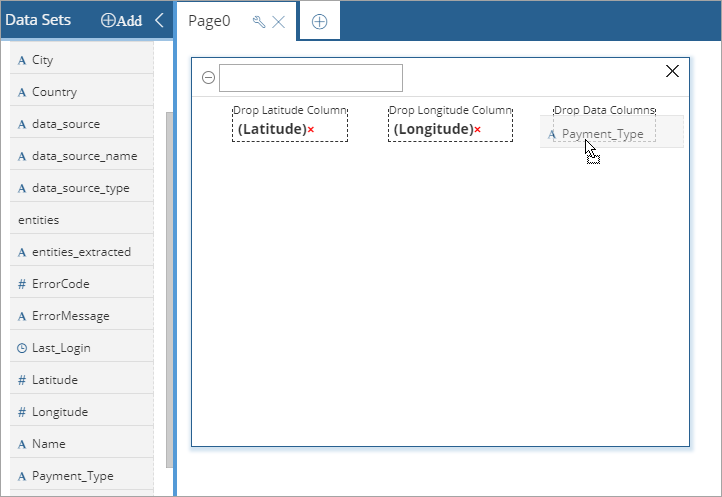
To display the map based on latitude and longitude, configure the columns:
-
From the Data Sets list, drag a latitudinal field to the Drop Latitude Column box.
-
From the Data Sets list, drag a longitudinal field to the Drop Longitude Column box.
-
-
To display the map based on country codes, configure the properties and columns:
-
On the Properties tab, click General
 .
. -
From the Input Type list, select Country Code.
-
In the map component, drag a field that contains country codes to the Drop Country Code Box.
-
Optional: To display additional data, drag a field to the Drop Category Column box.
-
-
From the Data Sets list, drag a field to the Drop Data Columns box.
Note
To plot additional information in the chart, you can drop multiple fields into the Drop Data Columns box.
To configure the settings under Properties, see Options for Maps on the Properties Tab in the Report Builder.
-
To save this version of your report specification in the Reports Manager, at the top of the Report Builder page, click Save.
-
To make the report available to end users on the Reports page, at the top of the page, click Deploy.