New nodes can be added to an existing HyperScale X cluster to expand the storage pool. A maximum of 12 nodes can be present in a storage pool.
Note
When you add a new node, one of the Deduplication Database (DDB) partitions from an existing node, which has a 2 partitioned DDB, is moved to the new node automatically. During this move, any running backup jobs on the DDB partition are suspended and then resumed automatically when the DDB partition move is complete. In a 3-node cluster, the DDB partition move happens automatically on the newly added nodes until the 6th node, after which there are no additional DDB partitions to move.
Mixing Appliance and Reference Architecture nodes in the same storage pool is not supported.
Before You Begin
Check the Prerequisites needed to add an additional node to an existing HyperScale X storage pool
Procedure
-
Login to the new node and setup the network using the steps described in one of the following pages, depending on the network topology used in the existing storage pool:
-
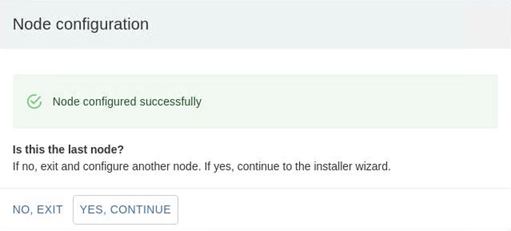
After configuring the network in a node, the Node configuration dialog box appears.
-
Click one of the following:
-
Click NO, EXIT to configure another node in the storage pool.
Repeat the steps (steps 1 through 8) from another node.
-
Click YES, CONTINUE if this is the last node in the storage pool.
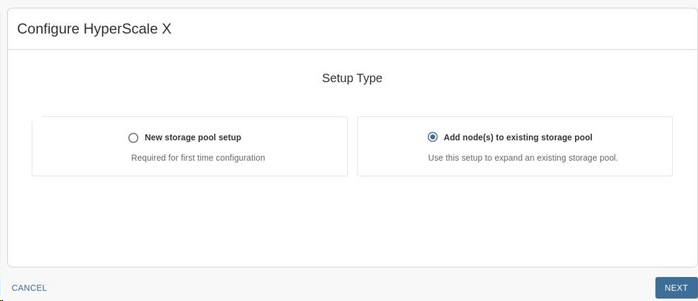
The Setup Type page appears.
-
-
Click Add node(s) to existing storage pool setup and then click NEXT.
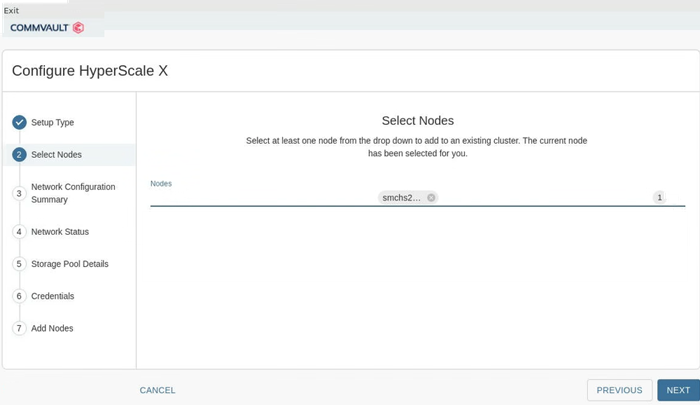
The Select Nodes page appears.
-
Select the nodes as follows:
-
Click the down arrow
 at the top right area of the page to view a list of available nodes.
 -
Click and select the nodes that must be included in the storage pool.
Note
A maximum of 12 nodes can be added to an existing storage pool. Nodes are listed by the respective node names. If one or more nodes are missing from the list, there is likely a cabling or network configuration issue. Verify the network configuration and then relaunch the installer.
To troubleshoot, see Troubleshooting Network Configuration Errors. -
Click NEXT.
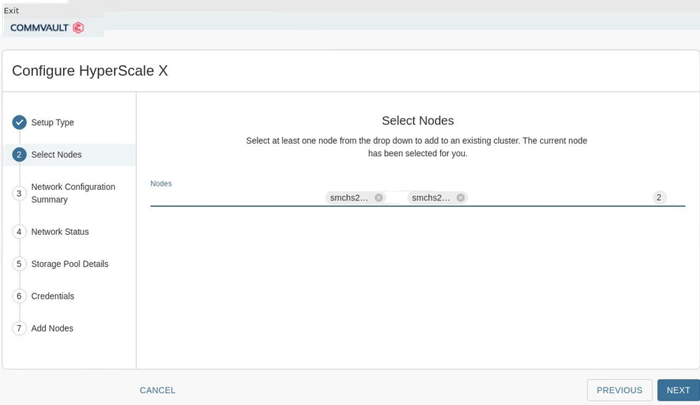
The selected nodes will be listed in the Select Nodes page.
Once completed your screen should be similar to the one shown in the following image: (The number of nodes will vary depending on the number of nodes you select.)
-
Click NEXT.
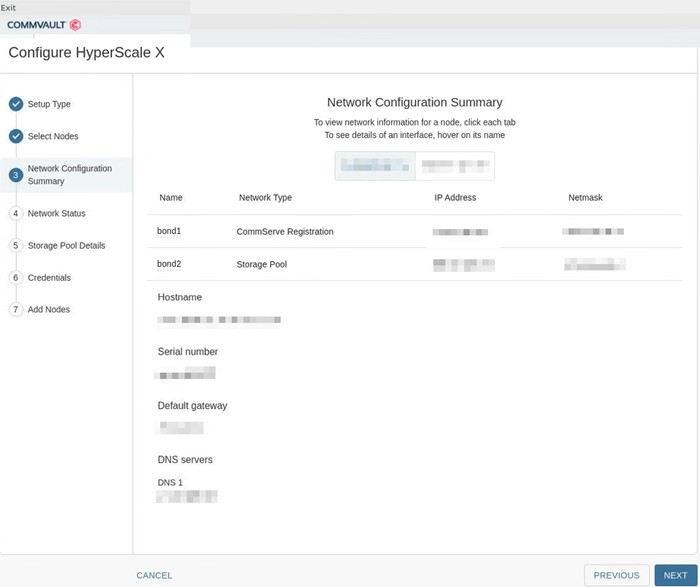
The Network Configuration Summary page appears. (The following image is for illustrative purposes only. The summary information will vary based on the network configuration and the number of nodes.)
-
-
Verify the summary for each node by clicking the tabs associated with each node. Ensure that the nodes are accurately configured and then click NEXT.
The setup process configures the network for the nodes. This will take some time to complete.
Note
If an error is found, click Exit, login to the node in which the error is found and repeat all the steps to correct the error. The installation can be continued from that node.
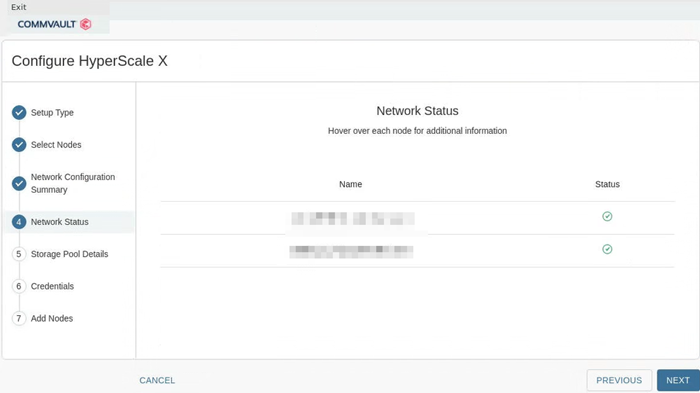
The Network Status page appears.
-
Check the status to ensure that all the nodes have a green status to indicate that the network settings is validated and accurate. Click NEXT.
Note
If an error is found, hover your cursor over the status icon to view more information on the error. If a node is missing, exit the installer and confirm that all the nodes can ping each other on the storage pool network.
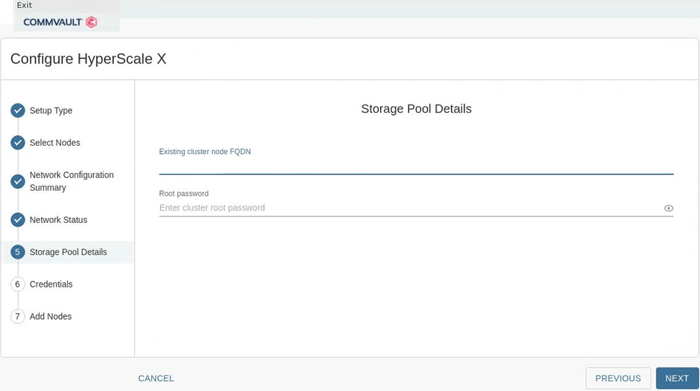
The Storage Pool Details page appears.
-
Add the following information:
-
In the Existing cluster node FQDN box, enter a fully qualified host name of any one of the existing nodes in the storage pool.
-
In the Root password box, type the root password for the node.
Note
The root password must be the same for all the nodes in the storage pool. Make sure to type the same password.
-
Click NEXT.
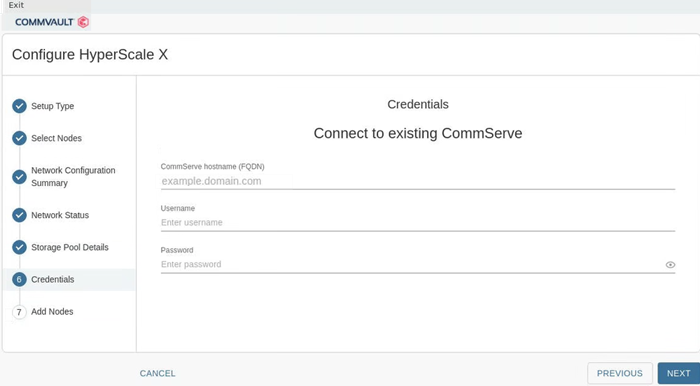
The Connect to existing CommServe page appears.
-
-
Add the following information:
-
In the CommServe hostname (FQDN) box, enter the fully qualified host name of the existing CommServe server that you are connecting to.
Note
TCP Ports 8400 & 443 must be open from the nodes to the CommServe server for the registration to work.
-
In the Username and Password boxes, enter the credentials that must be used to access the CommServe server.
-
Click NEXT.
The installer validates the information and will start the installation process. This process may take some time (approximately 45 minutes) to complete. You can monitor the progress using the progress bar.
Caution
Do not reboot or stop the installation during this process.
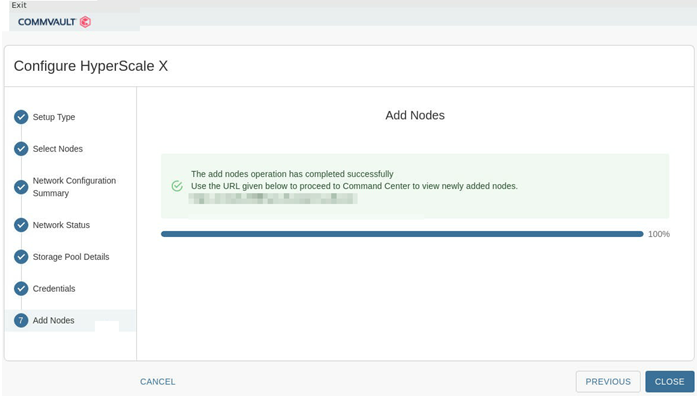
Once the installation is completed, the Installation page appears.
-
-
Click CLOSE.