If you are setting a brand-new Commvault environment, a primary and standby CommServe server can be setup for high availability on two of the nodes while deploying the HyperScale X Appliance.
Before You Begin
Verify the requirements needed to setup the primary and standby CommServe server described in Primary with Standby CommServe Server Deployment.
Procedure
-
Setup the network in the nodes as described in one of the following pages:
-
After providing the network information, the CommServe Deployment Information page appears.
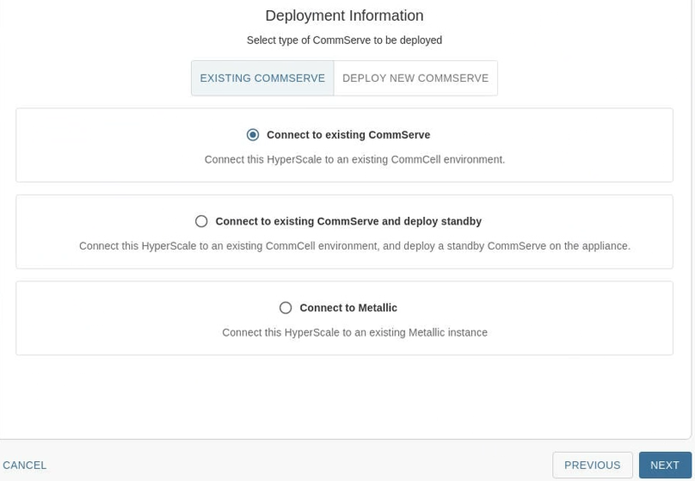
-
Click the DEPLOY NEW COMMSERVE tab.
The Deployment Information page is refreshed.
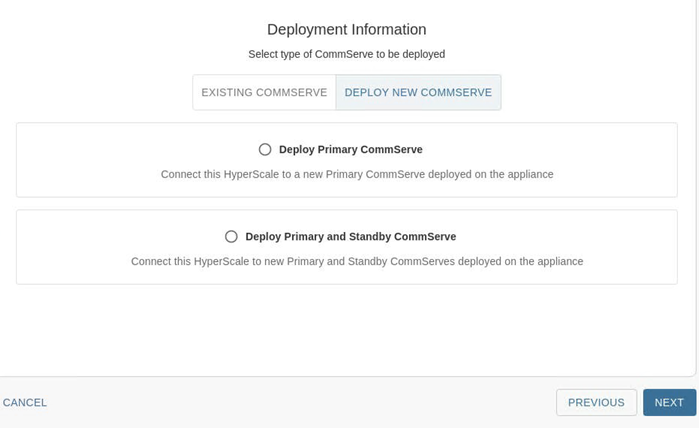
-
Click Deploy Primary and standby CommServe and then click NEXT.
The Primary and Standby CommServe Credentials page appears.
-
Add the following information, depending on your environment:
-
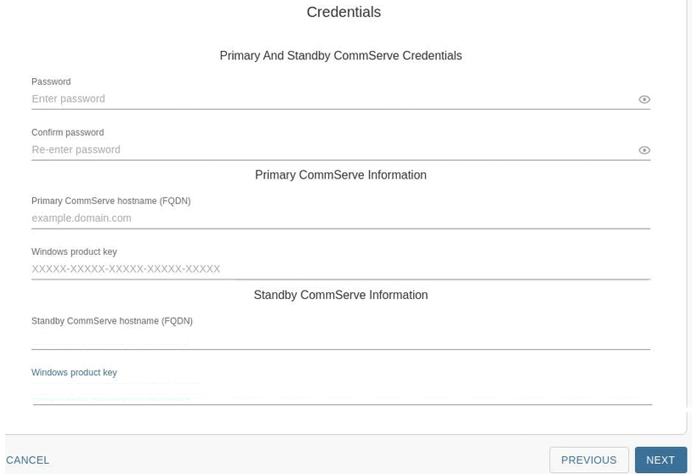
For environments with no management network:
Click here to view an image of this page
-
In the Password and Confirm Password boxes, enter the password for the both the primary and standby CommServe server.
The password is the 'Admin' password which will be used later to access the Command Center.
Hover your cursor over Password and Confirm password to view a list of password requirements.
The password must not contain special characters such as : (colon), = (equal to), \ (backslash), ' (single quote), " (double quotes), and blank spaces.
$ (dollar) sign followed by an alphabet should not be used.
-
In the Primary CommServe hostname (FQDN) box, enter the fully qualified host name for the new primary CommServe server.
-
In the Windows Product Key box, enter the Windows product key provided in the package, from one of the nodes, and then click NEXT.
-
In the Standby CommServe hostname (FQDN) box, enter the fully qualified host name for the new standby CommServe server.
-
In the Windows Product Key box, enter the Windows product key provided in the package, from one of the nodes, (other than the one provided for the primary CommServe server) and then click NEXT.
-
-
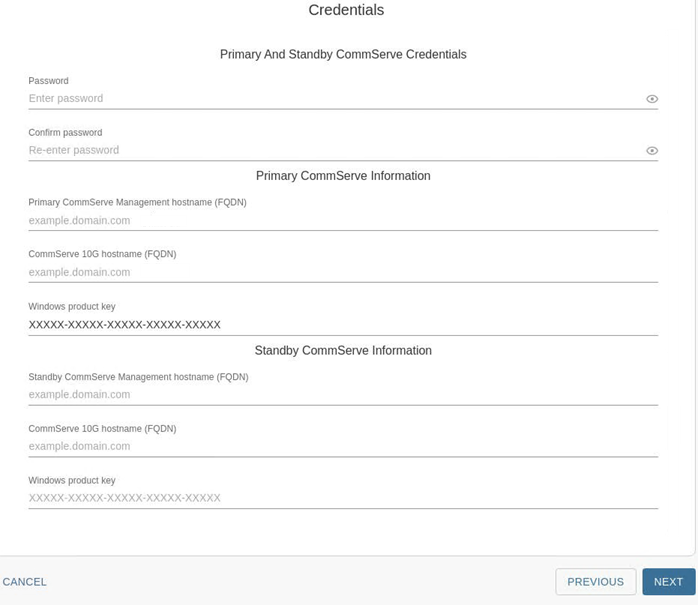
For environments with the 1 GbE management network:
Click here to view an image of this page
-
In the Password and Confirm Password boxes, enter the password for the both the primary and standby CommServe server.
The password is the 'Admin' password which will be used later to access the Command Center.
Hover your cursor over Password and Confirm password to view a list of password requirements.
The password must not contain special characters such as : (colon), = (equal to), \ (backslash), ' (single quote), " (double quotes), and blank spaces.
$ (dollar) sign followed by an alphabet should not be used.
-
In the Primary CommServe Management hostname (FQDN) box, enter the fully qualified host name for the new primary CommServe server, in the 1 GbE management network.
-
In the CommServe 10G hostname (FQDN) box, enter the fully qualified host name for the new primary CommServe server, in the 10 GbE data protection network.
-
In the Windows Product Key box, enter the Windows product key provided in the package, from one of the nodes, and then click NEXT.
-
In the Standby CommServe Management hostname (FQDN) box, enter the fully qualified host name for the new standby CommServe server, in the 1 GbE management network.
-
In the CommServe 10G hostname (FQDN) box, enter the fully qualified host name for the new standby CommServe server, in the 10 GbE data protection network.
-
In the Windows Product Key box, enter the Windows product key provided in the package, from one of the nodes, (other than the one provided for the primary CommServe server) and then click NEXT.
-
-
-
Click NEXT.
The software validates the information and will start the installation process. This process may take some time (approximately 45 minutes) to complete. You can monitor the progress using the progress bar.
Caution
Do not reboot or stop the installation during this process.
Once the installation is completed, the Installation page appears.
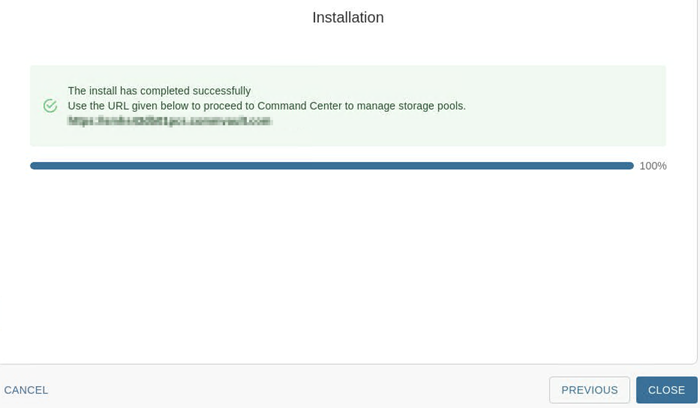
-
Click CLOSE.
What to Do Next
Complete the additional configurations that may be required to customize your environment. For more information, see What To Do Next.
Additional Information
- The primary CommServe will be installed in Node 1 and the standby CommServe will be installed in Node 2.