Restore a virtual machine using a synthetic recovery workflow that enables administrators to recover a clean VM state after malware detection. This recovery process uses Threat Scan results to identify clean file versions, perform a full VM restore, and then selectively replace infected files with clean versions. Use this workflow when you want to recover a VM while retaining as much recent data as possible instead of restoring an earlier recovery point.
Requirements
-
Only VMware virtual machines are supported.
-
Only VMware HotAdd transport mode is supported.
-
VMware virtual machine backups must be available.
-
Threat Analysis and indexing data must be available for the selected backup.
-
A compatible access node must be available, as follows:
-
Windows access node for Windows VMs
-
Linux access node for Linux VMs
-
-
A clean OS template must be available in vCenter.
Limitations and Considerations
-
REPAVE option will install a fresh OS disk from the image selected during restore
-
Replacing infected files with earlier clean versions can introduce operating system, application, configuration, or dependency inconsistencies.
-
Applications might become inconsistent or fail to start if restored file versions are not compatible with the recovered application state.
-
Application-level consistency is not guaranteed.
-
Validate the recovered VM before returning it to production use.
-
If the recovered VM cannot be validated or repaired, restore a known clean recovery point instead.
Procedure
-
From the Command Center navigation pane, go to Secure > Threat scan.
The Threat Scan page appears.
-
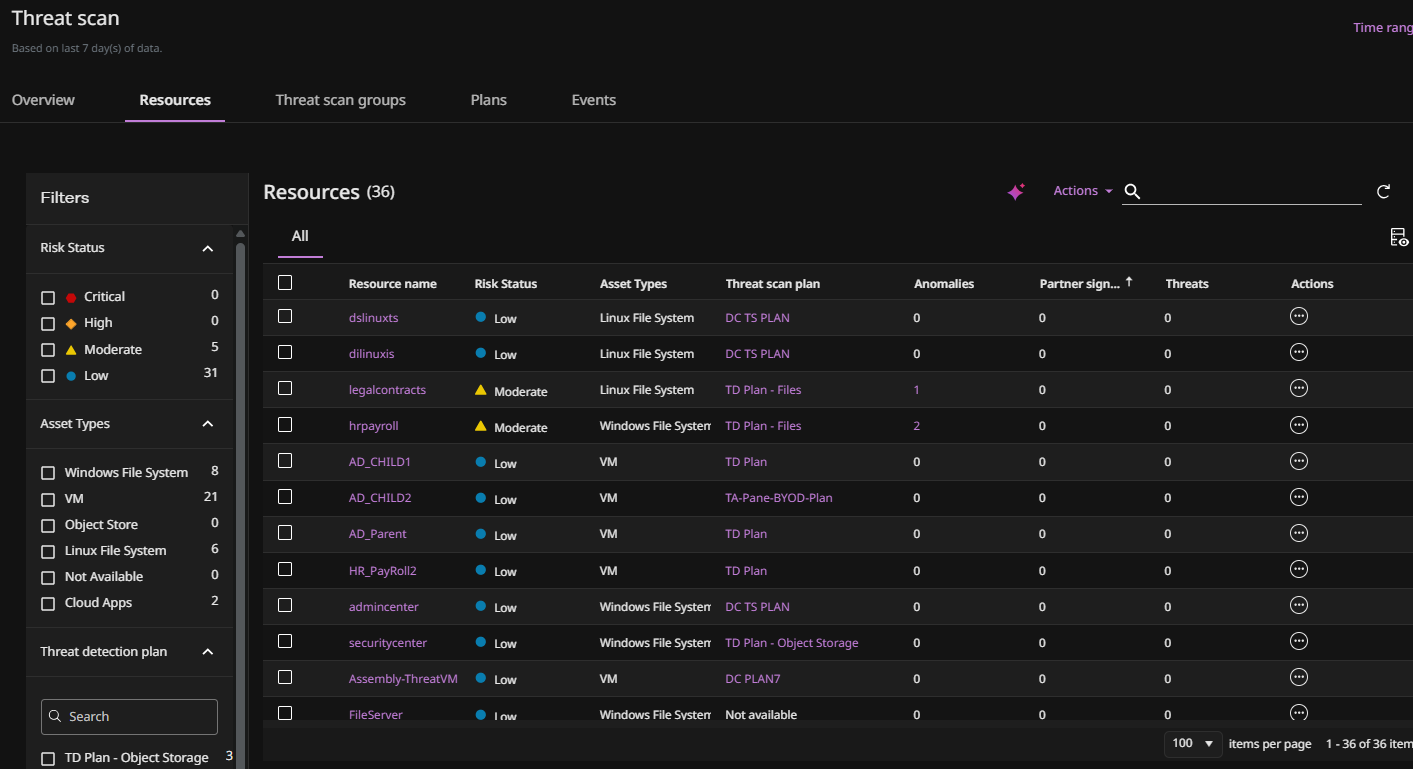
Click the Resources tab to show the resources that are currently scanned by Threat Scan.
-
For the resource you want to restore, click the Action button
 , and then select Restore.
The Restore wizard appears.
-
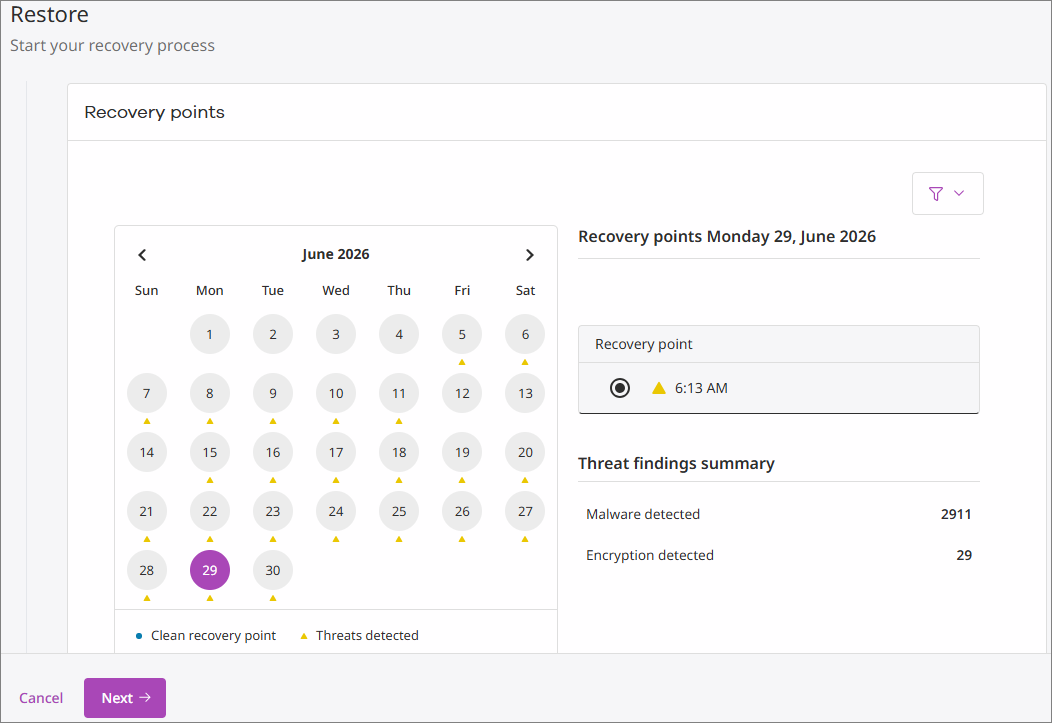
Select Manual, select a restore point that will be used for recovery (verify that the selected recovery point represents a known-good state whenever possible), and then click Next.
The Restore Options page appears.
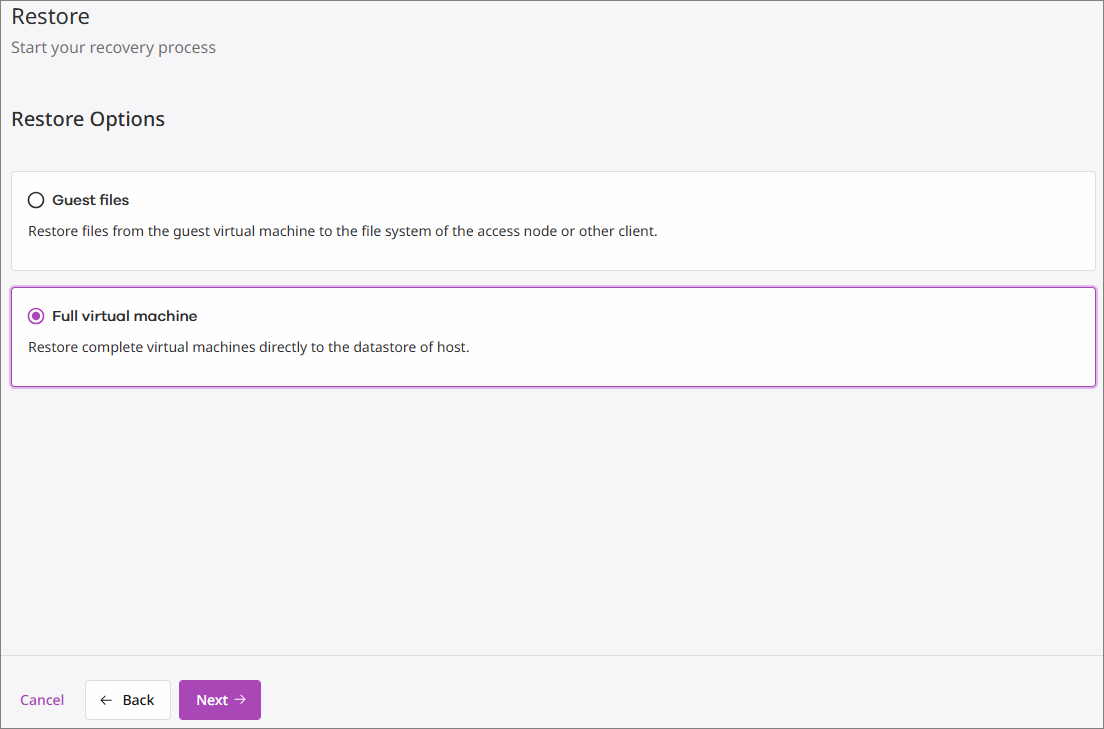
-
Select Full virtual machine and then click Next.
The Recovery Location page appears.
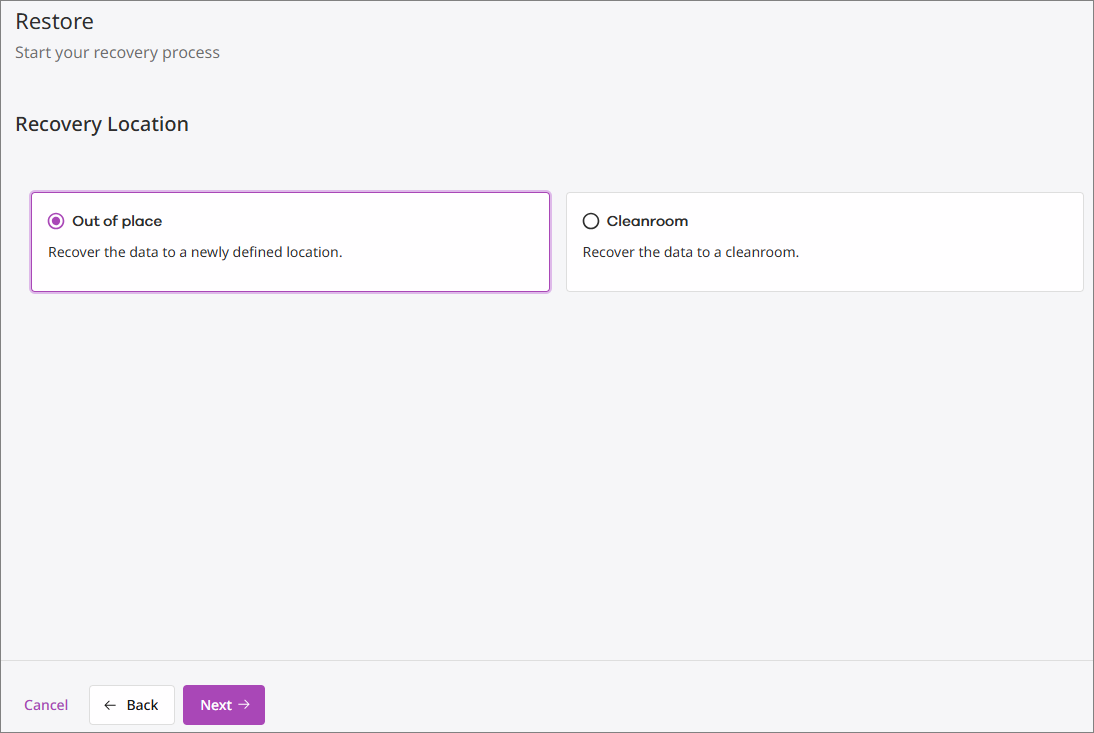
-
Select Out of place and then click Next.
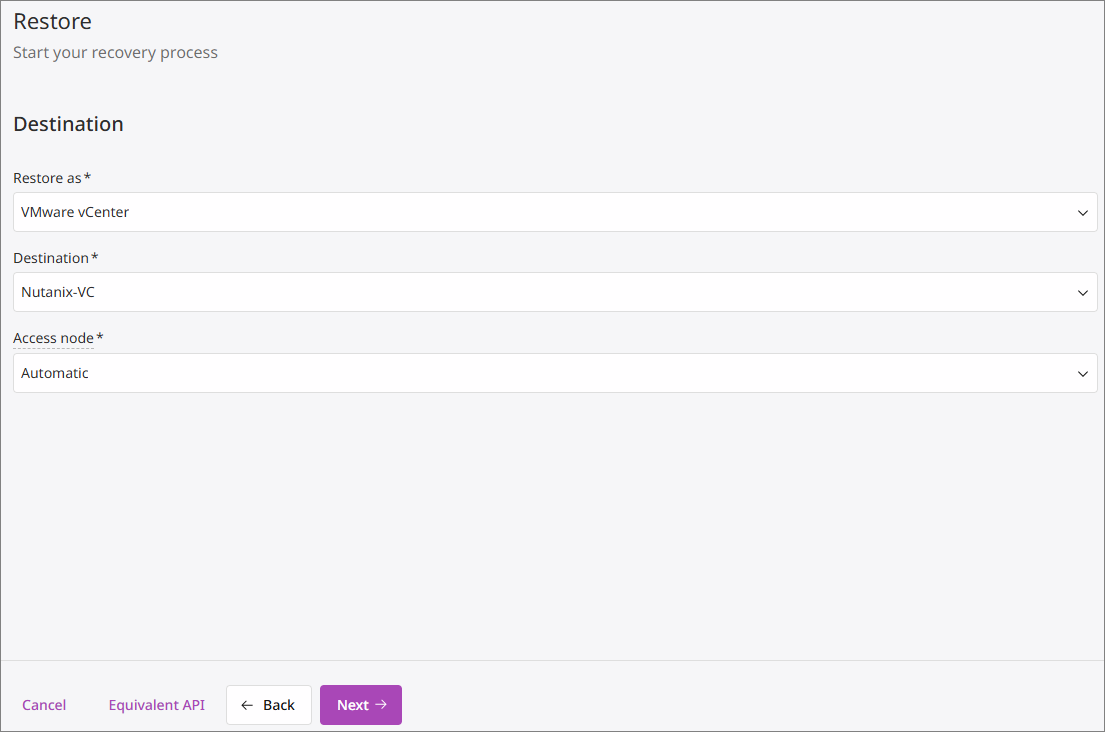
The Destination screen appears.
-
For Restore as, select the type of VM to restore to.
-
Verify that the source VM is selected in the Destination field (the default option).
-
For Access node, select a Windows access node for a Windows VM, or a Linux access node for a Linux VM.
-
Click Next.
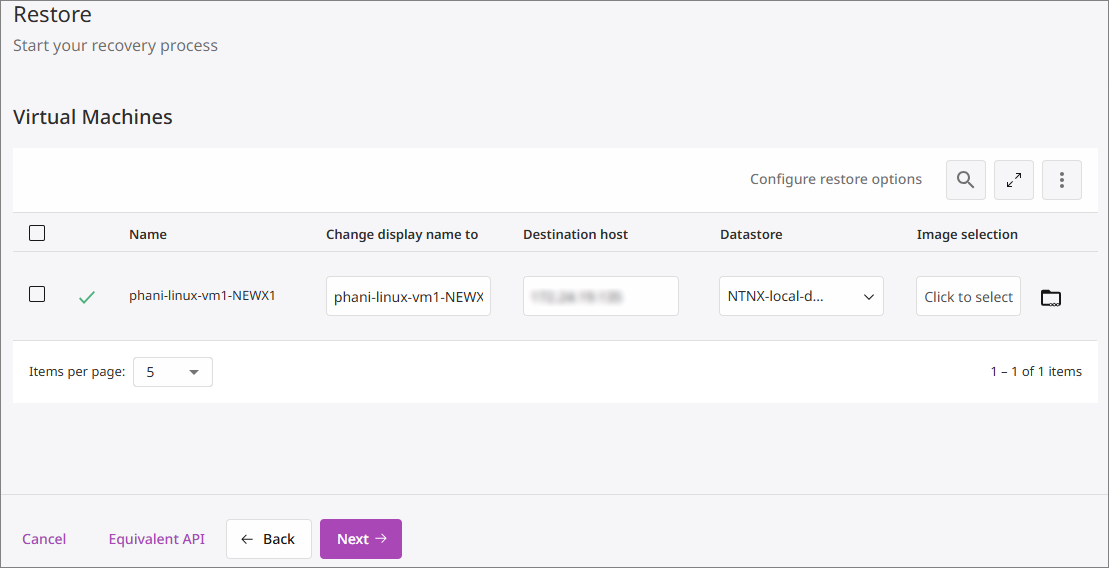
The Virtual Machines screen appears.
-
For Change display name to, enter a name for the restored VM.
-
For Destination host, select a restore destination.
-
For Datastore, select a datastore to be used for the VM.
-
Under Image selection, click Click to select.
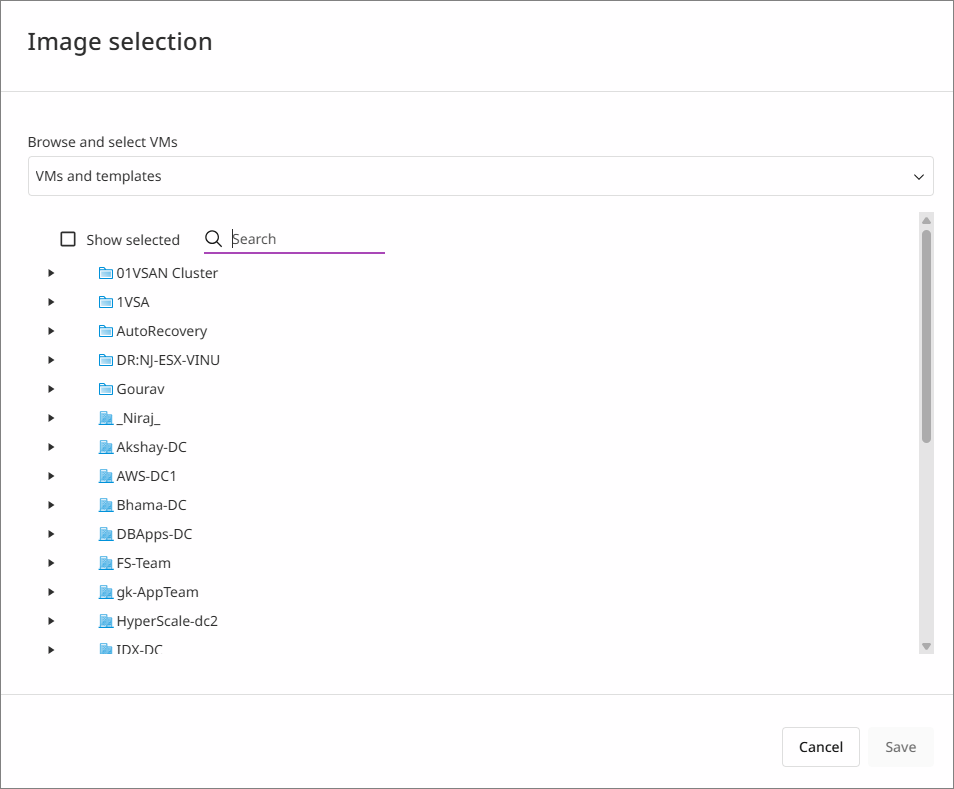
The Image selection dialog box appears.
-
Browse and select the clean OS template, and then click Save.
-
Click Next.
Validate the Restored VM
After the restore completes, do the following:
-
Power on the recovered VM.
-
Verify operating system functionality.
-
Confirm application services start successfully.
-
Validate user access and connectivity.
-
Review application-specific data consistency.
-
Run security validation scans if required by your organization.