By default, the latest data and configuration of the client computer, backed by the default backup set, will be used to restore the client computer. However, you can restore the client using the data and client configuration backed up at any point-in-time.
Procedure
-
Use the 1-Touch Live CD to boot the client computer.
-
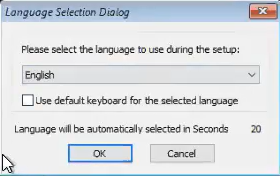
Optional: In the Language Selection Dialog dialog box, select a language from the list. To use the same language for the keyboard, click Use default keyboard for the selected language check box and click OK.
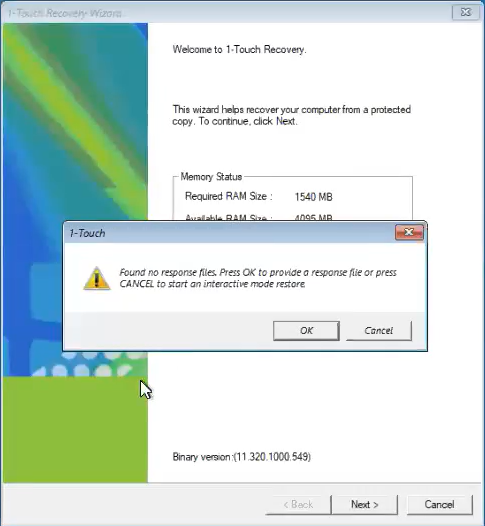
The 1-Touch Recovery Wizard appears.
-
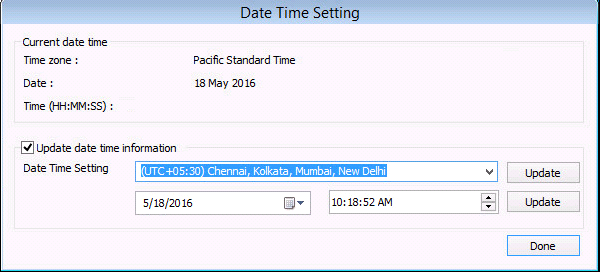
On the WinPE computer notification area, click on the clock and date settings. If you select a time from the Date Time Setting drop down list, click Update and then click Done.
-
On the Welcome page, a warning message appears that says that the response files are not found. Click Cancel to start the interactive restore, and then click Next.
Make sure that you are installing the latest ISO updates by verifying the Binary version area for the latest service pack.
-
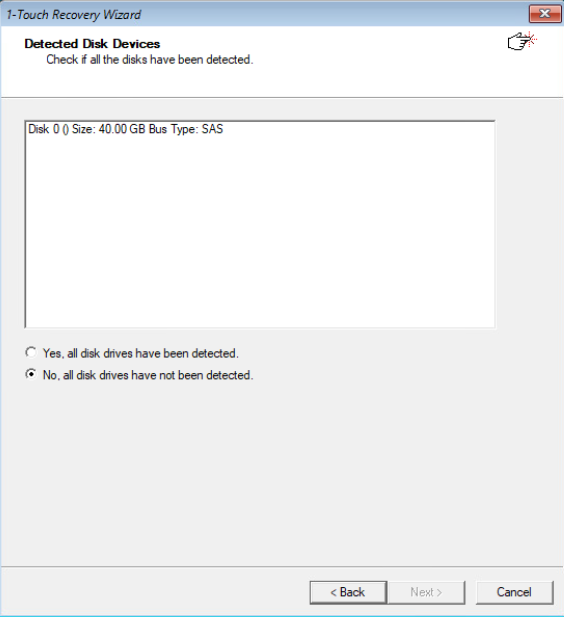
On the Detected Disk Devices page, do the following:
-
Click Yes, all disk drives have been detected.
If you do not see the required drivers, add the drivers to the downloaded ISO.
-
Click Next.
-
-
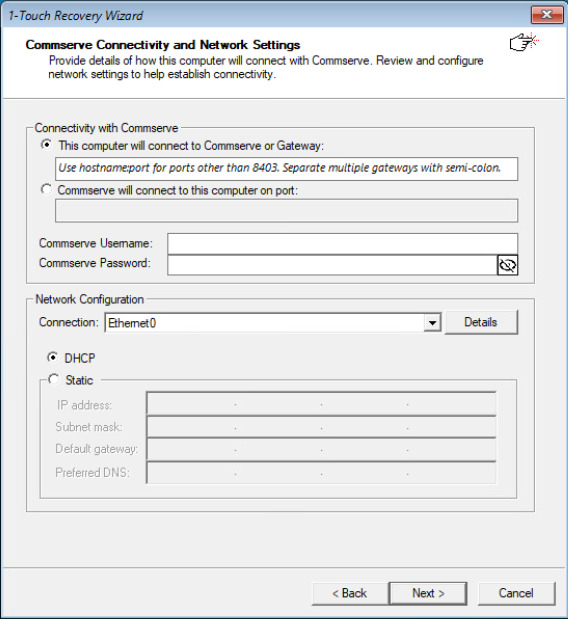
On the Commserve Connectivity and Network Settings page, make the required selections, and then click Next.
-
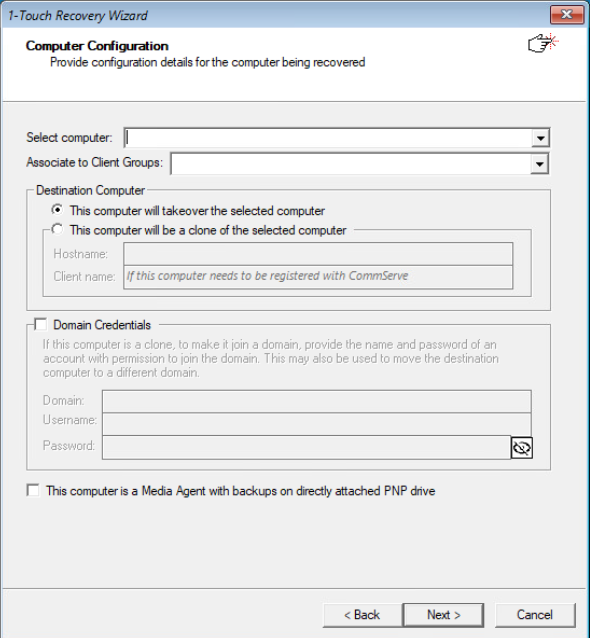
On the Computer Configuration page, make the required selections, and then click Next.
-
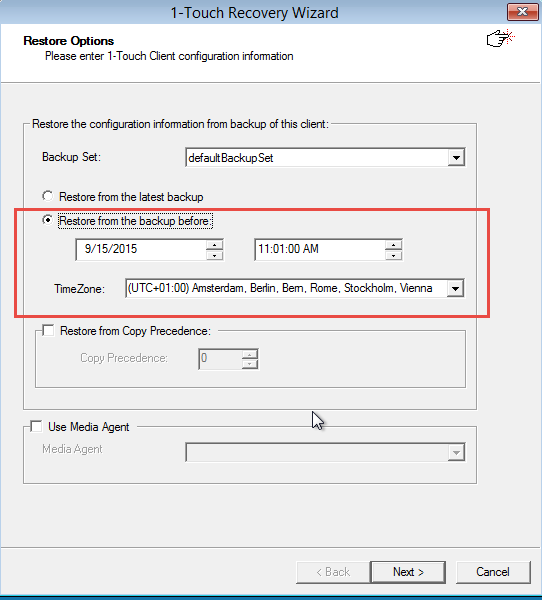
On the Restore Options page, by default, the client configuration, backed up by default backupset in the most recent backup, will be used to restore the client.
-
Select the backupset which you want to restore.
-
Select the Restore from the backup before option and specify the date and time.
-
Click Next.
-
Perform the Interactive Restore.