Commvault's integration with CrowdStrike Falcon Next-Gen SIEM delivers a powerful combination that enhances threat detection, accelerates response, and strengthens recovery resilience.
The Commvault data connector provides deep visibility into ransomware indicators, sensitive data exposure, vulnerable ESXi configurations, and virtual machine anomalies. By correlating this data with CrowdStrike’s AI-driven threat detection and response capabilities, the data connector enables faster, more accurate alerts and helps prioritize threats to business-critical data and infrastructure.
Before You Begin
- Configure appropriate permissions and access levels for your Commvault and CrowdStrike accounts.
Step 1: Create a Parser in the CrowdStrike Falcon Console
-
Go to the CrowdStrike Falcon Console (for example, https://falcon.us-2.crowdstrike.com/login/) and then log in.
-
Go to Data connectors > Parsers.
-
Click Add new parser.
The Create new parser dialog box appears.
-
Enter the Parser name.
-
Select a template for the parser.
-
Click Create.
-
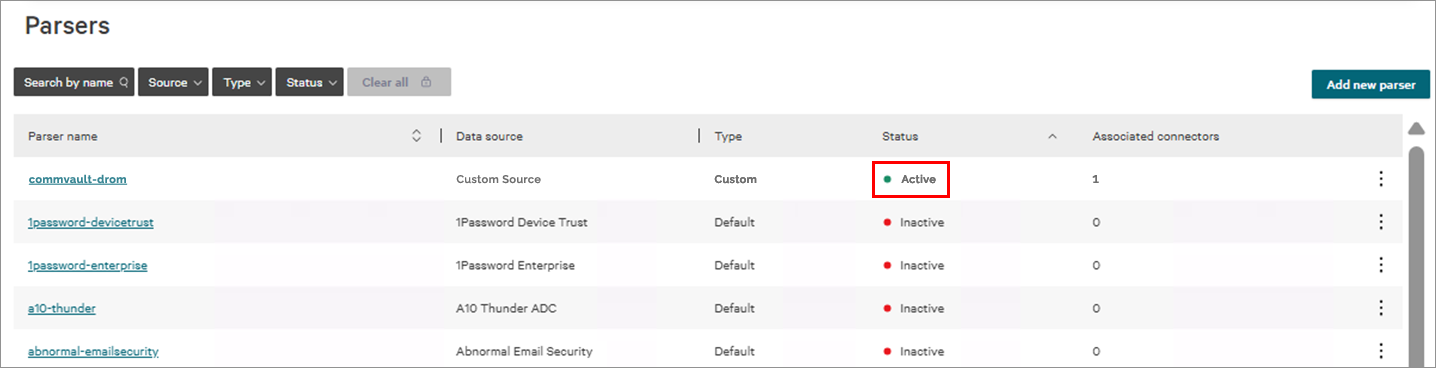
Ensure that the Status of the new parser is Active, as shown in the following image:
Step 2: Create a Connector in the CrowdStrike Falcon Console
-
Go to the CrowdStrike Falcon Console (for example, https://falcon.us-2.crowdstrike.com/login/) and then log in.
-
Go to Next-Gen SIEM > Data onboarding.
-
Click Add connection.
-
Select HEC/HTTP Event Connector.
-
Click Configure.
-
Enter required connector details such as Data source and Connector name.
-
Select the parser that you created in "Create a Parser in the CrowdStrike Falcon Console", above.
-
Accept the terms and conditions.
-
Click Create connection.
The Connector setup in progress dialog box appears.
-
Click Close.
-
After the connector setup is complete, click Generate API key.
The Connection setup dialog box appears, showing the API key and the API URL.
-
Copy the API key and the API URL.
For example:
-
Sample API key:
-
Sample API URL: https://
/services/collector/raw
-
-
Click Close.
-
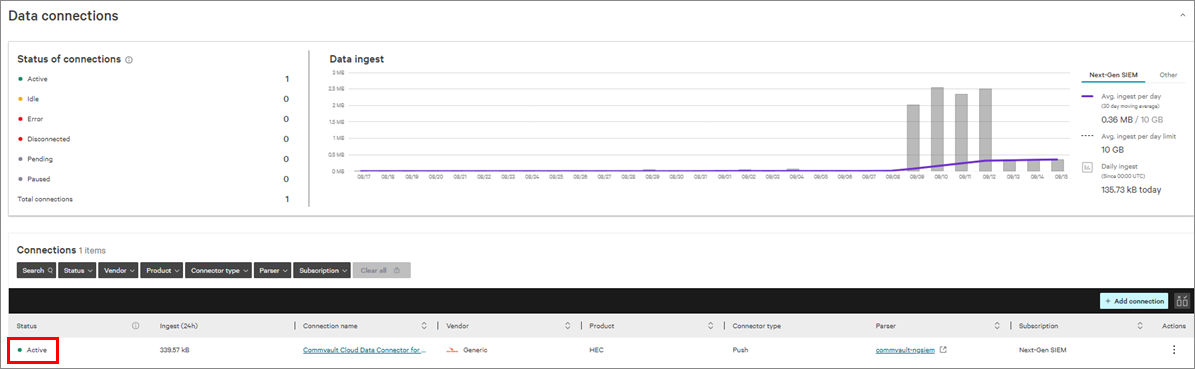
Ensure that the Status of the new connector is Active, as shown in the following image:
Step 3: Create a Webhook to CrowdStrike in Commvault
- Go to https://activatetrialcs.eastus.cloudapp.azure.com/commandcenter/.
The login screen appears.
-
Enter your Commvault credentials and then click Login.
-
Go to Manage > System.
-
Click the Webhooks tile.
The Webhooks page appears.
-
Click Add.
The Add webhook page appears.
-
Enter the Name of the new webhook.
-
For URL, enter the API URL that you copied in Step 12 of "Create a Connector in the CrowdStrike Falcon Console", above. Ensure that you append
/rawat the end of the URL.For example:
- https://
/services/collector/raw
- https://
-
For Headers, enter the API key that you copied in Step 12 of "Create a Connector in the CrowdStrike Falcon Console", above. Ensure that you append the
Bearerprefix at the front of the API key.For example:
- Authorization: Bearer
- Authorization: Bearer
-
Click Add.
-
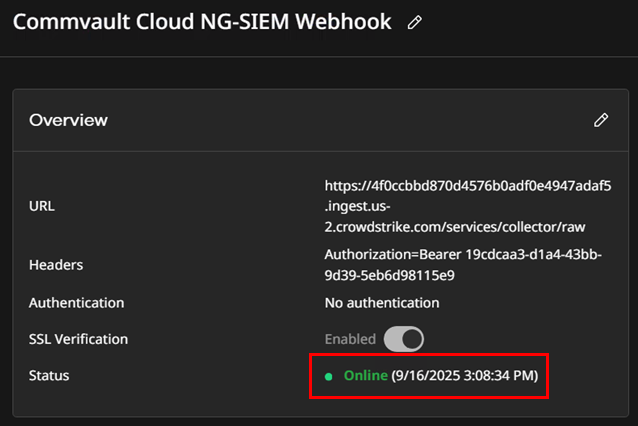
Ensure that the Status of the new webhook is Online, as shown in the following image:
Step 4: Create a SIEM Connector in Commvault
-
Go to https://activatetrialcs.eastus.cloudapp.azure.com/commandcenter/.
The login screen appears.
-
Enter your Commvault credentials and then click Login.
-
Go to Manage > System.
-
Click the SIEM Connector tile.
The SIEM Connector page appears.
-
Click Add connector.
The Add a SIEM Connector wizard appears.
General
-
For Connector name, enter a name for the new SIEM connector.
-
For Connector type, select Webhook.
-
For Streaming data, select Alerts.
-
For Alert type, click Select All and then click OK.
-
Click Next.
Connector Definition
-
For Webhook, select the webhook that you created in "Create a Webhook to CrowdStrike in Commvault", above.
-
Click Submit.
-
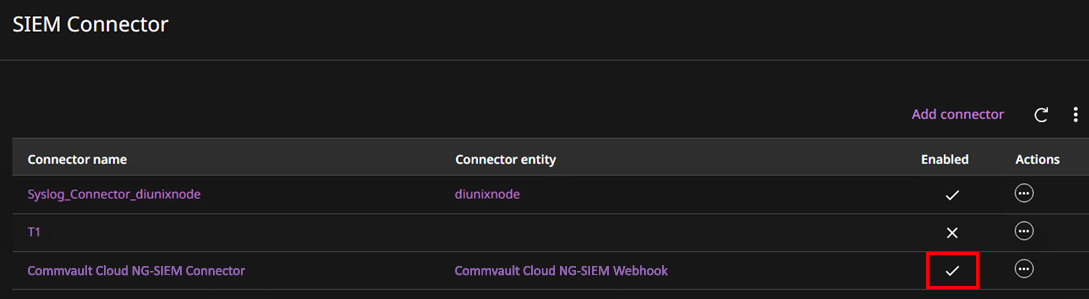
Ensure that the connector is Enabled, as shown in the following image:
Step 5: Enable Threat Scan and Start Risk Analysis Data Collection in Commvault
Enable Threat Scan (TS) to Run a Scan on a Full Backup on a Server
-
Go to https://activatetrialcs.eastus.cloudapp.azure.com/commandcenter/.
The login screen appears.
-
Enter your Commvault credentials and then click Login.
-
Go to Monitoring > Threat Indicators.
The Threat detection page appears, showing a list of servers.
-
For the server you want to enable alerts, click the Action button and then click Threat scan.
The Threat scan dialog box appears.
-
Enter a Start date and End date for a time period in which there was a valid backup performed on the server.
-
Select the Index server.
-
Select the Anomaly types you want the system to scan for.
-
Click Analyze.
Start Risk Analysis Data Collection
-
Go to https://activatetrialcs.eastus.cloudapp.azure.com/commandcenter/.
The login screen appears.
-
Enter your Commvault credentials and then click Login.
-
Go to Data Insights > Sensitive data governance.
The Projects page appears.
-
Click a project.
-
On the Data sources tab, for the server you want to start data collection, click the Action button and then click Start data collection.
The Data collection dialog box appears.
-
For Job type, select Full.
-
Click Start Data Collection.
Step 6: Verify Alerts in CrowdStrike
-
Go to the CrowdStrike Falcon Console (for example, https://falcon.us-2.crowdstrike.com/login/) and then log in.
-
Go to Next-Gen SIEM > Log management > Advanced event search.
-
Select Third Party.
-
Enter a Time interval.
-
Click Run.
One or more of the following alerts are displayed:
Feature Type Event Codes Threat Scan Malware Detection 69:59, 17:193 Threat Scan Encryption detection 69:60 Threat Scan Anomaly Detection 14:337, 14:338, 7:349 Risk Analysis Sensitive data detection 35:5636
For more information, see Commvault to CrowdStrike Field Mapping.