This topic describes the high-level steps that first-time users must follow to set up the file discovery in the Command Center.
Step 1: Install the Commvault Software
-
The Index Server is automatically installed on your CommCell environment. Enable the Data Analytics role on your Index Server.
-
Verify that the computer where you enable the Data Analytics role satisfies the minimum software and hardware requirements.
|
Large |
Medium |
Small |
|
|---|---|---|---|
|
Objects per node (estimated) |
500 million |
250 million |
125 million |
|
Source data size per node |
500 TB |
250 TB |
125 TB |
|
CPU or vCPU |
16 cores |
8 cores |
4 cores |
|
RAM |
32 GB |
16 GB |
8 GB |
|
Disk space (SSD class disk recommended) |
500 GB |
250 GB |
125 GB |
-
Install the File System Agent package and the MediaAgent package on your share access node. Share access node is a computer that has access to the network shares and is used for live scan and archive operations.
For NFS share, you must have an UNIX MediaAgent that has the NFS share mounted on it.
Verify that the access nodes have minimum hardware requirements as shown in the following table:
Components
Hardware Requirement
CPU/RAM10
2 CPU cores, 16 GB RAM
(or 2 vCPUs/16 GB)OS or Software Disk
200 GB usable disk, min 2 spindles 15K RPM
Step 2: Complete the File Server Setup Wizard
Configure the file server setup application by completing the Setup Wizard for Adding File Servers.
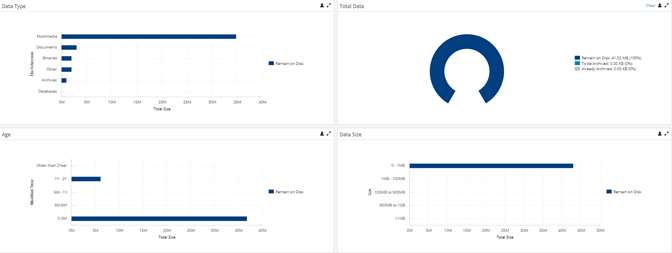
Step 3: Review the Dashboard Report
Tune the archiving rules as per your requirement.

After you complete analyzing your content, you can choose to archive the data on the file server. For more information, see Getting Started with the Archiver Solution.