To migrate the CommServe database to a new hardware, you must first prepare the old CommServe computer for shutdown.
Procedure
-
From the CommCell Browser, right-click the CommServe node and then click Properties.
-
On the Activity Control tab, clear all the check boxes, except the Enable All Job Activity check box, and then click OK.
This ensures that no new jobs are performed, except for disaster recovery operations, VM provisioning jobs, and workflow jobs. These jobs do not affect the hardware refresh.
-
From the Job Controller, kill all jobs that are in progress, or wait for the jobs to complete.
-
Install the latest Commvault release. For more information, see Release Installations.
-
If a MediaAgent is installed on the CommServe computer and you have a disk library with a local mount path, copy the mount path to a location accessible to the new CommServe computer.
For example, if you have a disk library configured with a local mount path in C:\disklib01, copy the entire folder including its contents and subfolders.
Based on your Commvault version, read the instructions to move mount paths. For V10, see Moving Mount Paths. For V9, use the following steps:
-
From the current mount path location, copy the CV_MAGNETIC folder to the new mount path location.
-
From the Tools menu in the CommCell Console, click Control Panel, and from the Control Panel window, double-click Library & Drive Configuration.
-
In the Library & Drive Configuration window, right-click the mount path that you want to move and click Properties.
-
In the Mount Path Properties dialog box, enter the new path, and then click OK to save the information.
-
-
If you have a deduplication database (DDB), perform one of the following steps:
-
If the MediaAgent hosting the DDB is installed in the CommServe, copy the DDB content (CV_SIDB folder and icl_label.txt file) to an accessible location. This location should be accessible to the new CommServe computer.
-
If the DDB resides on a separate MediaAgent, no action is required.
-
-
Index Cache Sharing is not supported in this release. If a shared Index Cache used by a set of MediaAgents is hosted in the old CommServe computer, copy the Index Cache directory to an accessible location so that it can be placed onto a local drive on each MediaAgent in the set.
To identify the current location of the directory, navigate to one of the MediaAgents where the shared Index Cache is configured, and follow these steps:
-
From the CommCell Browser, go to Storage Resources > MediaAgents.
-
Right-click the MediaAgent, and then click Properties.
The MediaAgent Properties dialog box appears.
On the Catalog tab, the Index Cache Directory box displays the UNC path of the Index Cache (for example, \\CommSevePCName\e$\IndexCache).
-
Click OK.
-
-
Run a CommServe computer disaster recovery backup as follows:
-
From the CommCell Browser, right-click the CommServe node and then click All Tasks > Disaster Recovery Backup.
-
On the Disaster Recovery Options dialog box, click OK to run the backup.
Tip
The Disaster Recovery backup job may enter the Waiting state after the Backup to Disk phase is complete. This can happen if the DR storage policy is associated to the same MediaAgent where you stopped the services. As a result, the DR backup job is not able to transfer the data to the offline MediaAgent.
In this situation, you can stop the DR backup job after the Backup to Disk phase is complete. However, before you stop the job, verify that the Backup to Disk phase is complete:
-
From the Job Controller window, double-click the job.
-
To view the status of the different phases in the job, click the Attempts tab on the Job Details dialog box.
-
-
-
Copy the CommServe Disaster Recovery backup files (set_XXX folder) to an accessible location.
Note
Disaster Recovery backup files are saved to the location specified in the DR Backup Settings dialog box that is available from the Control Panel. Make sure to obtain the latest DR set from this location.
-
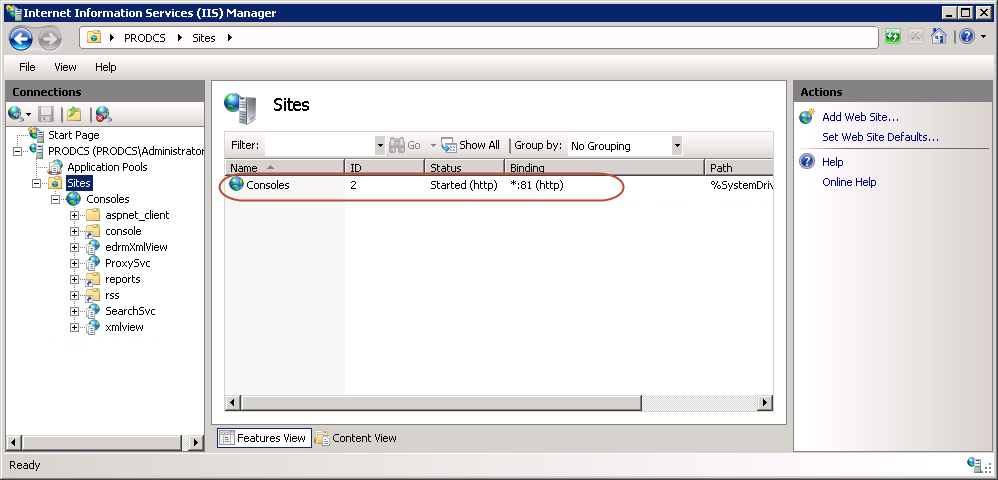
Using the Microsoft Internet Information Services (IIS), make a note of the port numbers used by the Consoles.
-
From the list of programs in the Windows Control Panel, make a list of all the Commvault components installed on the CommServe computer.
-
If you plan to use different network details, do not shut down the CommServe computer yet. You will perform this operation after the CommServe database is restored and upgraded on the new hardware.
-
If you plan to use the same network details, make a note of the IP settings (IP address and DNS) and the computer name, and then shut down the CommServe computer as follows:
-
Stop all Commvault services.
-
Shut down the computer.
-
Unplug the network cables.
-
If you have a tape library attached to the CommServe, unplug the library from the CommServe computer and then plug it in to the new hardware.
Note
If you plan to reuse this computer, complete the following tasks before you activate the computer in the network:
-
Uninstall Commvault software.
-
Change the computer name and IP settings to different values.
-
-