If you already have a CommServe server that you want to use as the production CommServe host, then you must install only the CommServe Failover package.
Before You Begin
-
Make sure that the CommServe is installed before installing the CommServe Failover package.
-
Download the Commvault software installation packages from Maintenance Advantage. For more information on how to download software, see Downloading Other Software and Packages From Maintenance Advantage.
-
Make sure that the bAllowMultiInstances registry key does NOT exist in the CommServe. You can verify whether the key exists using the Windows Registry Editor in the HKEY_LOCAL_MACHINE\SOFTWARE\GalaxyInstallerFlags\ bAllowMultiInstances folder. (Make sure to delete the key if it exists.)
Procedure
-
Log on to the computer as an Administrator or as a member of the Administrator group on that computer.
-
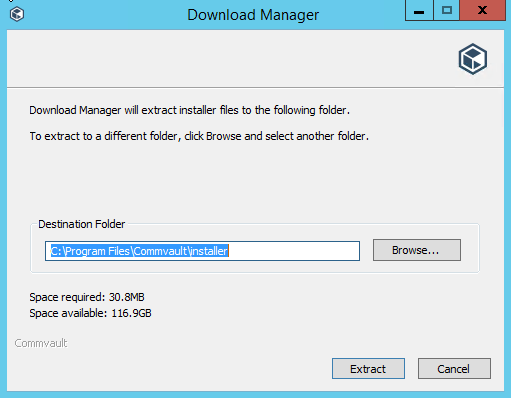
Launch theCommvault software installation package.
The Download Manager dialog box is displayed.
-
Click Extract.
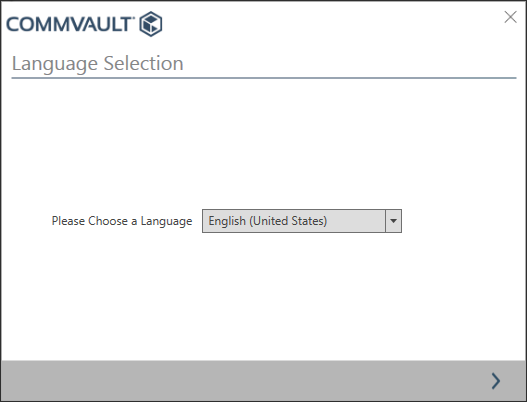
The Language Selection page is displayed.
-
Select the language from the Please Choose a Language list, and then proceed to the next page.
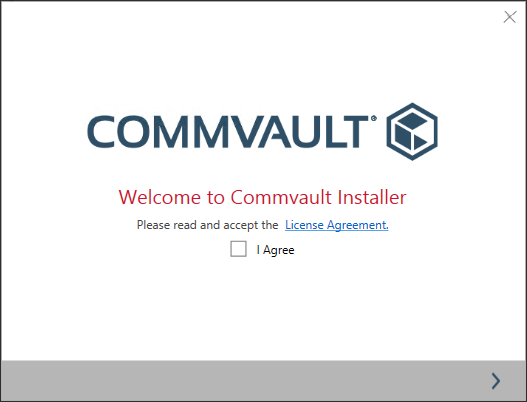
The Welcome page is displayed.
-
Select the I Agree check box, and then proceed to the next page.
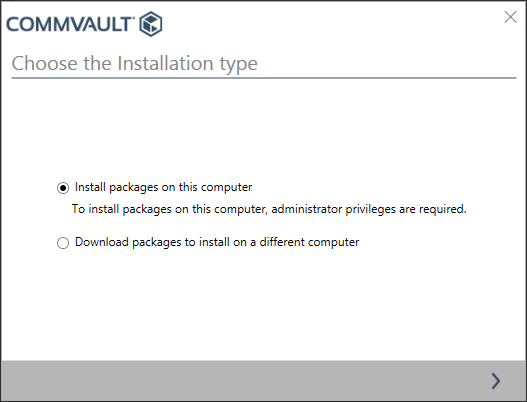
The Choose the Installation Type page is displayed.
-
Click Install packages on this computer, and then proceed to the next page.
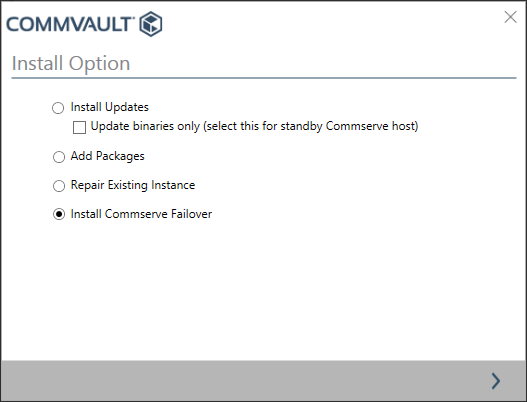
The Install Option page is displayed.
-
Click Install CommServe Failover, and then proceed to the next page.
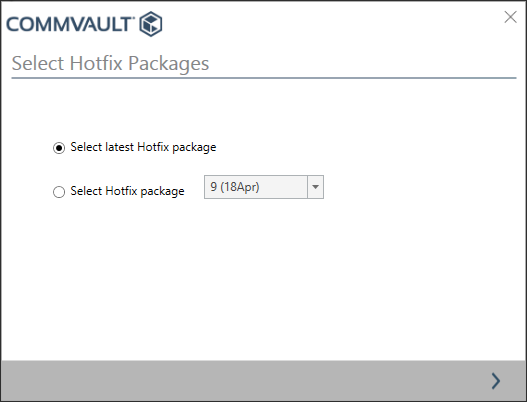
The Select Hotfix Packages page is displayed.
Note
When you select this option, a new instance (second instance) is automatically created and the SQL Server agent and the CommServe Failover package are installed in this new instance. (No additional user intervention is needed.)
-
Select the same hotfix option that you selected during the installation of the production CommServe host, and then proceed to the next page.
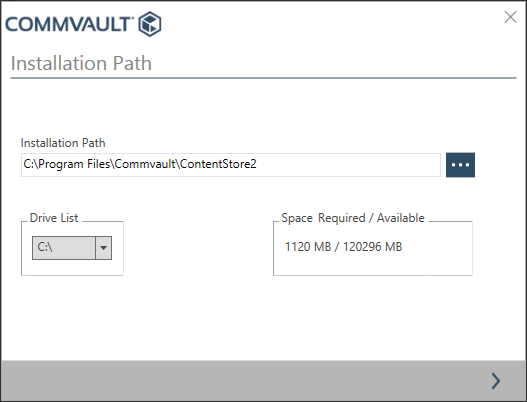
The Installation Path page is displayed.
Note
It is important to install the same hotfixes for all packages in the production and standby CommServe hosts.
-
Verify the path for the SQL client, and then proceed to the next page.
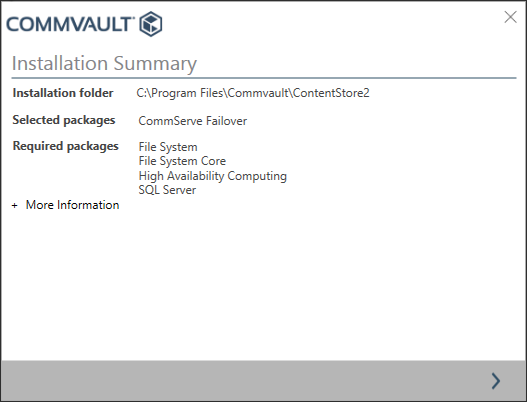
The Installation Summary page is displayed.
-
Verify the list of packages, and then proceed to the next page.
The software installs the binaries for setting up the SQL client. This process may take a few minutes.
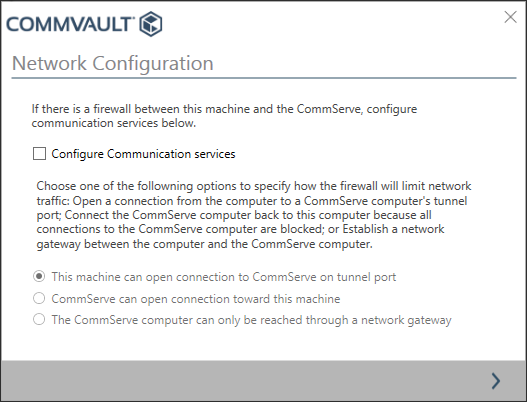
The Network Configuration page is displayed.
-
Choose an appropriate option for configuring the firewall in your environment, and then proceed to the next page.
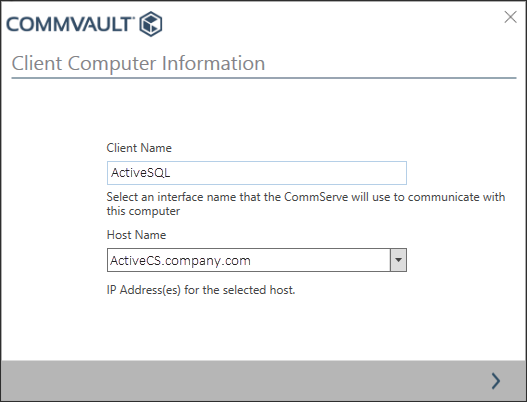
The Client Computer Information page is displayed.
-
The Client Name and Host Name prompts are for the SQL client in the production CommServe host. (This is the standalone SQL agent installed in Instance002 which is used for backing up the SQL database from the production CommServe host.)
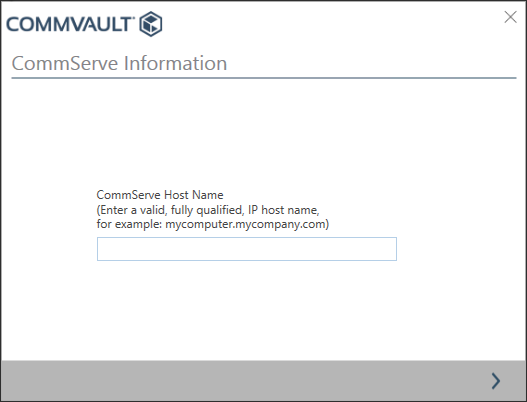
The CommServe Information page is displayed.
Tip
Choose a meaningful Client Name to clearly differentiate this client in the user interfaces like Command Center / CommCell Console. For example, you can add the word SQL to differentiate it from the CommServe client.
-
Type the Fully Qualified Domain Name (FQDN) of the production CommServe host, and then proceed to the next page.
This is the name that you noted while installing the production CommServe host.
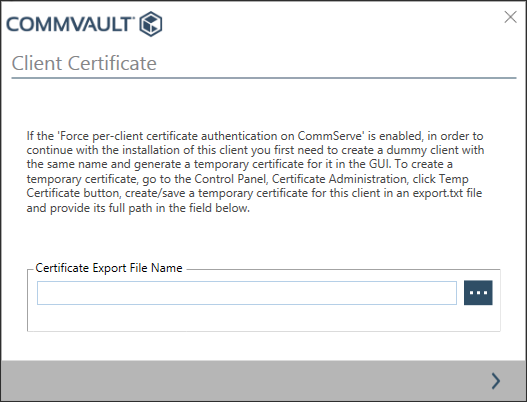
The Client Certificate page is displayed.
-
If a certificate is available, type the name with the full path to the certificate file and proceed to the next page.
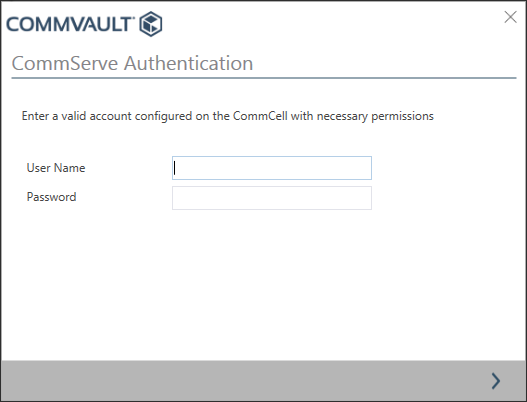
The CommServe Authentication page is displayed.
-
Type the credentials that must be used to access the production CommServe host, and then proceed to the next page.
These are the account details that you noted while installing the production CommServe host.
The software installs the binaries for setting up the SQL client. This process may take a few minutes.
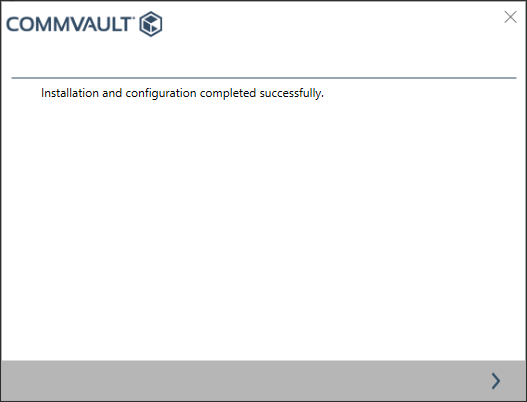
A message similar to the following is displayed:
-
Click Finish to complete the installation.
Result
A new instance (second instance) is created and the SQL Server agent and the CommServe Failover package are installed in this new instance. The new instance is displayed as a separate client in the CommCell Console.