Settings you can modify for a cleanroom runbook include security and post-recovery validation.
For information about cleanup, see Clean up recovered resources for cleanroom.
For other settings on this page, such as Security (users and user groups) and Tags, see Manage your Commvault environment.
Go to the runbook
-
In the Command Center navigation pane, go to Security services > Cleanroom.
-
On the Recovery groups tab, click the recovery group that contains the runbook.
-
Click the runbook.
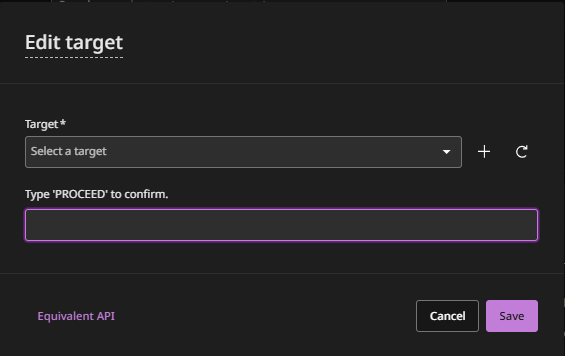
Select a different cleanroom site
-
On the Configuration tab, in the Recovery options section, to select a different cleanroom site, click the edit button.
A confirmation message appears, stating which recovery options will be modified.
-
Confirm the change, and then click Save.
Disable auto-scaling (not recommended in most cases)
By default, Commvault auto-scales access nodes for cleanroom operations. Auto-scaling allocates access nodes dynamically, based on demand, and then decommissions the access nodes when they're not needed.
If you want to configure custom auto-scaling for security reasons, disable default auto-scaling. When you disable default auto-scaling, the recovery group inherits access nodes from its cleanroom site's hypervisor and threat scan is also disabled because it requires auto-scaling.
For details about the resources that Commvault SaaS creates in your cleanroom recovery Azure subscription when you use default auto-scaling, see Resources automatically created in your Azure or Commvault subscription for cleanroom recovery.
Configure security
You can associate users or groups with roles to determine which actions users can perform. You can also assign users or groups as owners that have management permissions for the resources in a runbook.
You can use predefined roles, modify predefined roles, and create new roles.
Important
Users and associations that are created before recovery are disabled in your recovered control plane. After the control plane is recovered, additional users cannot be created.
-
On the Configuration tab, in the Security section, click the edit button.
-
To create a security association between a user or user group and the runbook that allows you to perform data management operations, follow these steps:
-
On the Associations tab, enter the name of the user or user group.
-
From the Roles list, select the role to assign, and then click Add.
-
-
To specify who can access the runbook, follow these steps:
-
Click the Owners tab.
-
Enter the name of the user or user group to assign as an owner.
-
Click Add.
-
-
To specify permissions (such as add, edit, or delete) to owners of the runbook, follow these steps:
-
Click the Permissions tab.
-
Select the permissions.
-
-
Click Save.
Modify the time delay between priorities
You can enable higher priority VMs to start before processing the next set of machines.
-
On the Configuration tab, in the Customization options section, for Delay between priorities (in mins), click the edit button.
-
Enter the number minutes you want recovery operations to wait between processing VMs that are assigned different priorities.
-
Click Submit.
Enable recovery operations to continue after failures
By default, when a VM/instance cannot be processed successfully, recovery operations stop. You can specify that recovery operations proceed to the next priority.
- On the Configuration tab, in the Customization options section, enable the Continue to next priority on failure toggle key.
Enable automatic post-recovery validation
You can specify that VMs will be validated after they're recovered.
-
On the Configuration tab, in the Validation options section, follow these steps:
-
To run a threat scan on all VMs, enable the Run threat scan toggle key.
Every 7 days, the count of discovered threats is reset to 0.
-
To run a Microsoft Windows Defender Antivirus scan on Windows VMs, enable the Run Windows Defender toggle key.
-
Add post-recovery validation scripts
You can specify scripts to validate VMs after they're recovered.
Windows PowerShell and Linux shell are supported.
-
On the Configuration tab, in the Validation options section, click Add.
-
To add a script, upload a file or enter a UNC path and credentials to access the path.
UNC path examples:
- Windows: Enter the UNC path as WindowsPathwin.ps1.
- Unix: Enter the UNC path as \\Pathtofile\file.sh. -
Enter a descriptive name for the script.
-
Click Save.
-
To change the order scripts are executed in, click Reorder, and then drag and drop the scripts.
-
Click Save.