This quick start takes you through the brief process of creating a Clumio account, connecting your AWS account, selecting resources to back up, and then viewing the first backups.
Step 1: Create a Clumio account
-
Go to Clumio Protect & Discover: Backup and Recovery for AWS in AWS Marketplace.
Alternatively, go to clumio.com to create an account.
-
To subscribe to Clumio:
-
Click View purchase options.
-
Or start a free trial by clicking Try for free.
-
-
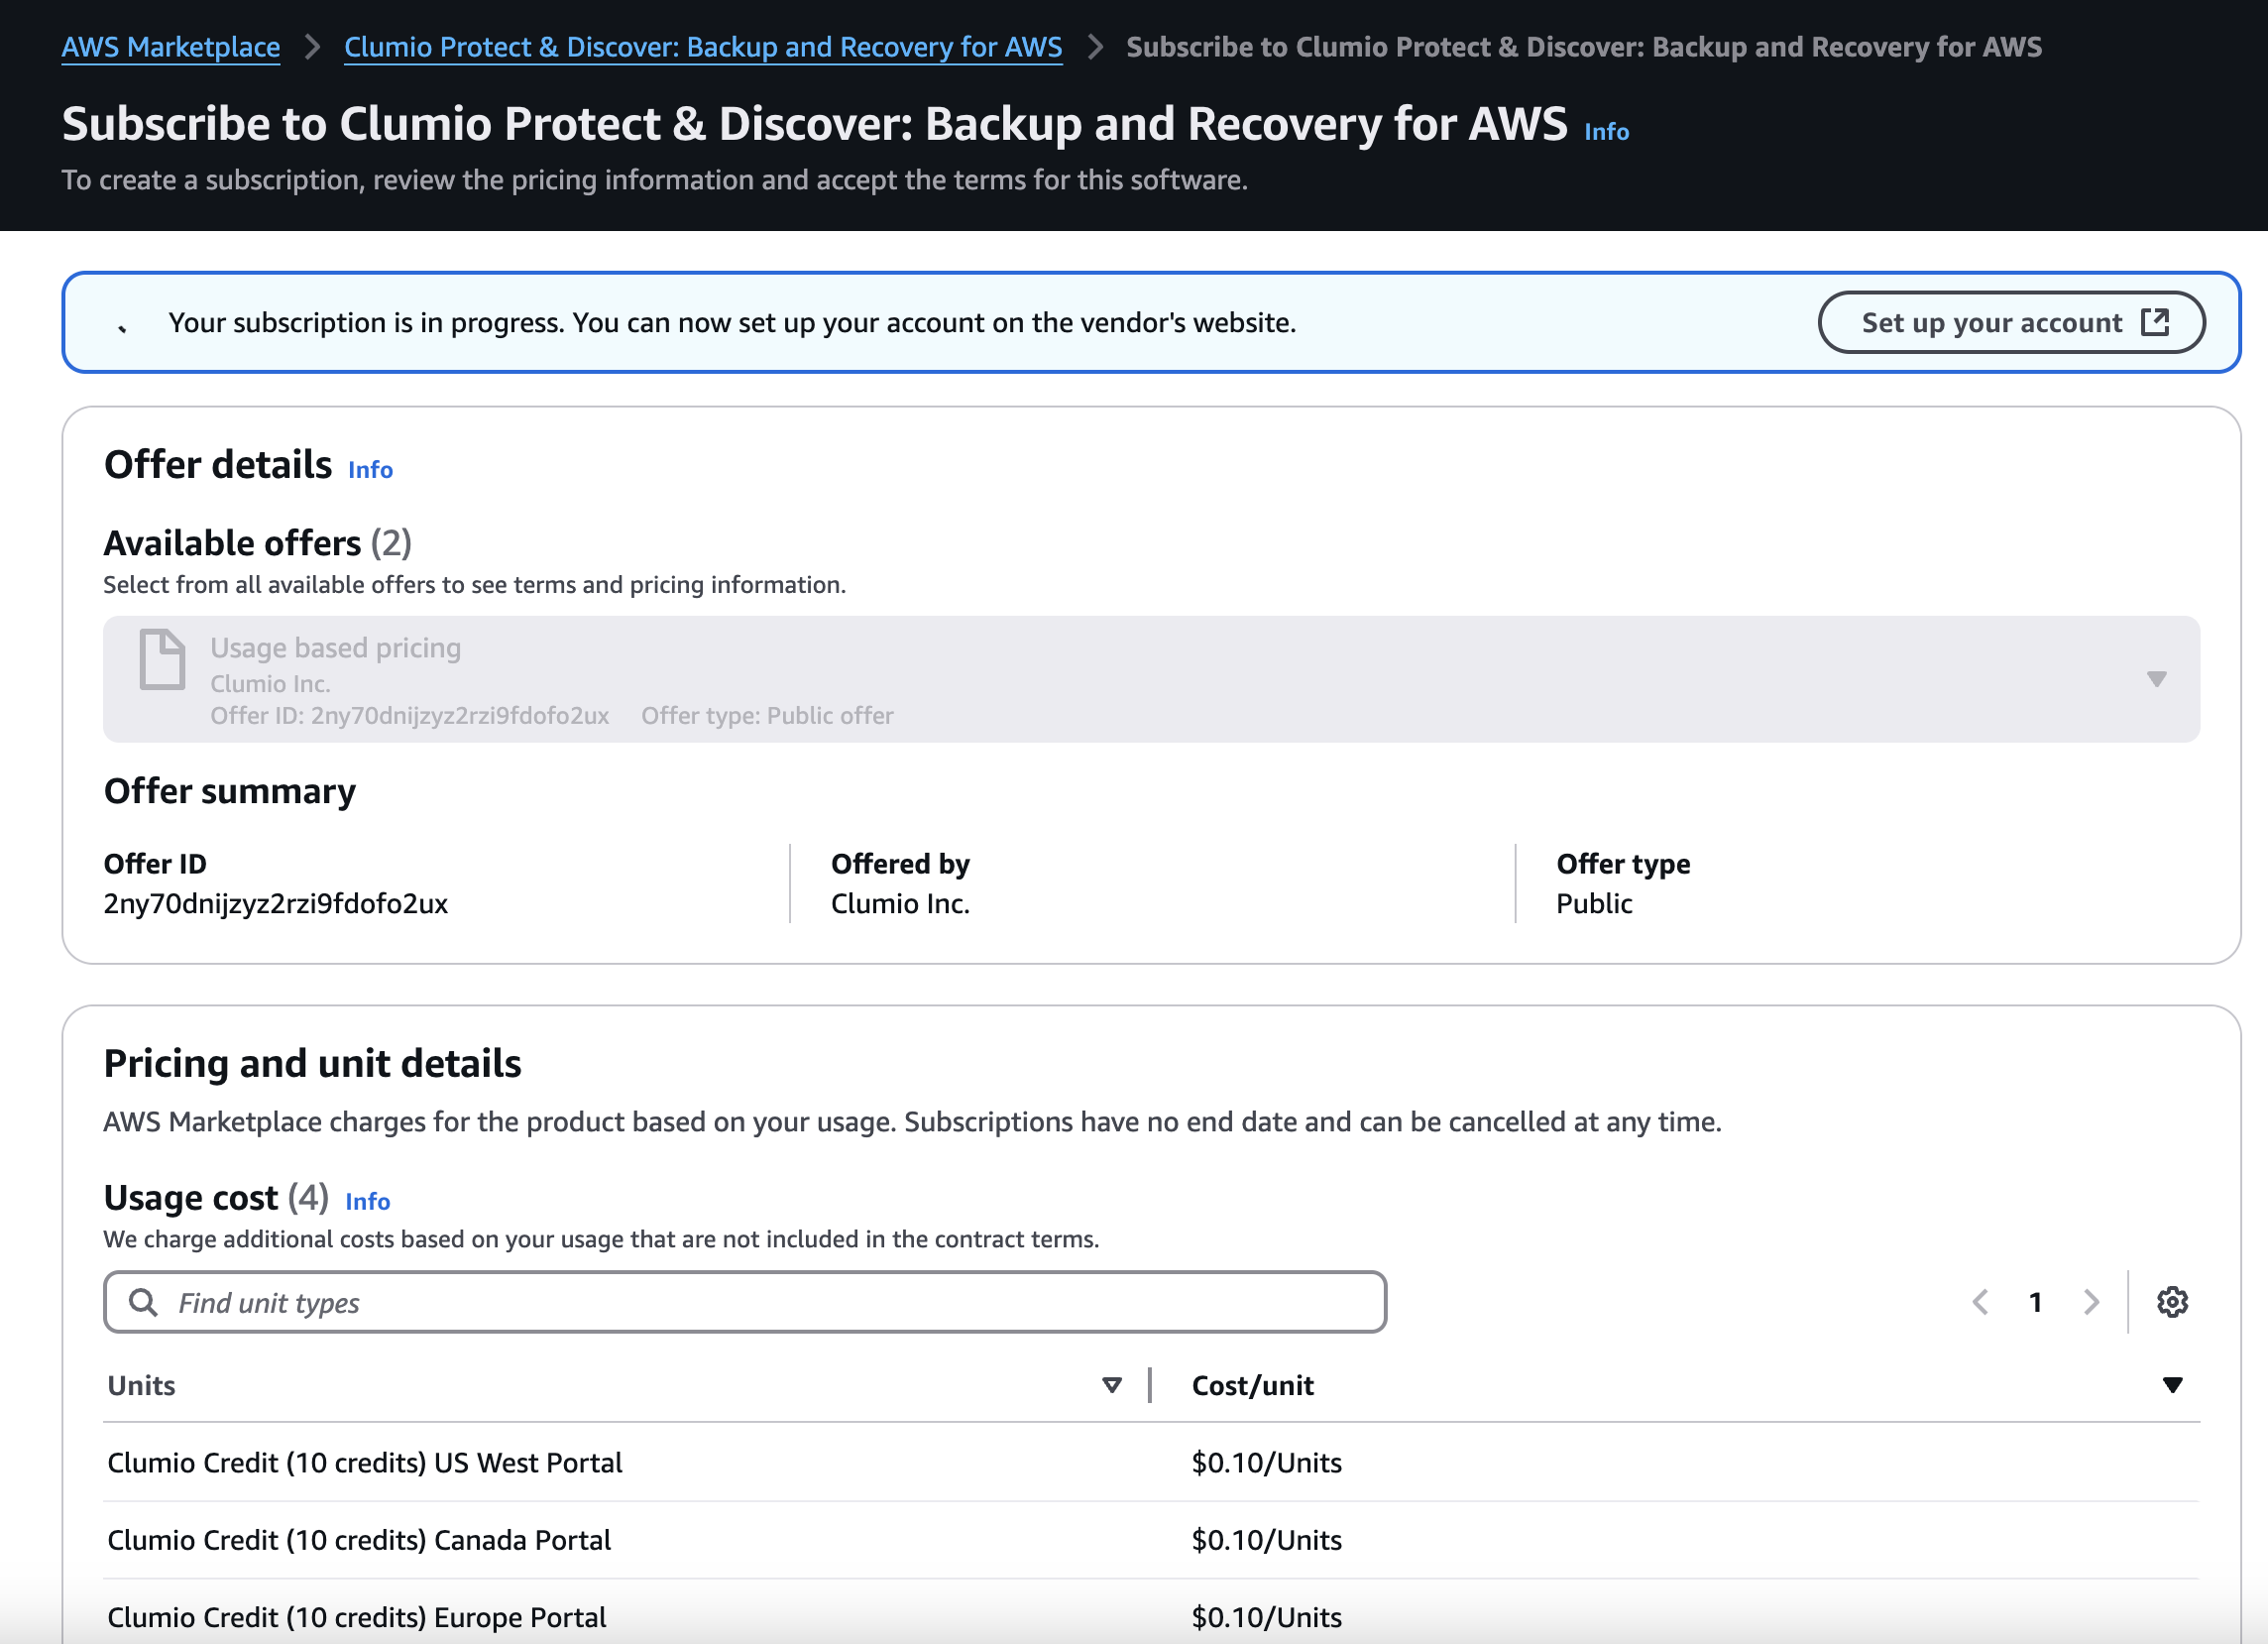
In the message confirming that your subscription is in progress, click Set up your account.
A browser tab opens to portal.clumio.com/register.
If subscribing through AWS Marketplace, it is important to access this page using the Set up your account button to ensure your Clumio account and AWS Marketplace subscription are linked.
-
Create your account and log in to the Clumio portal.
Step 2: Connect your AWS account
You can easily connect your AWS account using CloudFormation. Other methods, such as manual CloudFormation or Terraform are also available.
-
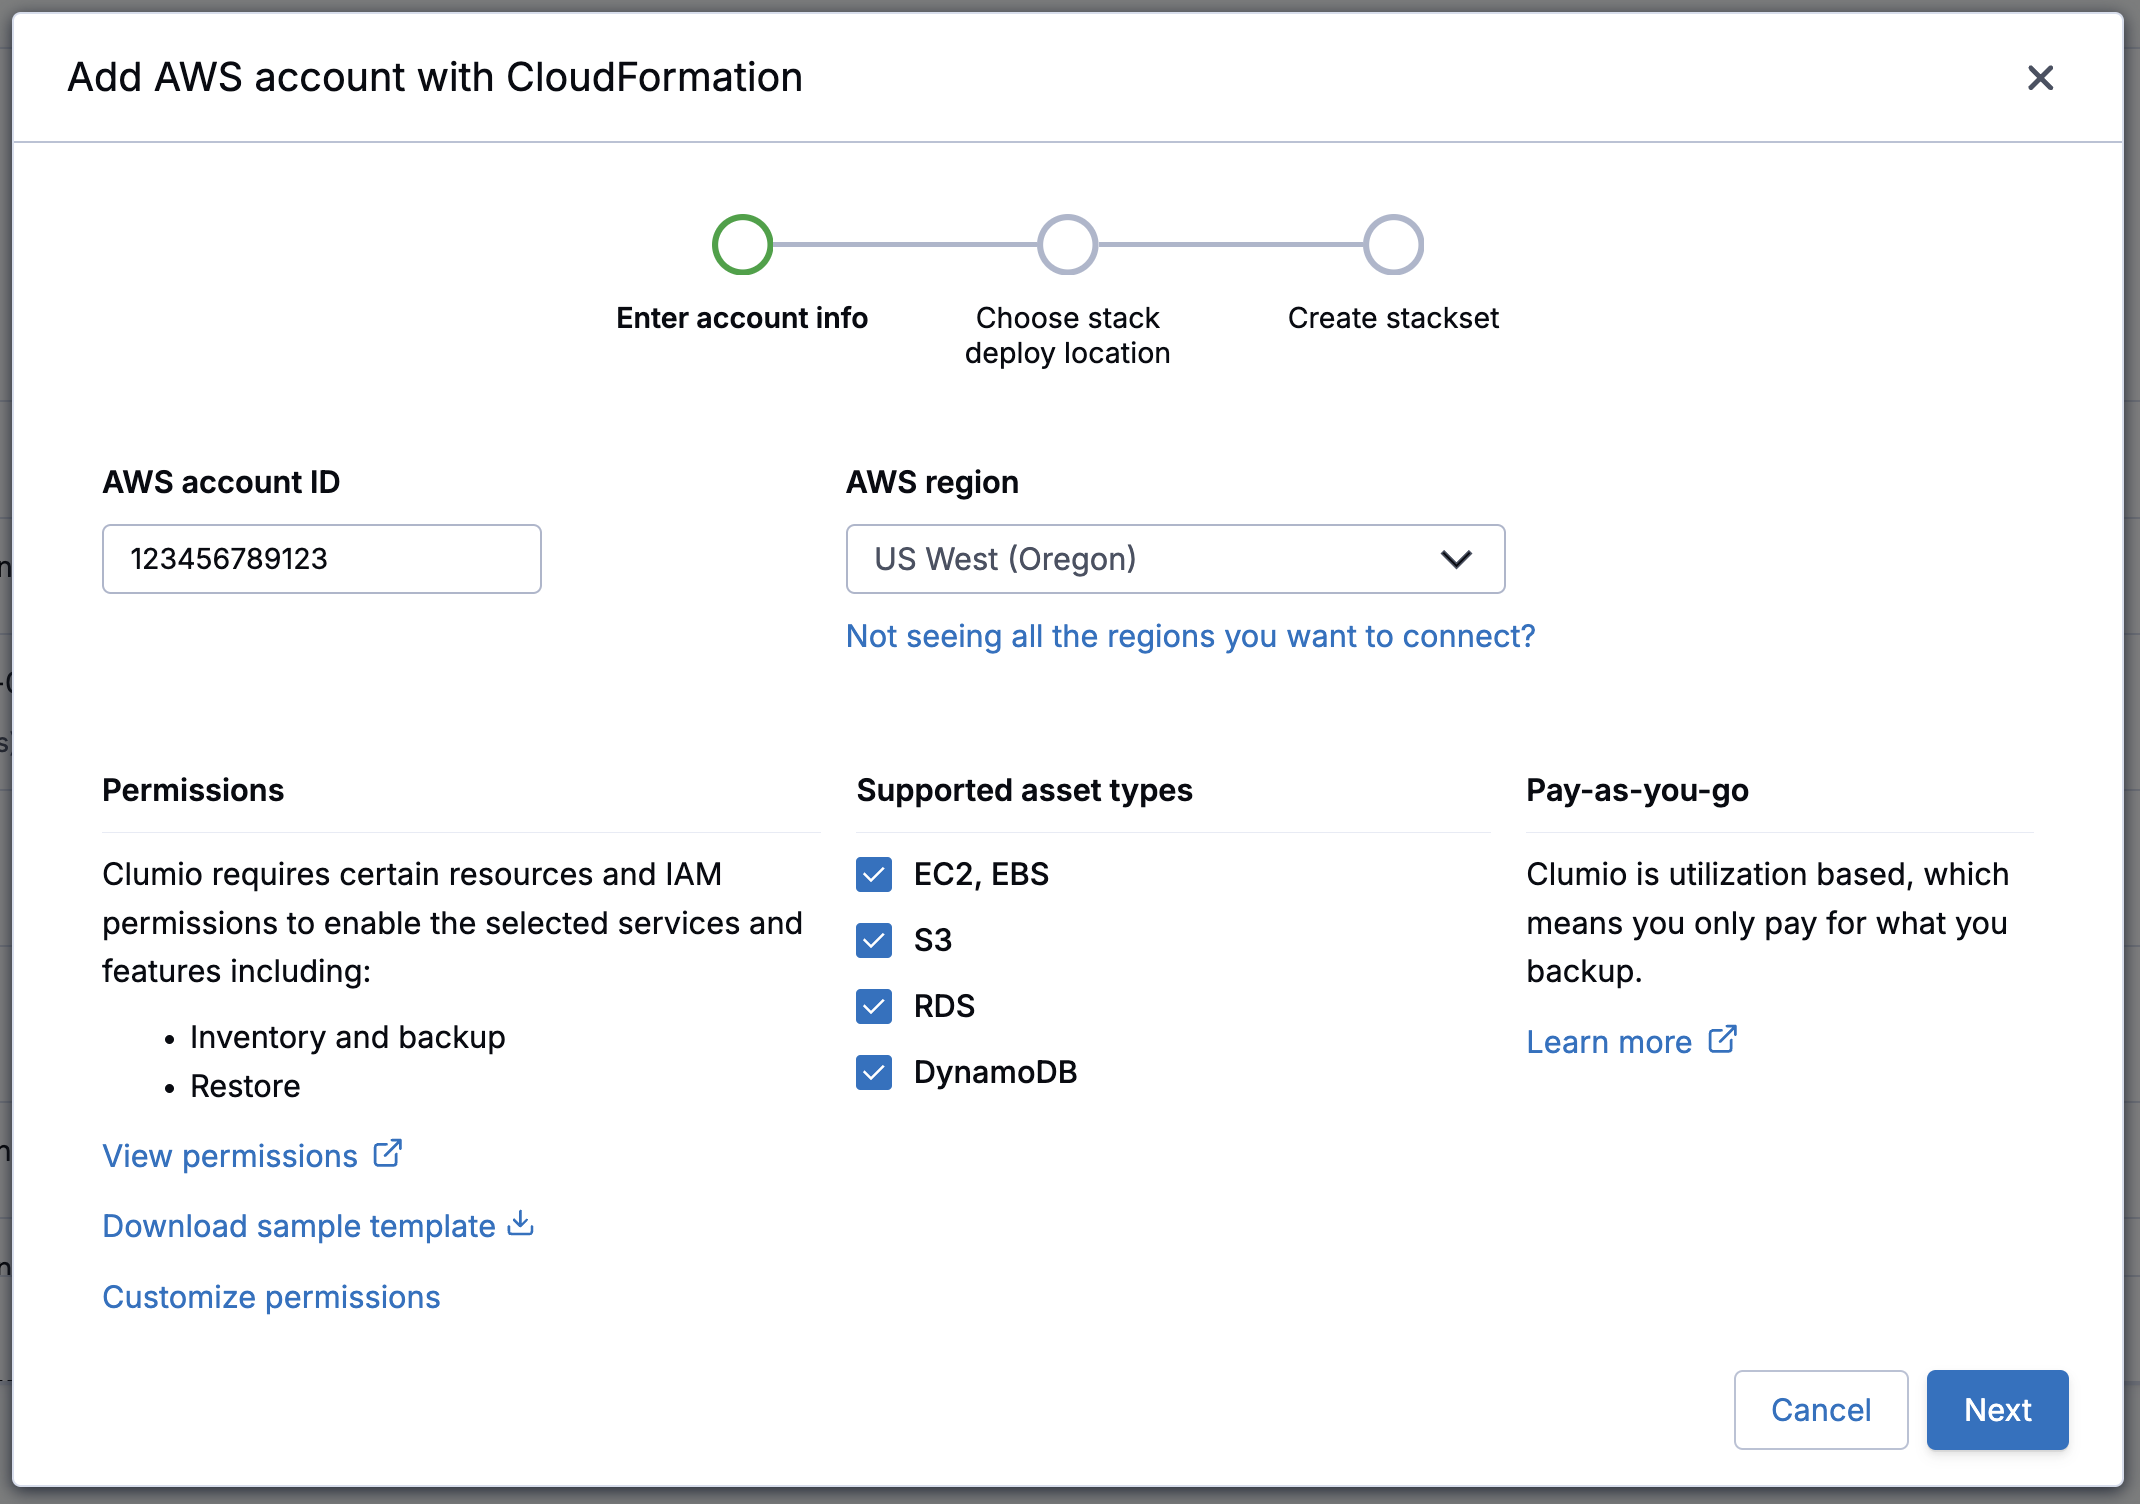
At the bottom of the Clumio portal page, under Add data source, click AWS account.
The Add AWS account with CloudFormation dialog box appears.
-
Enter your AWS account ID, and then select the region your AWS resources are located in.
-
For Supported asset types, select the resource types you want to back up, and then click Next.
-
For Stack deploy location, select any region.
Clumio will deploy stacks in your AWS account from this region to other regions.
-
Click Launch stack wizard.
You must be logged in to your AWS account for the wizard to function appropriately.
A browser tab opens to the CloudFormation Create stack page.
-
Review the details, and then select the acknowledgement checkbox.
-
Click Create stack.
A page appears, showing that the stack is being created. This process takes a few minutes.
-
After the stack is created, in the Clumio portal, go to the Connect page.
Your AWS account is listed, and the status is Connected.
Step 3. Specify resources to back up
In Clumio, DynamoDB, EC2, EBS, and RDS are backed up by protection rules, and S3 is backed up by protection groups.
The following sections show how to back up DynamoDB and S3 with the Default Policy, which is a sample policy that's included in your Clumio account. If the Default Policy is not available, you can use your own policy instead.
Create a DynamoDB protection rule
-
In the Clumio navigation pane, go to Protect > AWS protection rules.
The AWS protection rules page appears.
-
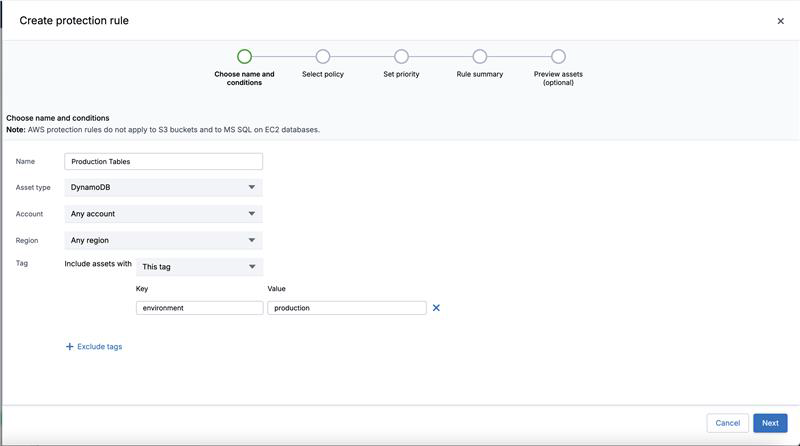
Click Create protection rule.
The Create protection rule page appears.
-
Enter a name for the protection rule, select DynamoDB as the asset type, enter any conditions for restricting the scope of the protection rule, and then click Next.
-
Select Default Policy, and then click Next until you reach the Rule summary page.
-
To preview the resources that Clumio will back up with this protection rule, click Preview assets.
-
Click Create rule.
Create an S3 protection group
-
In the Clumio navigation pane, go to Protect > S3 protection groups.
The S3 protection groups page appears.
-
Click Create protection group.
The Create protection group page appears.
-
Enter a name for the S3 protection group, and then click Next.
-
Select a bucket, and then click Next.
-
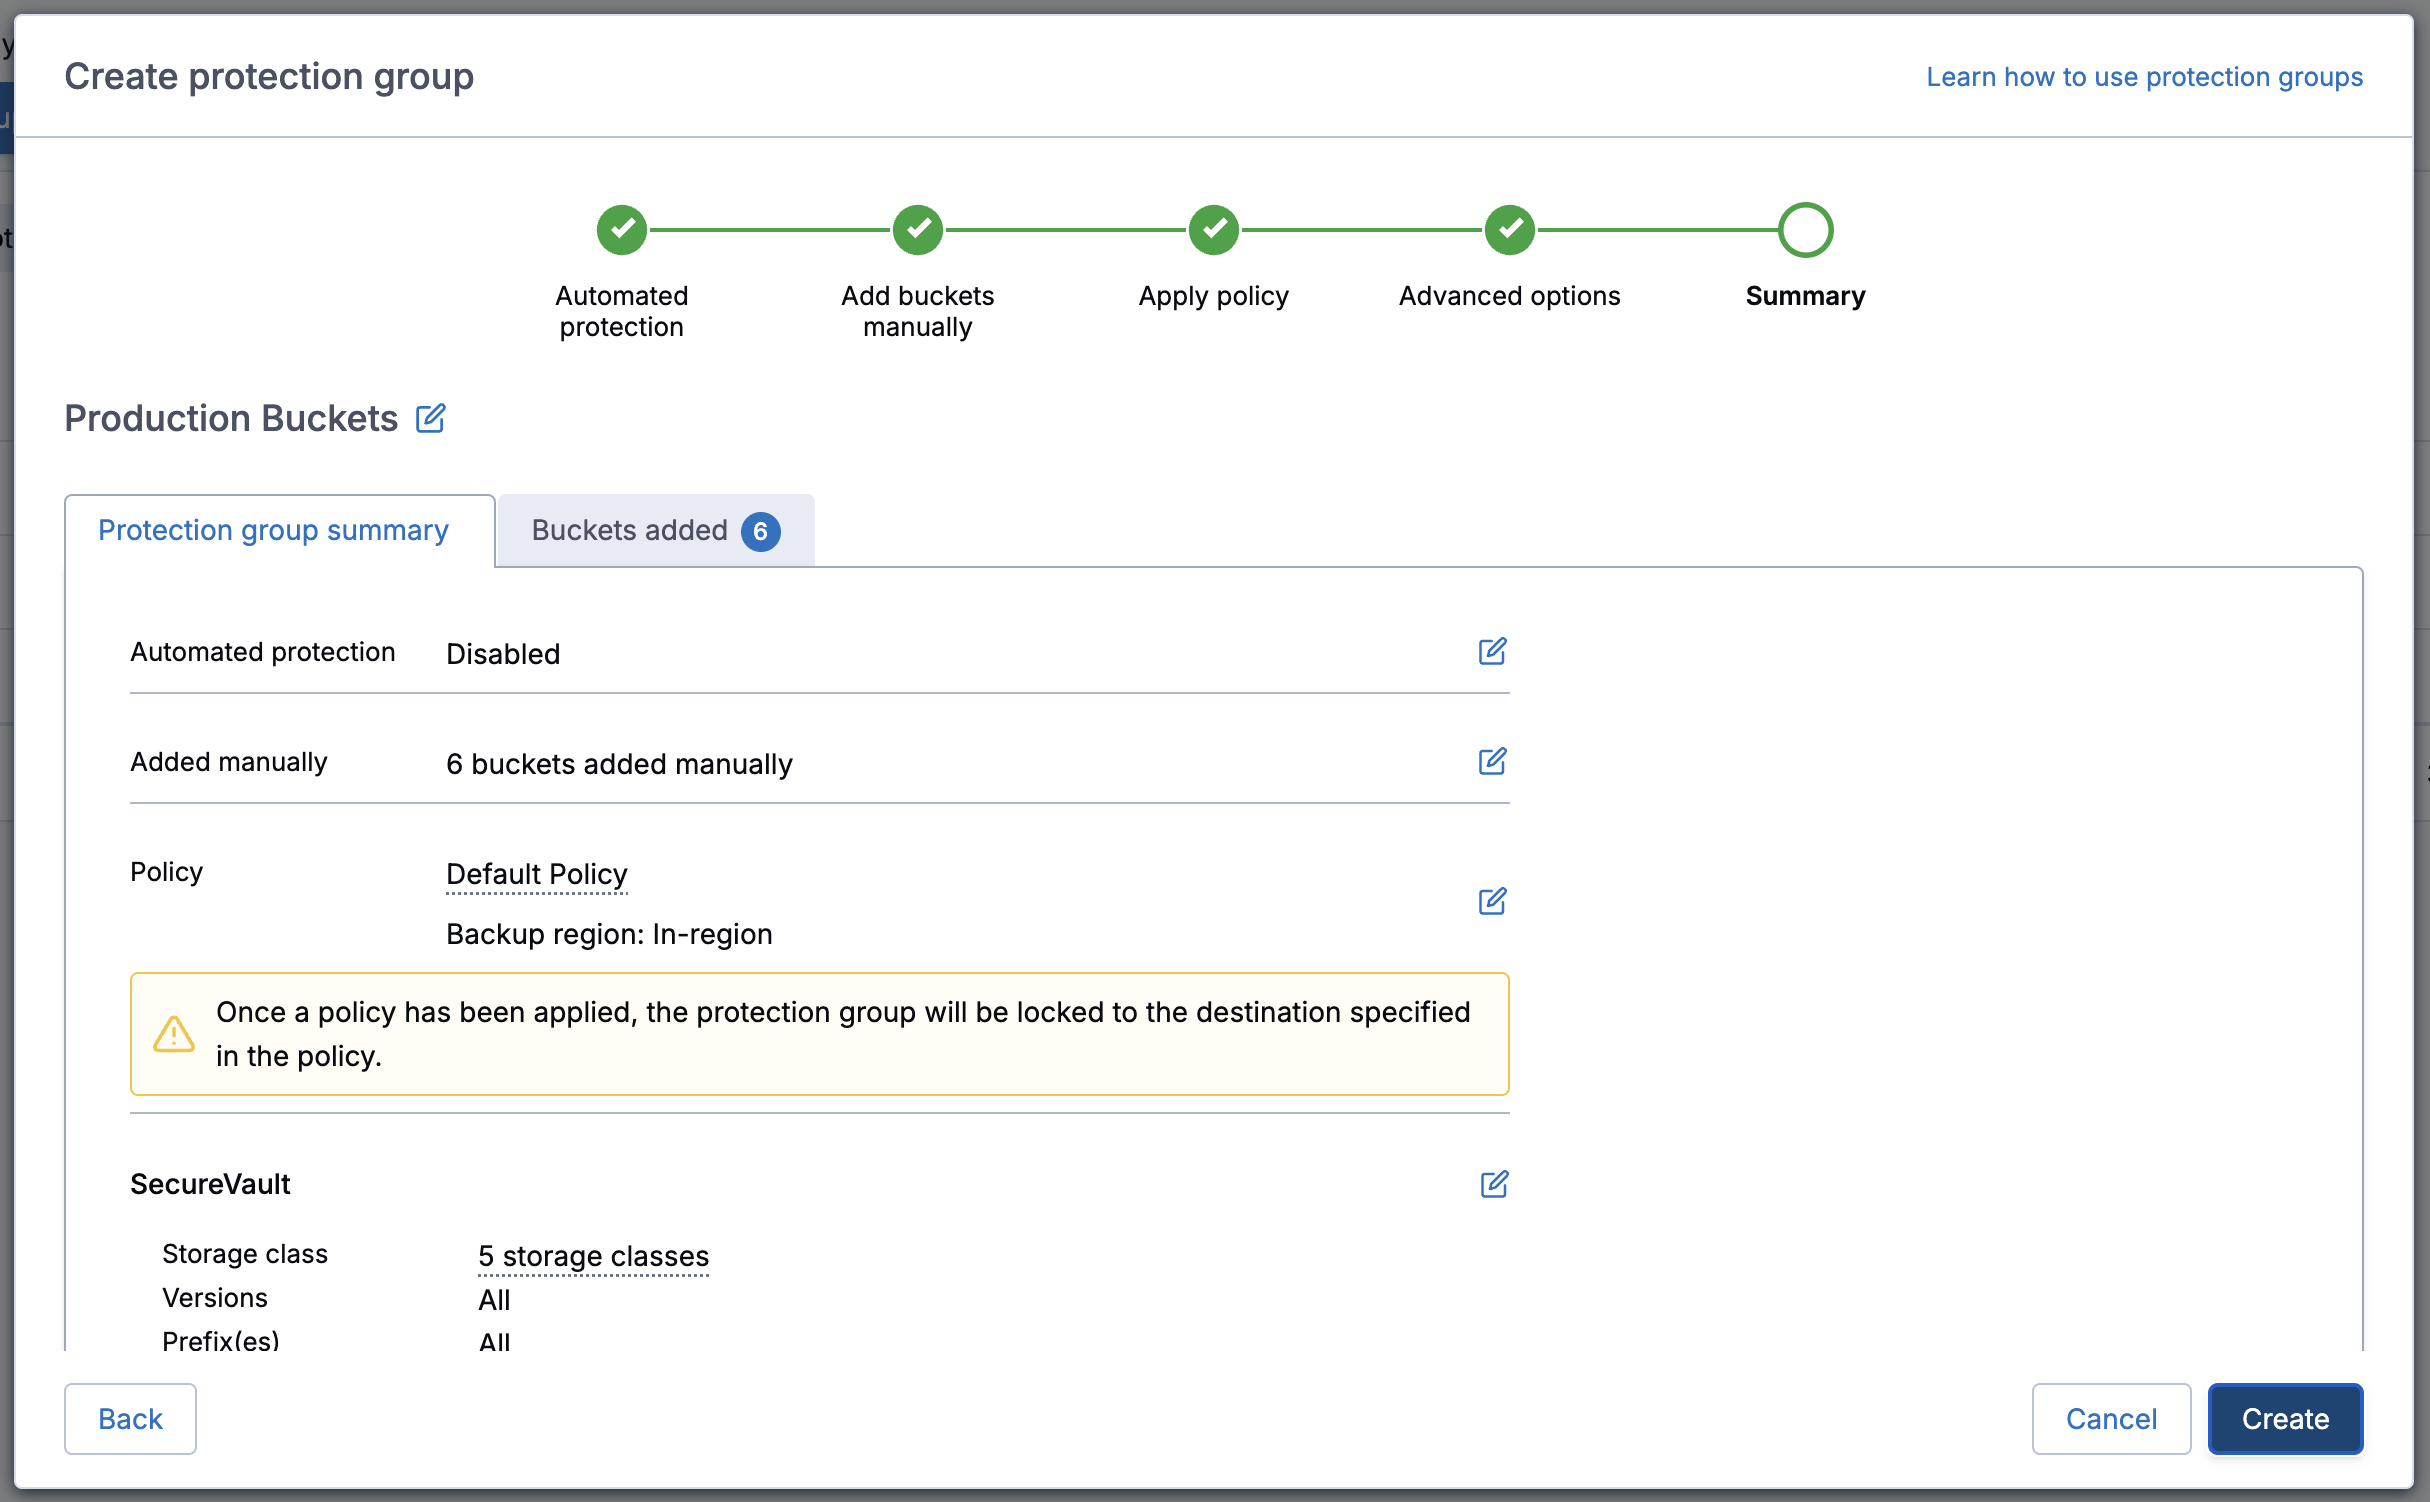
Select Default Policy, and then click Next until you reach the Summary page.
By default, the group protects all objects and all versions in the bucket.
-
Click Create.
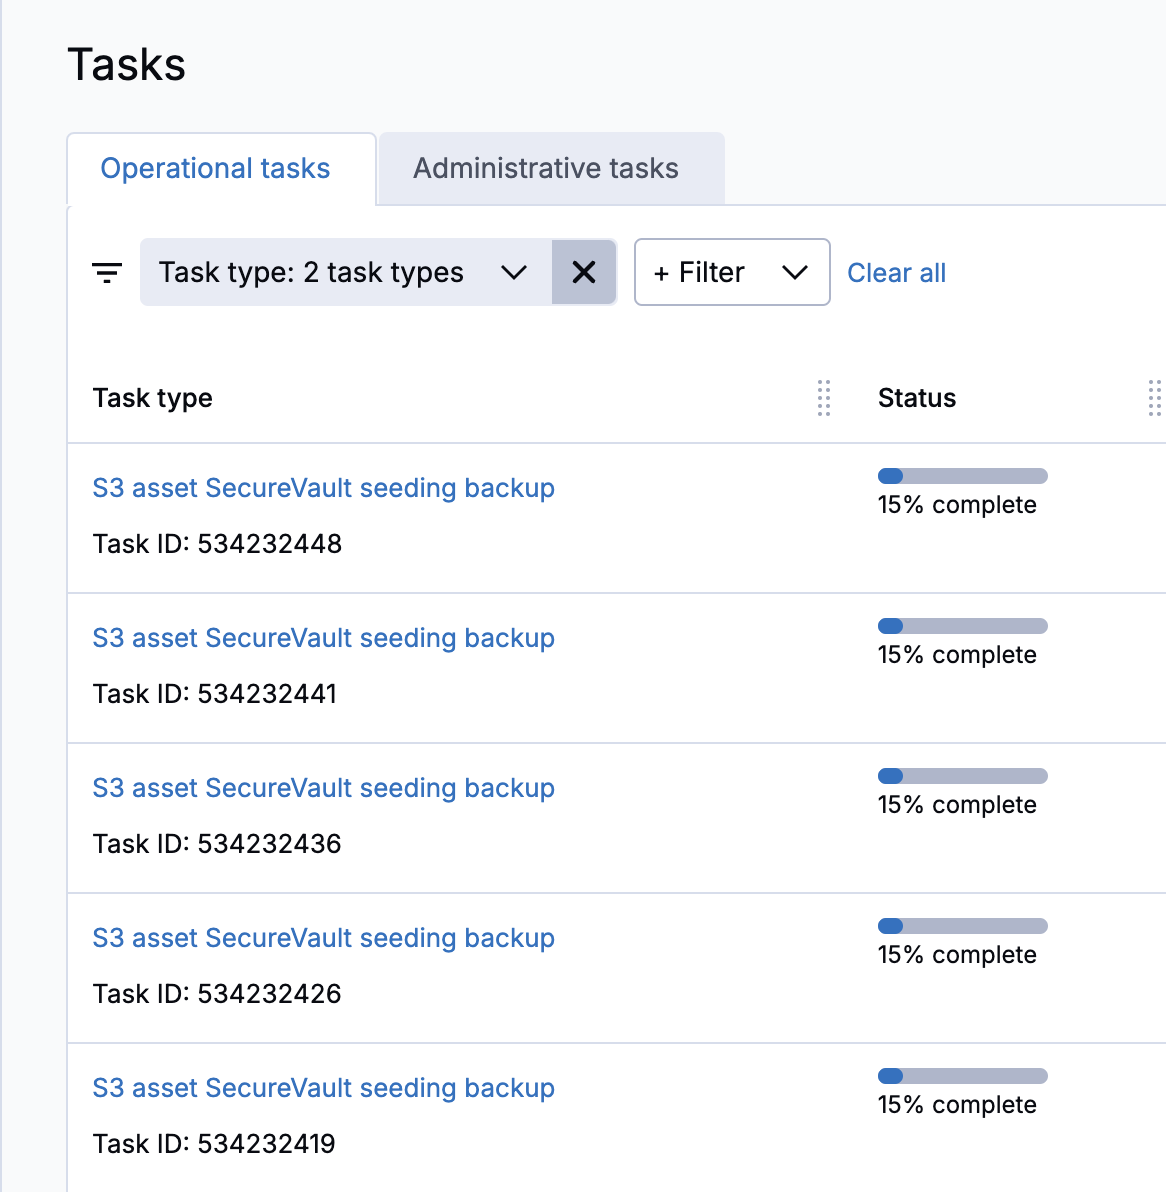
Step 4: View the backups in progress
Backups begin within about 5 minutes, and you can view them on the Tasks page.
-
In the Clumio navigation pane, go to Activity > Tasks.
The Tasks page appears, showing the backup tasks and their progress.