Applies to: User Mailbox, Journal Mailbox, ContentStore Mailbox
You can export mailbox items, folders or messages to an export file, change the format of the items to fit your needs, and download the exported PST or CAB file directly to your browser window. Exporting automatically creates an export file.
The following file formats are supported when you export email messages:
-
PST (Portable Storage Table)
-
CAB (cabinet file)
The default maximum size of export to PST or CAB is 25 GB. The size limitation applies to the total size of emails exported from the Exchange client and does not apply to exports from the Compliance Search or the Case Manager.
When the export size exceeds 25GB, the export job does not start and an error message occurs. You can use the restore option or split into smaller exports and retry.
By default, export files have a retention period of 30 days, after which they are automatically pruned and the data in the export file is no longer available.
Before You Begin
-
The user must have Browse, Download, In place restore and Out of place restore capability on the subclient where the Exchange mailbox is configured in the CommCell Console.
-
Archive operations must have run on the mailbox.
-
You must install Microsoft Outlook 64-bit on the Web Server.
-
You must install Microsoft Office 2013 Service Pack 1. For more information, see Description of Microsoft Office 2013 Service Pack 1 (SP1).
-
When multiple mailboxes are exported to a PST file, then all the emails are exported from all the mailboxes into a single PST file. If you want to export emails from multiple mailboxes into separate PST files, see Restoring Messages to a PST File Using Exchange Mailbox.
Procedure
-
In the navigation pane, go to Protect > Exchange.
The Exchange page appears.
-
In the Name column, click the Exchange app that contains the items that you want to export.
The Exchange app page appears.
-
On the Mailboxes tab, select the mailboxes that contain the content you want to export, and then click Restore > Restore messages.
The mailbox contents appear.
-
Select the mailboxes, folders, or messages you want to include in the export file:
-
To include deleted items in the export file, select the checkbox for the Exchange app, click the menu button
 , and then select Show deleted items.
 -
To export all mailboxes, select the checkbox for the Exchange app.
-
To export a folder or a sub-folder, in the left pane, expand a mailbox, and then select the check box for a folder or a sub-folder.
-
To export individual messages, in the left pane, expand a mailbox, click the name of the folder or the sub-folder that contains the messages, and then in the right pane, select the messages from the list.
-
-
At the top-left area of the page, click Export, and then select the file format for the export file.
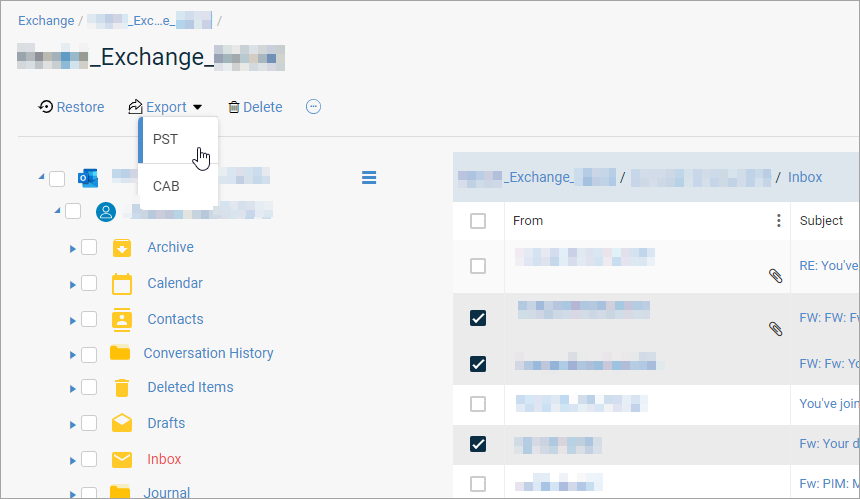
The Export to dialog box appears.
-
In the Name box, type a name for the export file.
-
If you are exporting individual messages, beside Selection Range, specify the messages to include in the export file:
-
To export only the selected messages, click Selected (N).
-
To export all the messages in the list, select All (N).
-
-
Click Submit.
A job runs to create the export set.
-
In the upper-right corner of the page, click View exports.
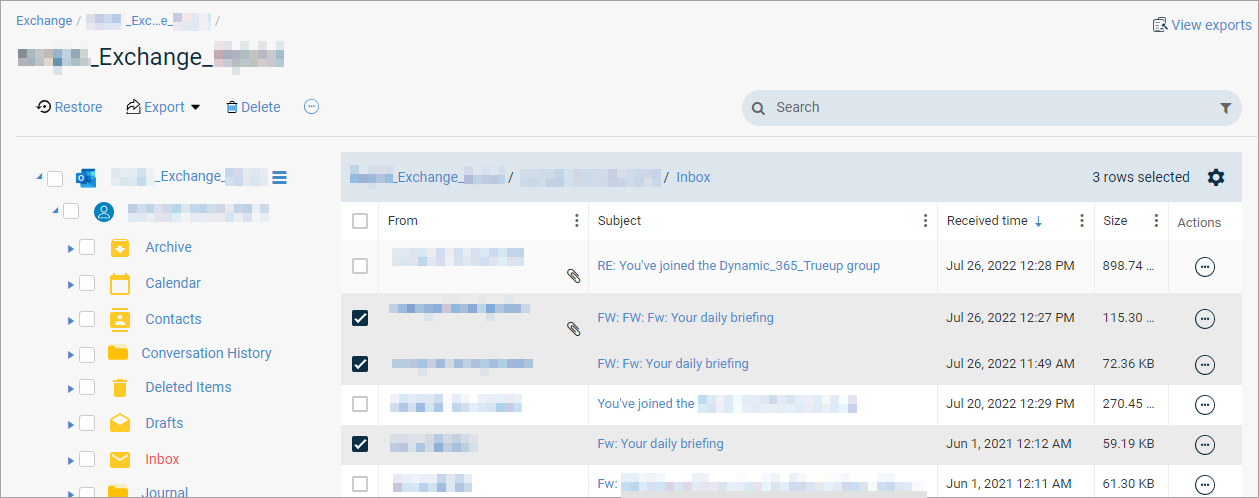
The View exports dialog box appears. The export files that are ready to be downloaded and the export files that are being created appear in a list.
-
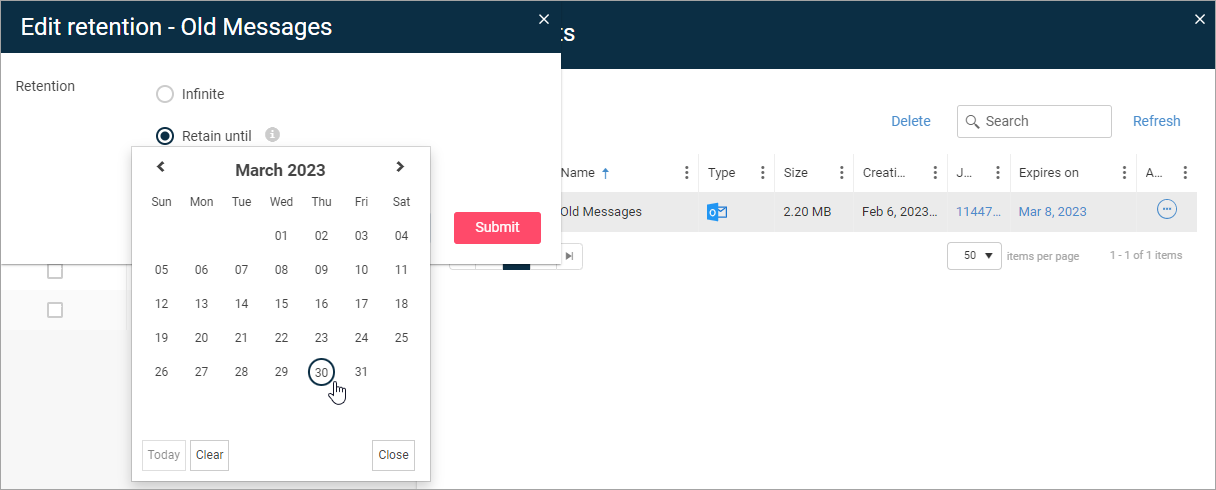
To edit the retention period for an export file, modify the default settings:
-
In the row for the export file, click the Expires on date.
The Edit retention dialog box appears.
-
Select infinite retention or a specific date to end retention, and then click Submit.
-
-
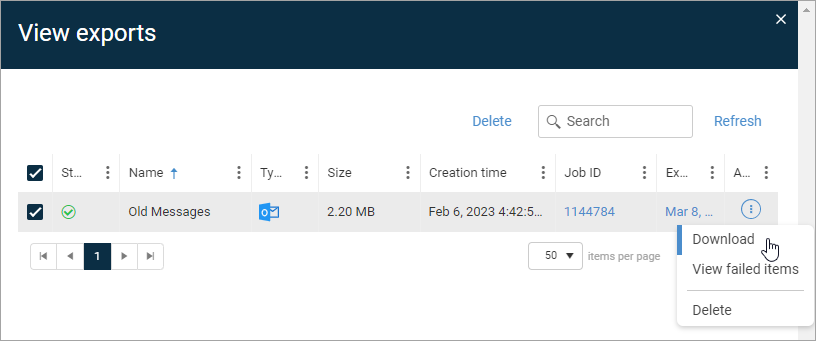
To view the items that failed, select the check box for the export set, click the action button
 , and then select View failed items. The failed items can be resubmitted for export.
 -
To download the export file, select the check box for the export set, click the action button
, and then click Download.When mailboxes are exported, the folder hierarchy is maintained in the export set.
You must import the PST file into Outlook to view the contents of Contacts, Calendars, and Notes inside Outlook. These items are not visible if you just open the PST file from Outlook.