You can deploy a Linux CommServe Bare Metal node with basic network using one of the available network Interface card (NIC).
Note
When the deployment is complete, the password based root access is disabled and firewall and ransomware protection settings are enabled on the node automatically.
Before You Begin
Verify the requirements needed for setting up the Basic Topology in your environment.
Tip
Keep the network names and IP addresses listed in the Network Requirements section of Basic Topology handy before you start the configuration.
Procedure
-
Log on to the node using the system console as described in Setting up the installation media. (Do not use PuTTy / SSH to setup the nodes.)
-
Launch the network configuration interface using the following command:
The CommServe Installer page appears.# hssetup
-
Click Start.
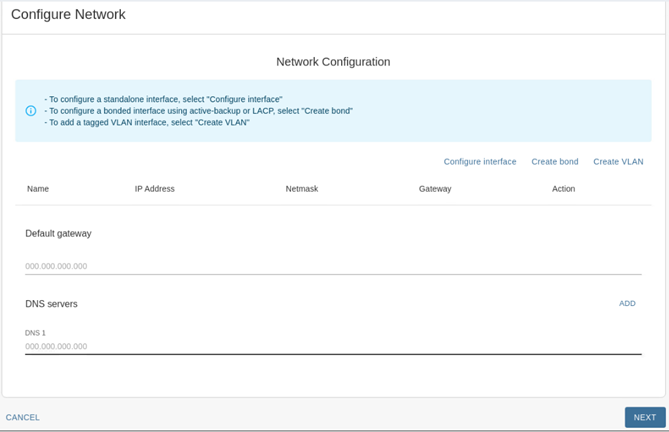
The Network Configuration page appears.
-
Configure the data protection interface as follows:
-
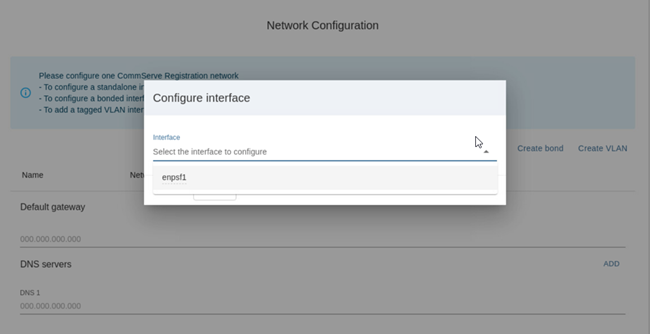
Click Configure interface.
The Configure interface dialog box appears.
-
From the Interfaces list, select one of the data protection interfaces. (For example, enpsf1)
Tip
Hover the cursor over the interfaces to display the speed and MAC address of the physical interface.
-
Click CREATE.
The selected interface appears in the Network Configuration page.
-
Add the IP Address and Netmask in the respective boxes. Based on the IP address
-
-
Configure the DNS server(s) as follows:
-
In the Default Gateway box, add the IP address associated with the default gateway.
If the IP address of the interface belongs to the same subnet as the specified gateway, then the Has Default Gateway check box is automatically selected.
-
In the DNS Servers box, add the IP address associated with the DNS Server.
Click the ADD button to add additional DNS servers. A maximum of 3 DNS servers can be added.
Note
Multiple DNS servers are recommended.
-
-
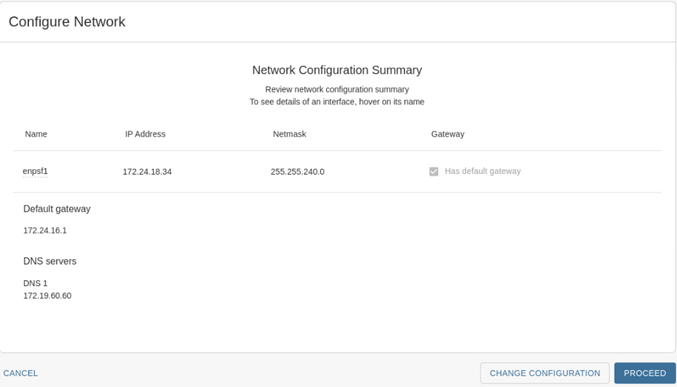
Click NEXT
The software validates the network and will take a few minutes to complete.
The Network Configuration Summary dialog box appears.
-
Verify the network configuration and then click PROCEED.
-
To install a primary CommServer, in the Setup Type dialog box, select Primary CommServe.
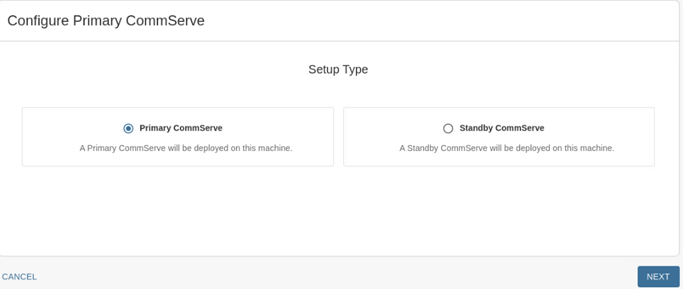
To install a standby CommServe, select Standby CommServe.
-
Click NEXT.
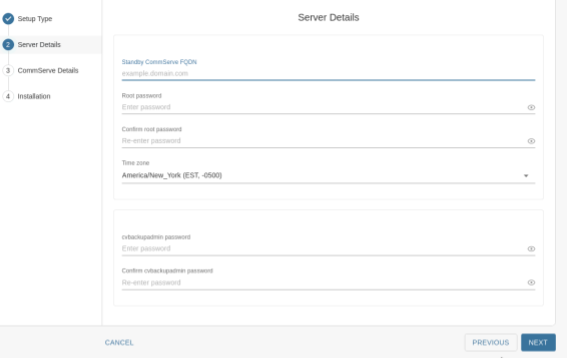
The Server Details dialog box appears.
-
Add the following information:
-
In the CommServe FQDN box, type the fully qualified domain name of the CommServe node.
-
In the Root password and Confirm password boxes, type a secure password for the node.
Tip
Hover the cursor over the Root password box to view the password requirements.
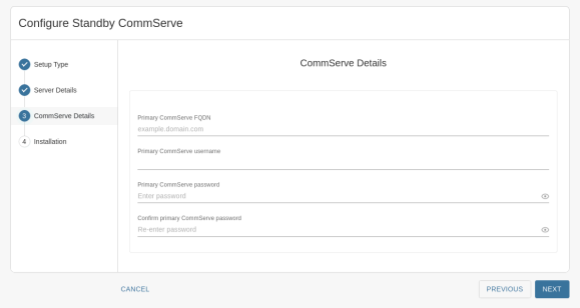
If you are installing a Standby CommServe, provide the username and password for the Command Center associated with the primary CommServe.
-
From the Time zone list, select the time zone in which the node is located.
-
In the Password for Restricted shell user - cvbackupadmin and Confirm cvbckupadmin password boxes, type a secure password for the cvbackupadmin user.
-
Click NEXT.
Note
The setup process configures the network for the node. This will take some time to complete.
The CommServe Details page appears.
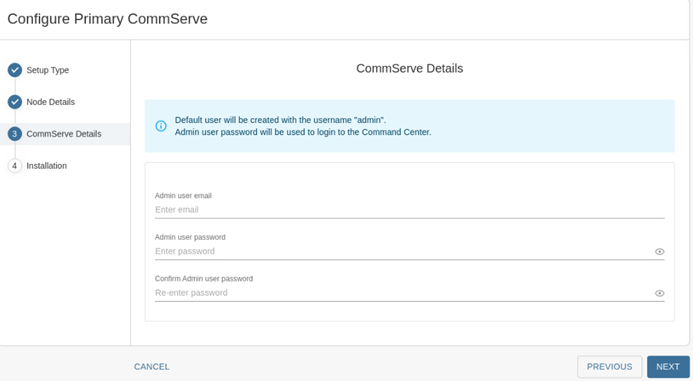
A default username admin is created to log on to the Command Center.
-
-
Add the following information:
-
In the Admin user email box, enter the email address for the admin user.
-
In the Admin user password and Confirm Admin user password boxes, enter the credentials for the admin user.
-
Click NEXT.
The software validates the information and will start the installation process. This process may take some time (approximately 30 minutes) to complete. You can monitor the progress using the progress bar.
Caution
Do not reboot or stop the installation during this process.
Once the installation is completed, the Installation page appears.
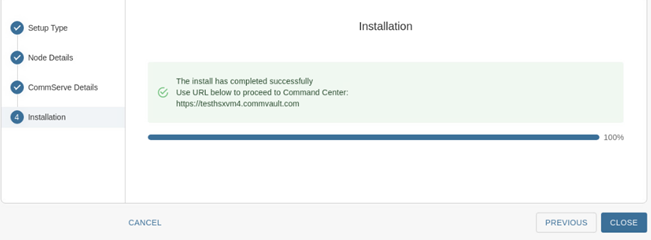
-
-
Click CLOSE.
Note
If the standby CommServe fails to install due to wrong credential or any other reason, delete the content Catalog and Share folder under /csinstall path on the server, and then restart the installation by running the hssetup command.
What to Do Next
Complete the additional configurations that may be required to customize your environment. For more information, see What to do Next.