Install the Commvault software packages on the production CommServe host.
Before You Begin
-
Verify that the prerequisites needed to setup the environment are available before setting up the High Availability CommServe Host feature. For more information on the components needed to setup High Availability CommServe Host setup, see Planning for High Availability CommServe Host Setup.
-
Download the Commvault software installation packages. For more information on how to download software, see Downloading Software and Packages From Cloud Services.
Note
Recommended: Locate the package in the Downloads folder and copy it to a shared location accessible to both the production and standby CommServe hosts. Use this installation package in the shared location to install the software on both the hosts.
Procedure
-
Log on to the production CommServe host as an Administrator or as a member of the Administrator group on that computer.
-
Launch theCommvault software installation package.
-
The Download Manager dialog box is displayed.
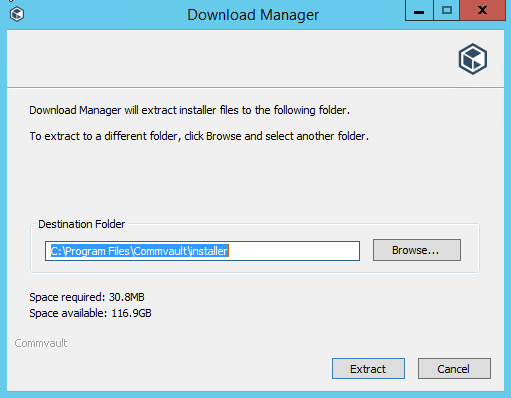
Click Extract.
-
The Language Selection page is displayed.
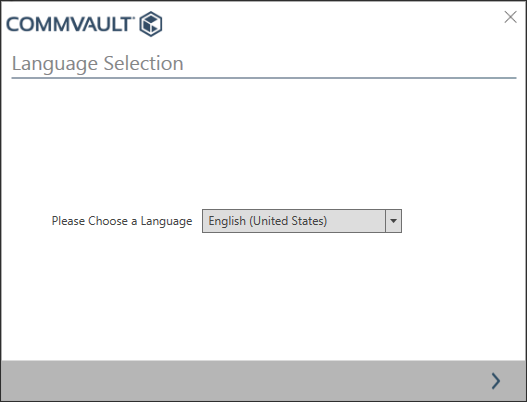
Select the language from the Please Choose a Language list, and then proceed to the next page.
-
The Welcome page is displayed.
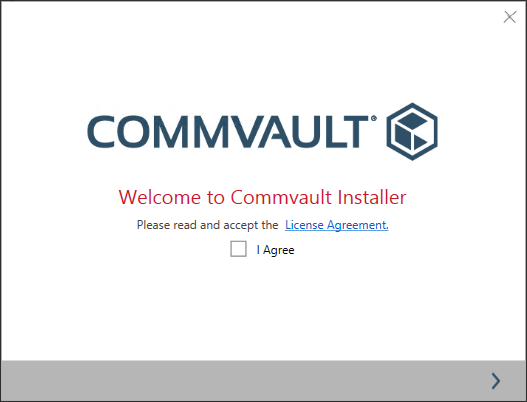
Select the I Agree check box, and then proceed to the next page.
-
The Choose the Installation Type page is displayed.
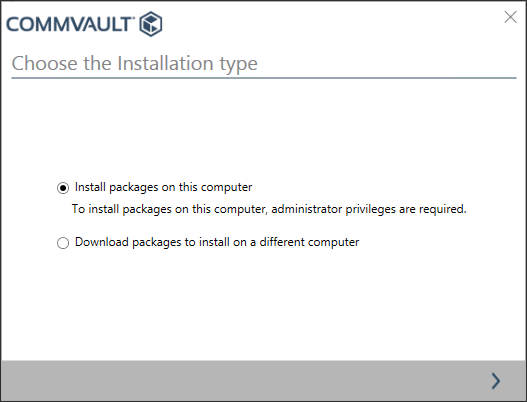
Click Install packages on this computer, and then proceed to the next page.
-
The Select Packages page is displayed.

Select the following check boxes, and then proceed to the next page.
-
CommServe check box
-
CommServe Failover check box (Scroll through the list to locate this package.)
Note
The CommServe Failover package automatically installs the SQL Server agent and the CommServe Failover packages in a new instance. (No additional user intervention is needed.)
-
-
The Select Hotfix Packages page is displayed.
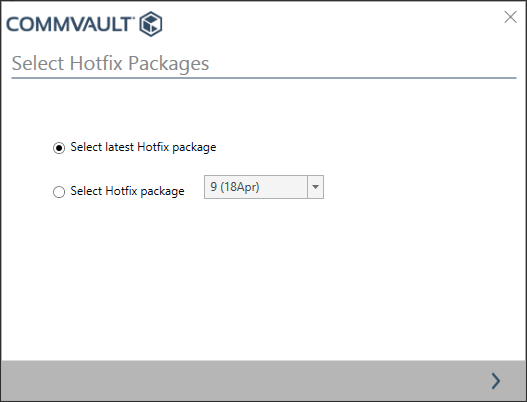
Choose the necessary option to install hot fixes, and then proceed to the next page.
Make a note of the selected option. It is important to install the same hotfixes for all packages in the production and standby CommServe hosts.
-
The Failover Install Option page is displayed.
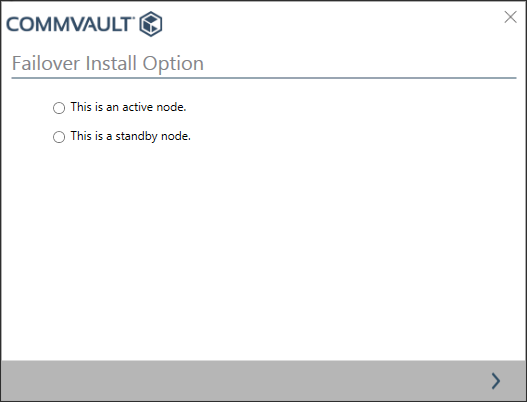
Choose This is an active node option, and then proceed to the next page.
-
The Installation Path page is displayed.
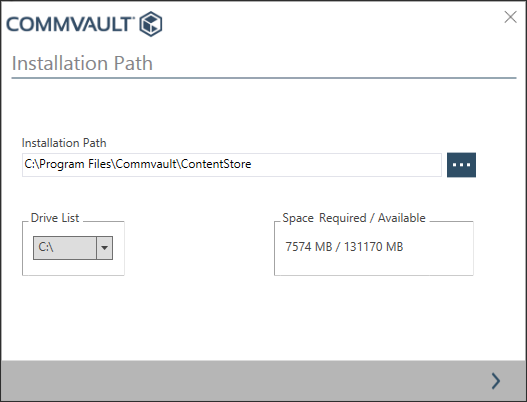
Verify the installation path, and then proceed to the next page.
If you change the default path, make a note of the path. It is important to have the same path in the production and standby CommServe hosts.
-
The Index Cache Path page is displayed.
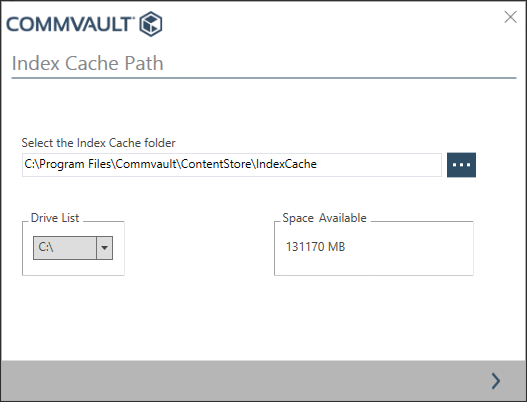
Verify the index cache path, and then proceed to the next page.
If you change the default path, make a note of the path. It is important to have the same path in the production and standby CommServe hosts.
-
The Database Engine Installation Path page is displayed.
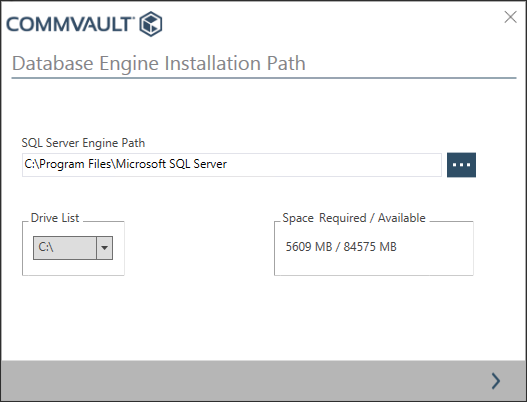
Verify the database engine installation path (or specify a new path) and then proceed to the next page. (This is the path for installing Microsoft SQL Server.)
-
The CommServe Database Installation Path page is displayed.
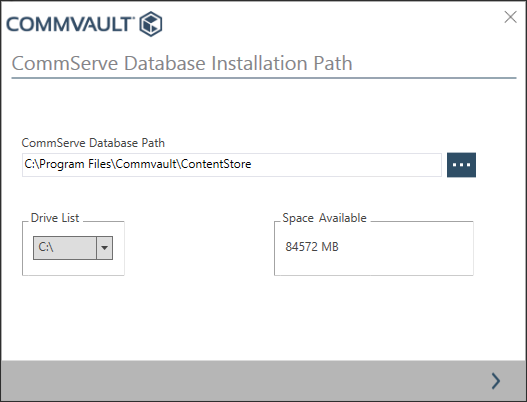
Verify the CommServe database installation path (or specify a new path) and then proceed to the next page. (This is the path for storing the CommServe server databases.)
-
The Disaster Recovery Path page is displayed.
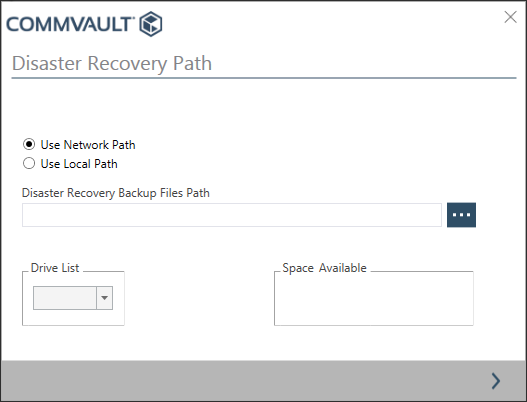
Choose either the Use Network Path or the Use Local Path option and then type the path in the Disaster Recovery Backup Files Path box and then proceed to the next page.
-
The Installation Summary page is displayed.
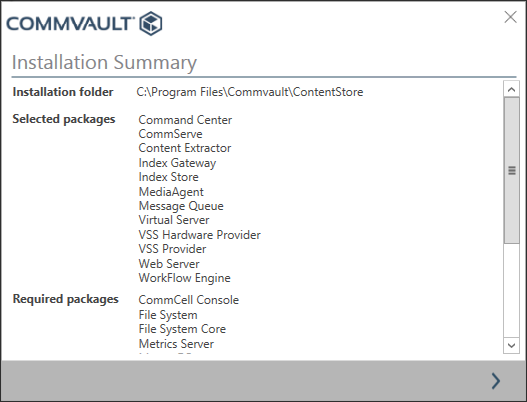
Verify the summary and then proceed to the next page.
The software installs the prerequisite binaries for setting up the CommServe server. This process may take a few minutes.
-
The Client Computer Information page is displayed.
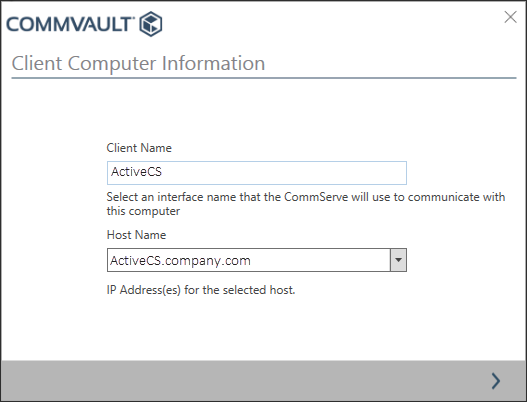
The Client Name and Host Name prompts are for the CommServe client in the production CommServe host. (This is the CommServe client installed in Instance001. Note that this is the name used by clients to connect to this CommServe when it is active.)
Tip
Choose a meaningful Client Name to clearly differentiate this client in the user interfaces like Command Center / CommCell Console. For example, you can add the words Active or Production to differentiate it from the Standby CommServe client.
Make a note of the fully qualified domain name (FQDN) that is displayed in the Host Name box. You will need to install the SQL clients in both the production host and the standby CommServe host.
-
The Database Install Option page is displayed.
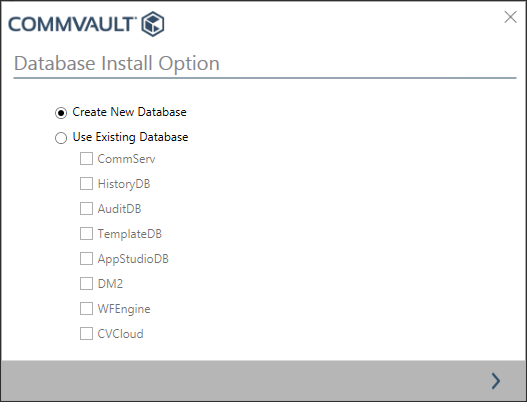
Choose the Create New Database option, and then proceed to the next page.
The software creates the databases and services. This process may take a few minutes.
-
The Commvault ID page is displayed.
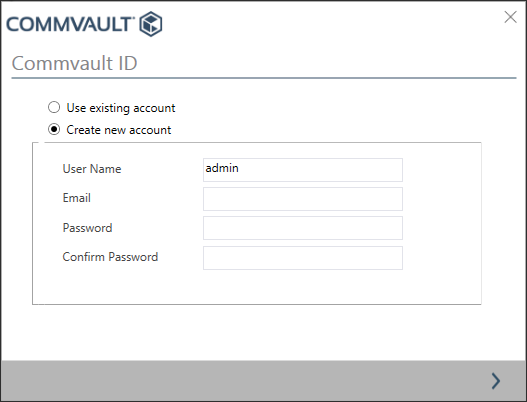
Select one of the following options, and then proceed to the next page:
-
If you have a Commvault ID, click Use existing account, and then type the email address and password associated with your account.
-
If you do not have a Commvault ID, click Create a new account, and then specify the account details.
Make a note of the account details. You will need the account details to install the SQL clients in both the production host and the standby CommServe host.
The software configures the CommServe setup. This process may take a few minutes.
Note
This completes the CommServe installation and the following prompts are displayed for installing the SQL client.
-
-
The Select Hotfix Packages page is displayed.
Select the same option that you selected for the Hotfix Packages during the CommServe installation, and then proceed to the next page.
-
The Installation Path page is displayed.

Verify the path (or specify a new path) for the SQL client, and then proceed to the next page.
The software installs the binaries for setting up the SQL client. This process may take a few minutes.
-
The Client Computer Information page is displayed.

The Client Name and Host Name prompts are for the SQL client in the production CommServe host. (This is the standalone SQL agent installed in Instance002 which is used for backing up the SQL database from the production CommServe host. Note that this is NOT the name used by clients to connect to this CommServe host when it is active - the CommServe Client name used by clients, was already provided in Step 16.)
Tip
Choose a meaningful Client Name to clearly differentiate this client in the user interfaces like Command Center / CommCell Console. For example, you can add the word SQL to differentiate it from the CommServe client.
-
The CommServe Information page is displayed.
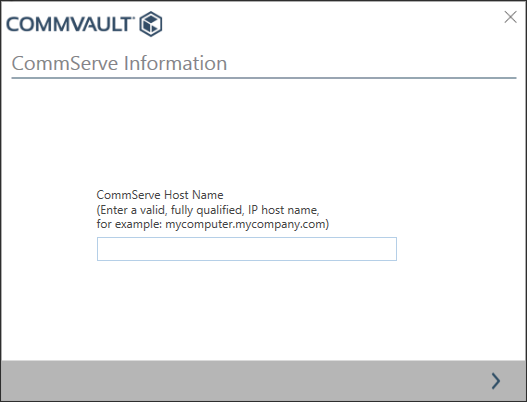
Type the Fully Qualified Domain Name (FQDN) of the production CommServe host, and then proceed to the next page.
The FQDN is the name that you noted during the CommServe installation, above.
-
The Client Certificate page is displayed.
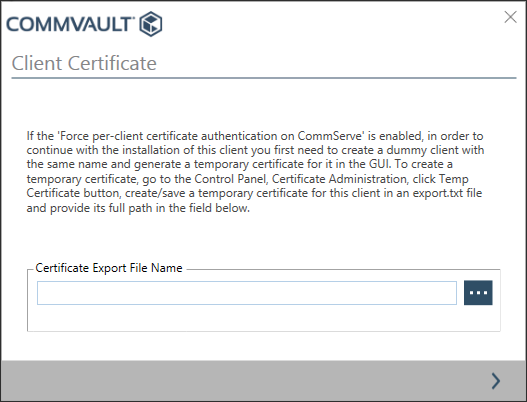
If a certificate is available, type the name with the full path to the certificate file and proceed to the next page.
-
The CommServe Authentication page is displayed.
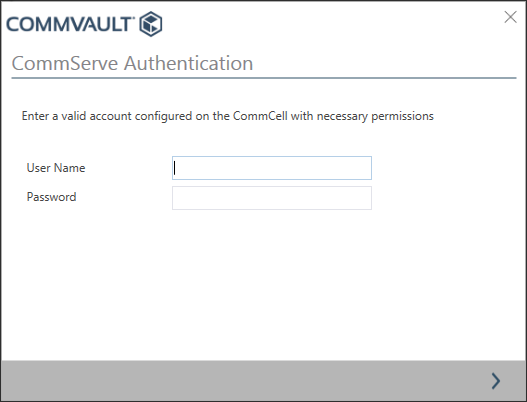
Type the credentials that must be used to access the production CommServe host, and then proceed to the next page.
These are the account details for the Commvault ID that you noted, above.
The software configures and sets up the SQL client. This process may take a few minutes.
-
A message similar to the following is displayed:
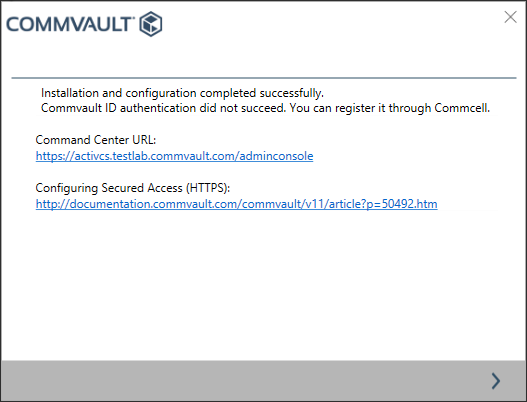
Click Finish to complete the installation.
Notes
-
To troubleshoot errors that occur before the installation summary page, check the %allusersprofile%\Commvault Systems\Galaxy\LogFiles\Install.log file.
-
If the error occurs after the summary page, then check the installation logs in the software_installation_directory\Log Files folder.
Result
The following components will be available in the Start menu or as shortcuts in the list of Apps.
-
Commvault Command Center
-
Commvault CommCell Console
-
2 shortcuts to Commvault Process Manager to manage the following entities:
-
CommServe Server - Open the Process Manager > Service tab and make sure that the services are started.
-
SQL Client - Open the Process Manager > Service tab and make sure that the services are started.
-
What to Do Next
-
Depending on your environment settings and requirements, you may need to perform additional tasks to complete the CommServe installation process. For more information on these tasks, see Postinstallation Tasks for the CommServe.
-
Install the Commvault software packages on the standby CommServe host.