Install the Commvault software packages on the standby CommServe host. You can also setup more than one standby CommServe hosts, if necessary.
Before You Begin
-
Verify that the prerequisites needed to setup the environment are available before setting up the High Availability CommServe Host feature. For more information on the components needed to setup High Availability CommServe Host setup, see Planning for High Availability CommServe Host Setup.
-
Install the Commvault software packages on the production CommServe host.
-
Download the Commvault software installation packages. For more information on how to download software, see Downloading Software and Packages From Cloud Services.
-
Verify and ensure that Two-Factor Authentication is either disabled, or use an account without Two-Factor Authentication to install the standby CommServe host.
Standby CommServe installation will fail if Two-Factor Authentication is enabled at the CommCell level with Time-based One-Time Password. Instance002 will install successfully, but instance001 will fail as it will try to use the same credentials which is only valid for 1 time. For more information, see the following topics:
Procedure
-
Log on to the standby CommServe host as an Administrator or as a member of the Administrator group on that computer.
-
Launch theCommvault software installation package.
-
The Download Manager dialog box is displayed.
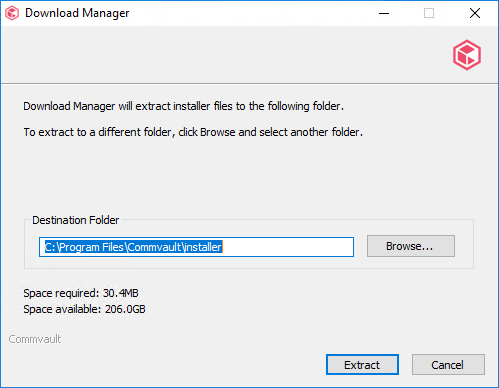
Click Extract.
-
The Language Selection page is displayed.

Select the language from the Please Choose a Language list, and then proceed to the next page.
-
The Welcome page is displayed.
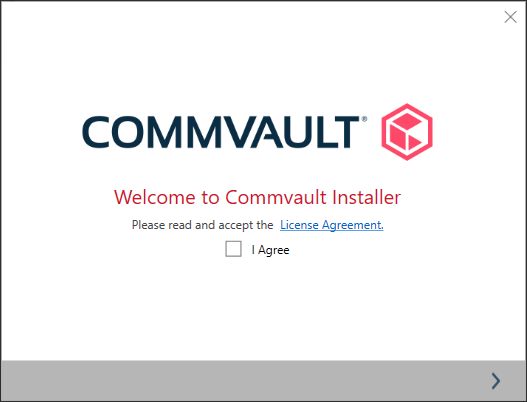
Select the I Agree check box, and then proceed to the next page.
-
The Choose the Installation Type page is displayed.
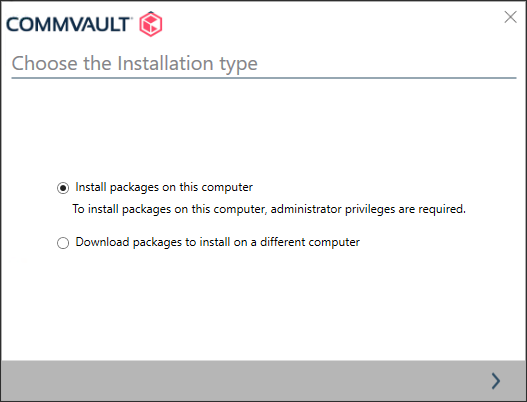
Click Install packages on this computer, and then proceed to the next page.
-
The Select Packages page is displayed.
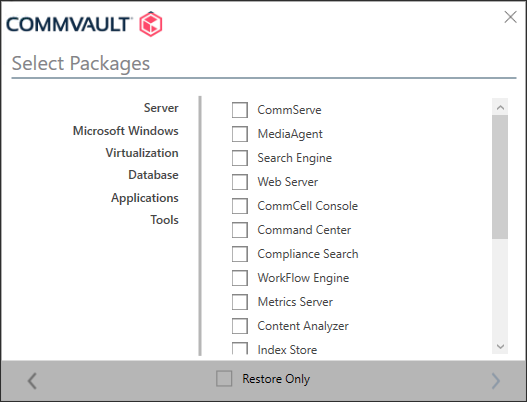
Select the following check boxes, and then proceed to the next page.
-
CommServe check box
-
CommServe Failover check box (Scroll through the list to locate this package.)
Note
The CommServe Failover package automatically installs the SQL Server agent and the CommServe Failover packages in a new instance. (No additional user intervention is needed.)
-
-
The Failover Install Option page is displayed.
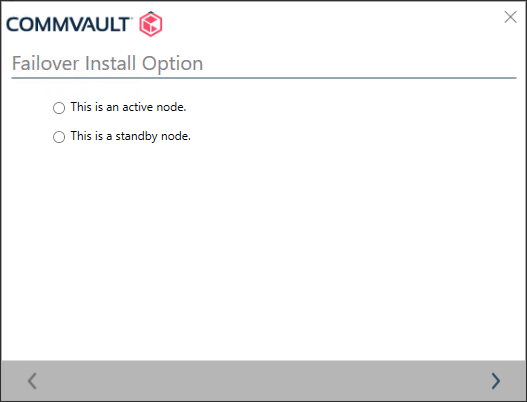
Select This is a standby node, and then proceed to the next page.
-
The Installation Path page is displayed.
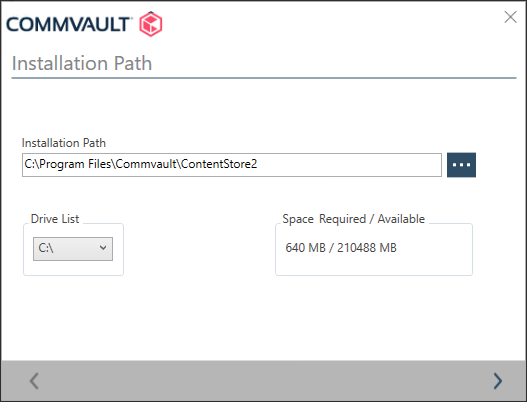
Verify the path (or specify a new path) for the SQL client, and then proceed to the next page.
Note
This Installation Path is for the SQL client as the SQL client is installed first on the standby CommServe host.
-
The Installation Summary page is displayed.
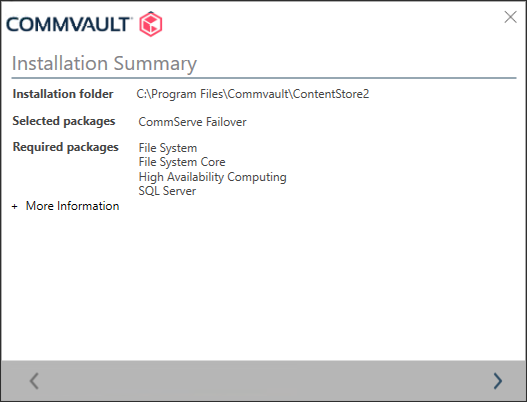
Verify the list of packages, and then proceed to the next page.
The software installs the binaries for setting up the SQL client. This process may take a few minutes.
-
The Client Computer Information page is displayed.

The Client Name and Host Name prompts are for the SQL client in the standby CommServe host. (This is the standalone SQL agent installed in Instance002 which is used for restoring the SQL database which were backed up from the production CommServe host. Note that this is NOT the name used by clients to connect to this CommServe host when it is active - the CommServe Client name used by clients, should be provided later in Step 20.)
Tip
Choose a meaningful Client Name to clearly differentiate this client in the user interfaces like Command Center / CommCell Console. For example, you can add the word SQL to differentiate it from the CommServe client.
-
The Server Information page is displayed.
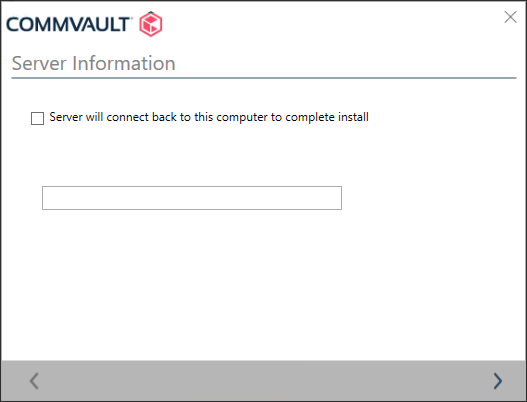
Type the Fully Qualified Domain Name (FQDN) of the production CommServe host, and then proceed to the next page.
This is the name that you noted while installing the production CommServe host.
Select the Server will connect back to this computer to complete install option if the CommServe computer must initiate communications with the client. For more information about configuring direct connections from the CommServe computer, see Configuring Direct Connections from the CommServe Computer to the Client.
-
The Server Authentication page is displayed.
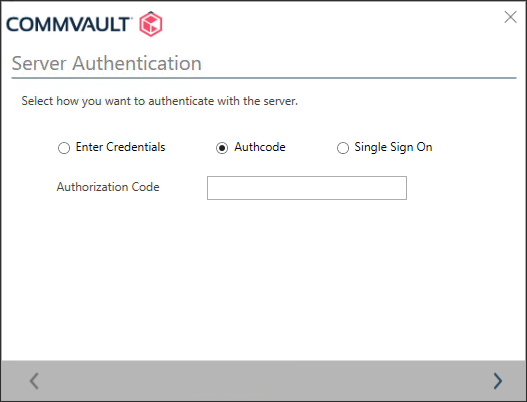
Choose an appropriate authentication that must be used to access the production CommServe host, and then proceed to the next page.
These are the account details that you noted while installing the production CommServe host.
The software installs the binaries for setting up the SQL client. This process may take a few minutes.
-
The Additional Configuration page is displayed.
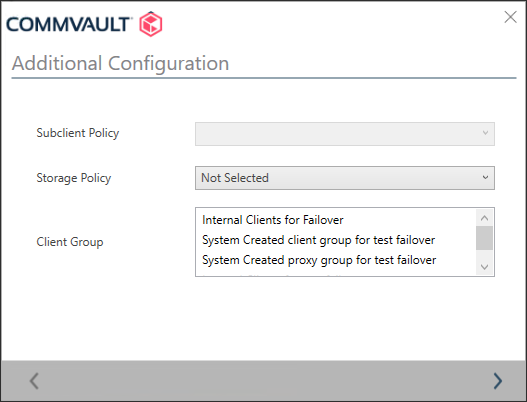
Select the Subclient Policy, Storage Policy and Client Group associated with the SQL client, and then proceed to the next page.
If you do not want to configure these options, skip this step and proceed to the next page. These settings can be customized later after the installation.
Note
This completes the SQL Client installation and the following prompts are displayed for installing the standby CommServe client.
-
The Installation Path page is displayed.
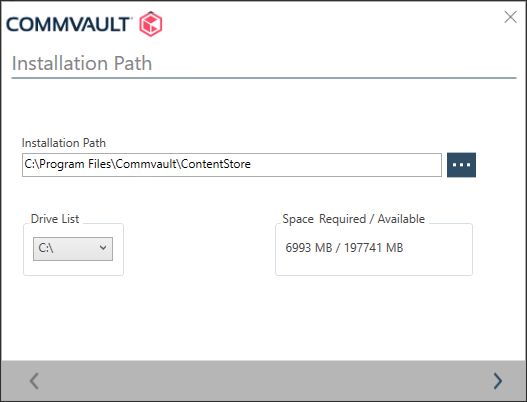
Verify the path (or specify a new the path) for the standby CommServe server and then proceed to the next page.
Important
Note that this Installation Path is for the CommServe server.
-
The Index Cache Path page is displayed.
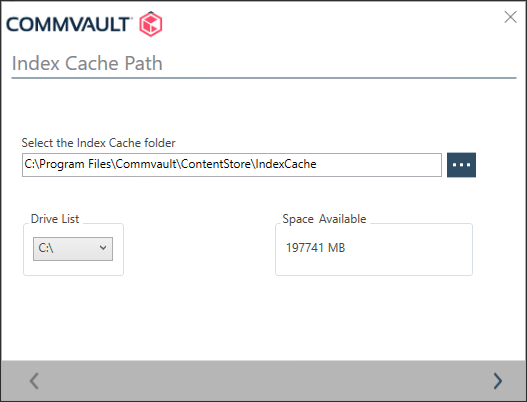
Verify the index cache path (or specify a new path) and then proceed to the next page.
Make sure to have the same path in the production and standby CommServe hosts.
-
The CommServe Database Installation Path page is displayed.
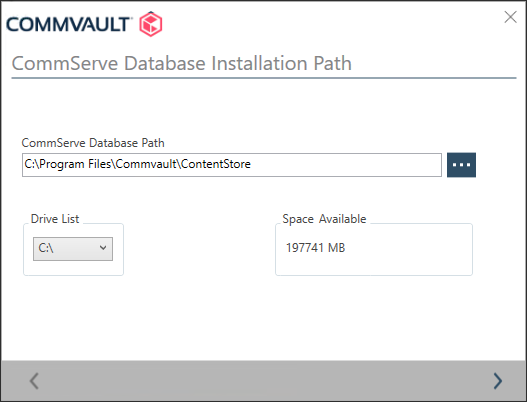
Verify the CommServe database installation path (or specify a new path) and then proceed to the next page. (This is the path for storing the CommServe server databases.)
Make sure to have the same path in the production and standby CommServe hosts.
-
The Disaster Recovery Path page is displayed.
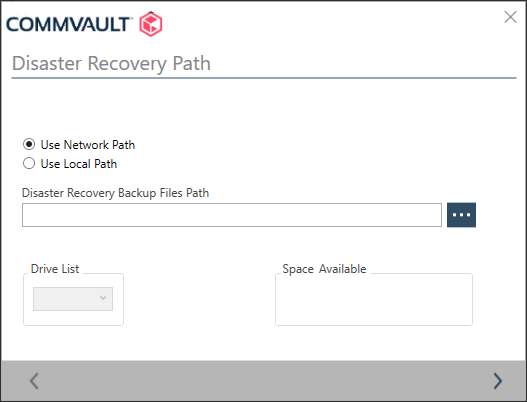
Choose either the Use Network Path or the Use Local Path option and then type the path in the Disaster Recovery Backup Files Path box and then proceed to the next page.
The Installation Summary page is displayed.
-
The Client Computer Information page is displayed.
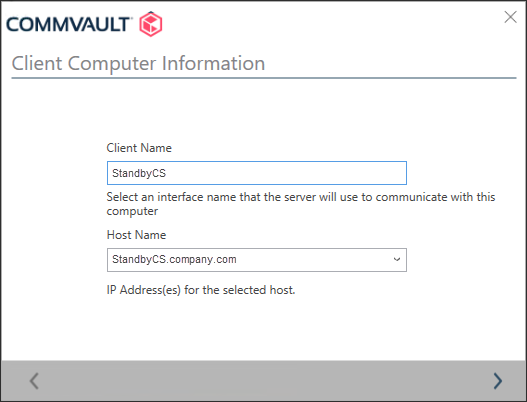
The Client Name and Host Name prompts are for the CommServe client in the standby CommServe host. (The Client Name is the CommServe client installed in Instance001. Note that this is the name used by clients to connect to this CommServe when it is active. The Host Name is the Fully Qualified Domain Name (FQDN) ) of the standby CommServe host.)
The software creates the databases and services. This process may take a few minutes.
-
A message similar to the following is displayed:
Click Finish to complete the installation.
Notes
-
To troubleshoot errors that occur before the installation summary page, check the %allusersprofile%\Commvault Systems\Galaxy\LogFiles\Install.log file.
-
If the error occurs after the summary page, then check the installation logs in the software_installation_directory\Log Files folder.
Result
The following components will be available in the Start menu or as shortcuts in the list of Apps.
-
Commvault Command Center
-
Commvault CommCell Console
-
2 shortcuts to Commvault Process Manager to manage the following entities:
-
CommServe Server - Open the Process Manager > Service tab and you will notice that all the services are not started. (Do not start the services.)
-
SQL Client - Open the Process Manager > Service tab and make sure that the services are started.
-
What to Do Next
-
Depending on your environment settings and requirements, you may need to perform additional tasks to complete the CommServe installation process. For more information on these tasks, see Post Installation Tasks for the CommServe.
-
If a passphrase key management server is configured in the CommCell environment and the passphrase is exported to the CommServe client, then you must export the passphrase to the SQL clients of all nodes instead of exporting to CommServe client. The export of the passphrase to all clients ensures that the passphrase is available on all the nodes.
-
If an AWS Key Management Service (KMS) Server or a Key Management Interoperability Protocol (KMIP) server is configured in the CommCell environment, then you must copy the certificates to all the nodes under the same path.
-
Enable the CommServe LiveSync feature which facilitates CommServe Recovery Using High Availability CommServe Host. For more information on enabling the LiveSync operation, see Enabling and Disabling CommServe LiveSync.
Additional Notes
Any additional packages installed on the primary CommServe host, which includes other Commvault packages, or any third-party components, must be manually installed in the standby CommServe host. Also once the LiveSync operation is enabled, the LiveSync process will synchronize the information stored in the CommServe database from the production to the standby CommServe. For example, passwords and Additional Settings stored in the database. Any additional entities, such as third-party packages, scripts, registry keys, certificates, IIS settings, configuration files, etc. must be manually applied before or after failover as needed.