A new Primary CommServe can be setup in one of the nodes. Typically this would be the done when you setup the first 3 nodes in a new CommCell environment
Procedure
-
Launch the HyperScale Browser and setup the network as described in Setting Up the Nodes with Basic Networking.
-
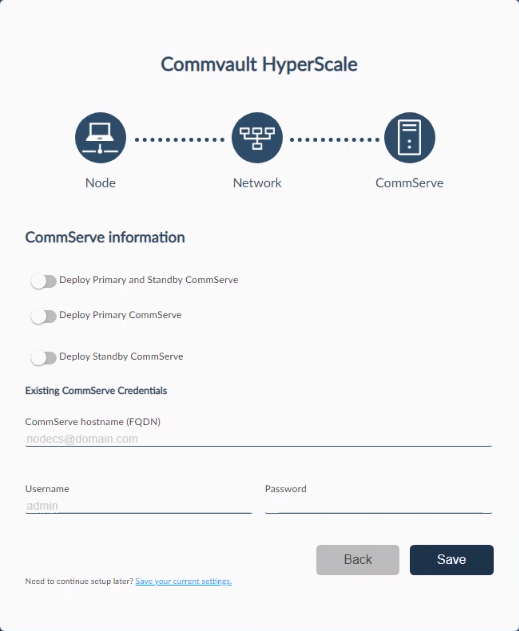
After providing the network information, the CommServe Information page will be displayed.

-
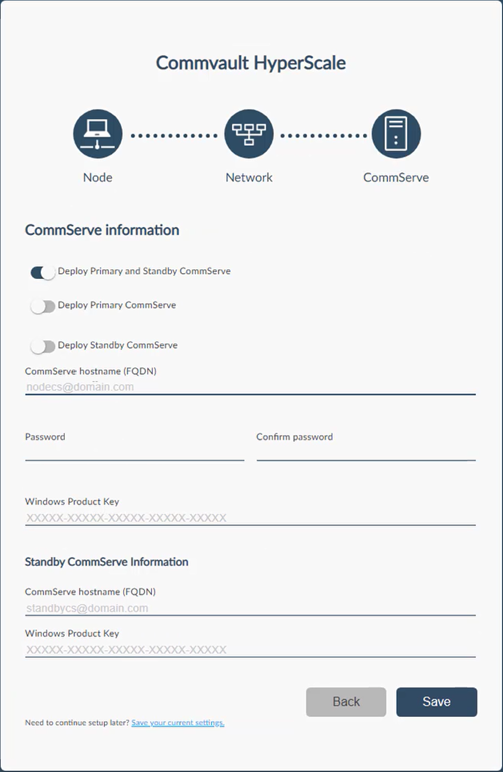
Slide the Deploy Primary and Standby CommServe toggle key to the right to enable the option.
The CommServe Information page will display the following options:

-
In the CommServe hostname (FQDN) box, enter a fully qualified host name for the primary CommServe server.
-
In the Password and Confirm Password boxes, enter the password for the CommServe servers.
Note
-
This is the 'Admin' password which will be used later to access the Command Center.
-
The password must not contain special characters such as : (colon), = (equal to), \ (backslash), ' (single quote), " (double quotes), and blank spaces.
-
$ (dollar) sign followed by an alphabet should not be used.
-
-
In the Windows Product Key box, enter the Windows product key provided in the package.
Note
Make sure to accurately type the Windows Product Key. If the key is typed with incorrect number of characters, the interface will be stuck. To overcome the issue, refresh the web browser and re-start the installation.
-
Repeat the steps under the Standby CommServe Information section.
-
Click Save.
The software will start the installation process.
A virtual machine will be setup as the CommServe host in one of the nodes and the MediaAgent software will be installed in the nodes . This process may take some time (approximately 45 minutes) to complete.
You can monitor the progress using the progress bar.
Caution
Do not reboot or stop the installation during this process.
-
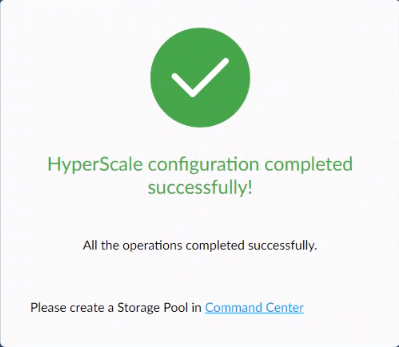
The completion message will be displayed.

What to Do Next
Click the Command Center link in the completion message to launch the Command Center and complete the setup as described in New CommCells.