Configure a static IP address for the Intelligent Platform Management Interface (IPMI) port on all Commvault Grid nodes before deployment.
Configuring IPMI provides:
- Remote node management
- Lights-out access
- Remote console access
- Remote power management
- Deployment troubleshooting access
- Node identification during deployment
This configuration is required before deploying the Commvault Grid software.
Before You Begin
Review the following requirements:
-
Connect the IPMI (or BMC Controller) port to the IPMI network.
Click here to view the IPMI port for HS2300
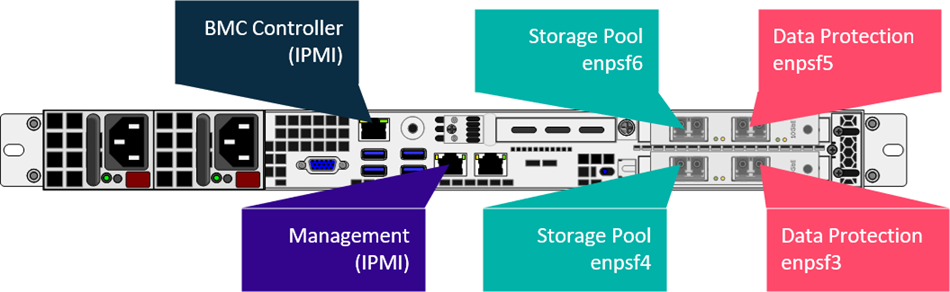
Click here to view the IPMI port for HS4300
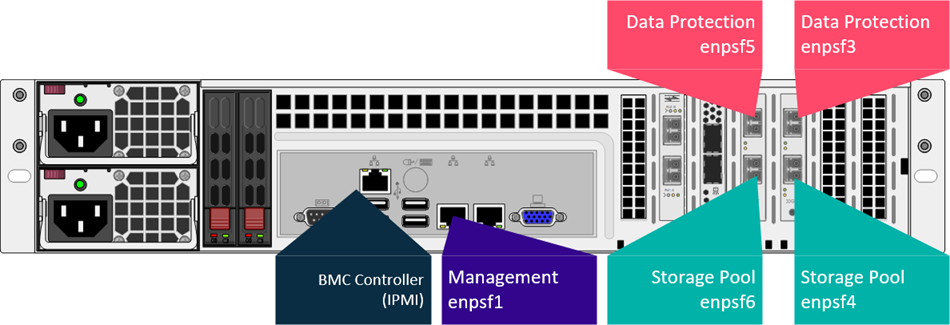
-
Connect a VGA monitor and USB keyboard, or the KVM connection, to the appliance.
Procedure
-
Power on the node.
-
Press <DEL> during the boot splash screen. The Setup Utility will be displayed.
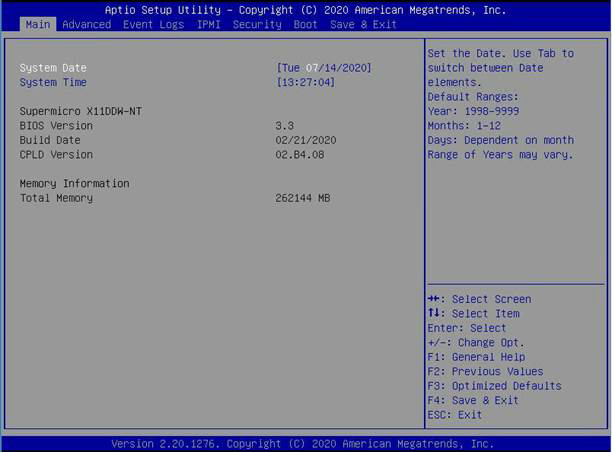
-
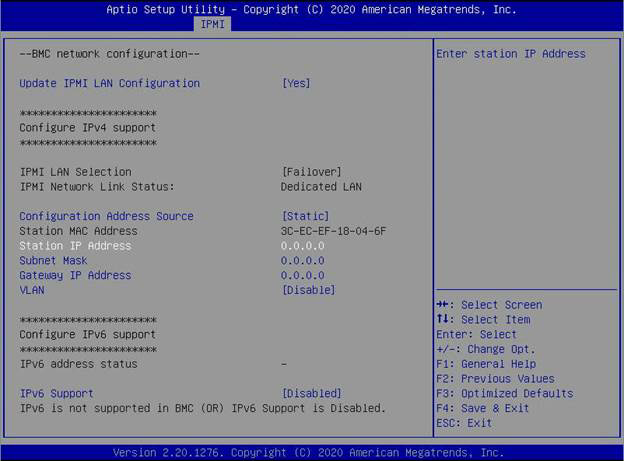
Navigate to the IPMI tab.
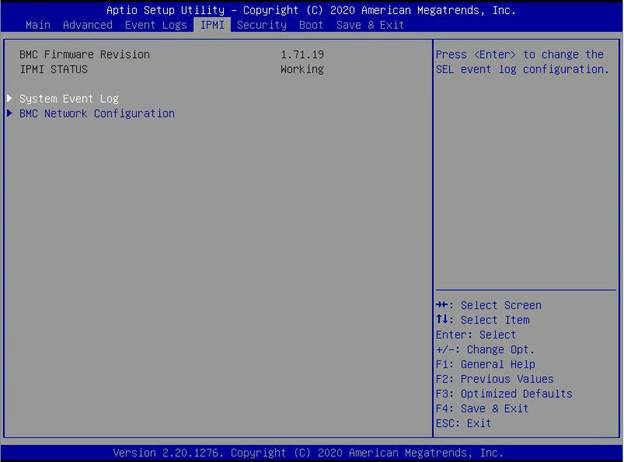
-
Navigate to the BMC Network Configuration option.
Press <Enter> to select the option.
-
Set Update IPMI LAN Configuration to [Yes].
-
Set Configuration Address Source to [Static].
-
Enter values for the Station IP Address, Subnet Mask, and Gateway Address for the selected node.
-
Press <F4> to save and exit the Setup Utility.
-
Verify that the IPMI is accessible using the static IP address as follows:
-
Open a web browser from a remote workstation and enter the static IP of the IPMI.
-
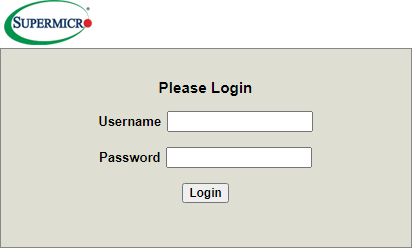
The login screen will be displayed.
-
Type in the credentials for the default administrator account as follows:
Username: ADMIN
Password: ADMIN
Note
The IPMI password can be changed later from the IPMI Web Server interface. For more information, see Changing the IPMI Password on Commvault Grid Nodes.
-
Click Login.
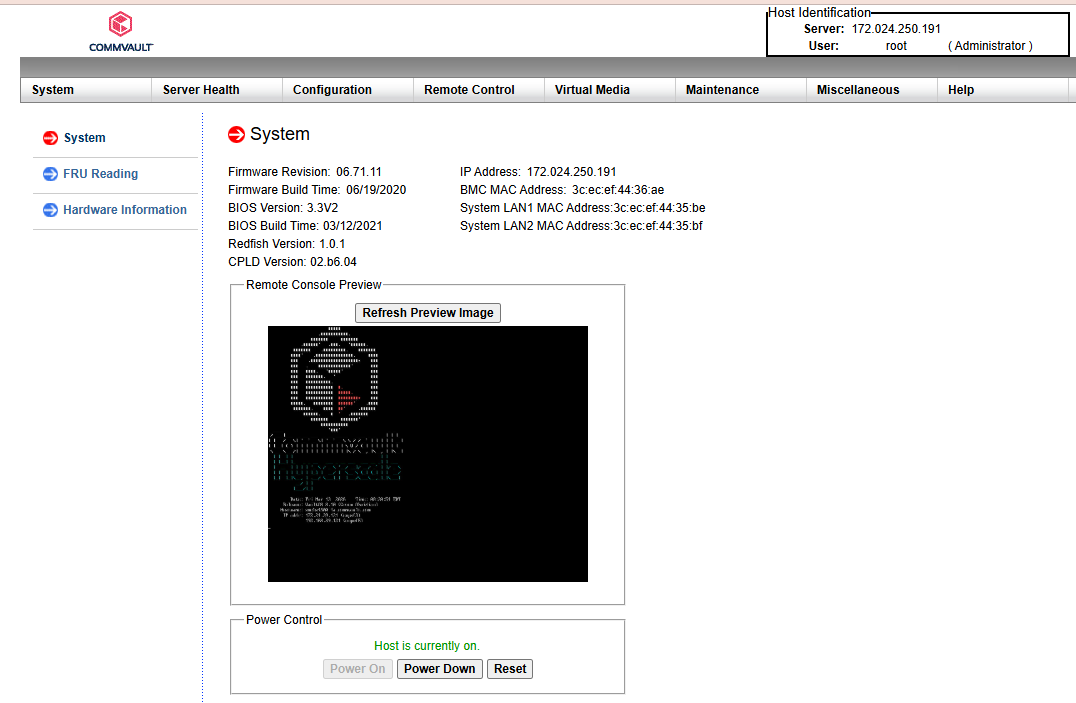
The IPMI Web Server interface is displayed.
-
-
Launch the Remote Console window as follows:
-
Click inside the Remote Console preview.
This will launch a Java Applet.
-
Run the Java applet to start the Remote Console Window.
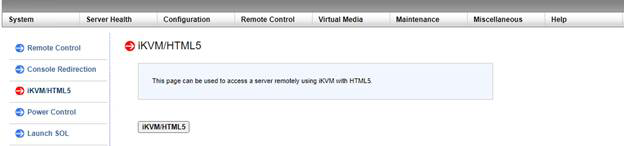
Alternatively, if you do not want to use Java Applet, you can use HTML5 viewer. Click Remote Control > iKVM/HTML5 and then click the iKVM/HTML5 button.
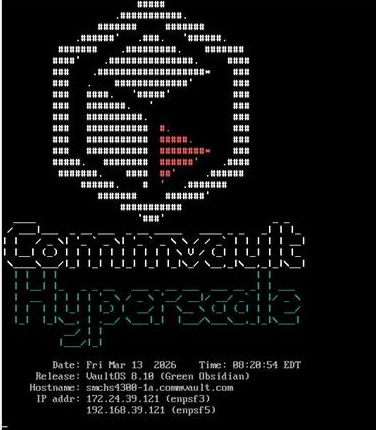
The Remote Console window will be displayed.
-
-
Login using the following default credentials:
Login:root
Password:cvadmin
If the login prompt is not displayed, press <Alt> + <F2> or <++> keys to display the prompt.
Note
This password can be changed during setup.
Note down the Hostname, which is also the unique serial number for the specific node. This hostname/serial number will be useful to identify the node when you deploy the Commvault Grid software.
Verification
After configuration:
- Verify browser access to the IPMI interface.
- Verify remote console launch.
- Verify node power control functionality.
- Verify node hostname visibility.
- Verify network connectivity from the management network.
Security Recommendations
After deployment:
- Change default IPMI credentials.
- Restrict IPMI access to management networks.
- Use dedicated management VLANs.
- Restrict browser access using firewall policies.