Set up the Hedvig Deployment Server as an appliance VM on an ESXi host.
Procedure
-
Download the Hedvig Deployment ESX Image (deploy.ova) from: https://cloud.commvault.com/webconsole/softwarestore/#!/151/0/15283.
-
Open VMware vSphere with the Hedvig vSphere Web Client Plugin.
-
Select File > Deploy OVF Template.
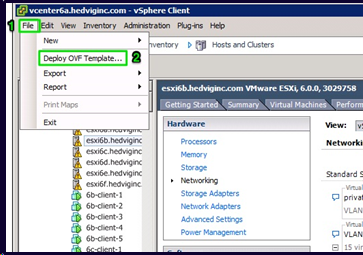
The Deploy OVA Template dialog box appears.
-
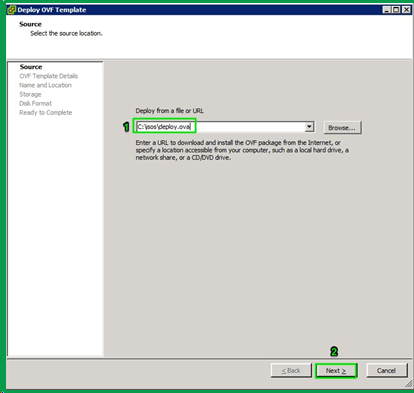
On the Source page, enter the path to the Hedvig deploy.ova file, and then click Next.
-
On the OVF Template Details page, click Next.

-
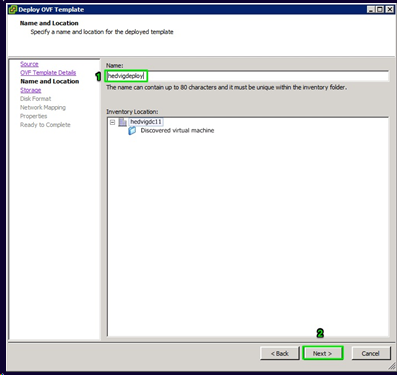
On the Name and Location page, complete the following steps:
-
In Name, enter a name for the template.
-
For Inventory Location, select a location for the template.
-
Click Next.
-
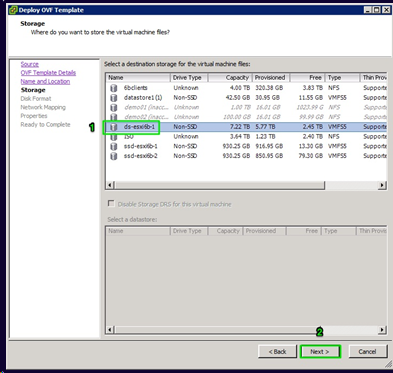
-
On the Storage page, select a datastore for the storage proxy VM, and then click Next.
-
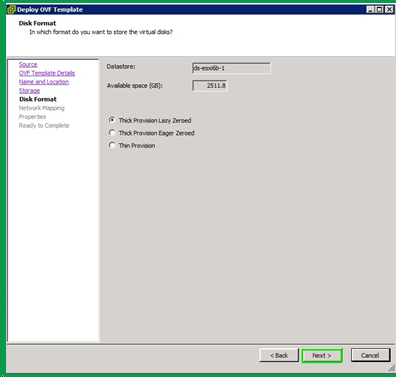
On the Disk Format page, select the disk format to use for the virtual disks, and then click Next.
-
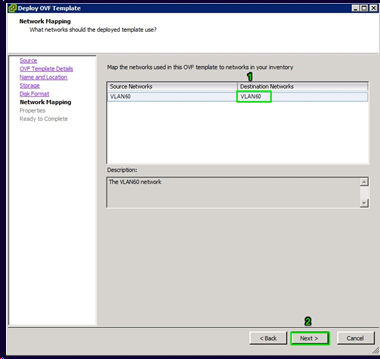
On the Network Mapping page, complete the following steps:
-
Verify that the VM network is accessible by the Hedvig Deployment Server.
-
For isolated_network, select the network that you added in Adding Private Networks to ESXi Hosts.
-
Click Next.
-
-
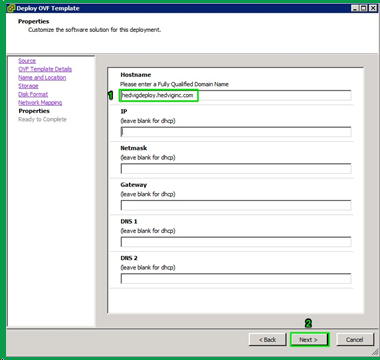
On the Properties page, enter the network settings, using either DHCP or static IP addresses, and then click Next.
-
DHCP
-
Static IP addresses
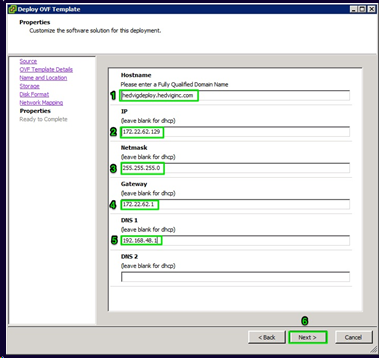
For example, enter values as follows:
Network type
Values to enter
DHCP
-
Hostname: hedvigproxy1.mycompany.com
-
Private IP: 170.20.20.2
-
Private network: 255.255.255.0
Static IP addresses
-
Hostname: hedvigproxy1.mycompany.com
-
Public IP: 172.22.02.128
-
Public Network: 255.255.255.0
-
Gateway: 172.22.62.1
-
Private IP: 172.20.20.2
-
Private network: 170.20.20.2
-
DMS 1: 192.168.48.1
-
-
-
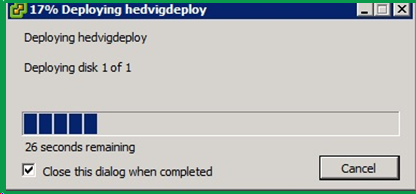
On the Ready to Complete page, select the Power on after deployment check box.
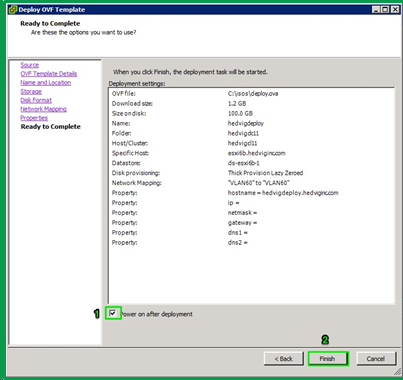
Results
The deployment server is set up.