Download and setup the most recent updates for HyperScale X Appliance media, so that the nodes can be deployed with the latest software.
Before You Begin
Power on the nodes.
Note
Recommended: Power on 3 un-configured nodes at a time. (If you have more than 3 un-configured nodes, you can add the other nodes later.)
Tip
-
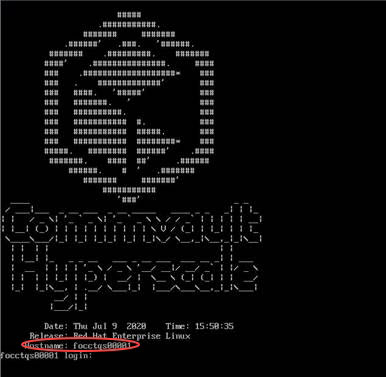
Press <Alt> + <Ctrl> + <F2> if the login prompt is not displayed.
-
Note down the serial number (Hostname) for the node. This will be useful to identify the node during setup.
Procedure
-
Login to the node using the following default credentials:
Login: root
Password: cvadmin
Note
This password can be changed during setup.
-
Identify the software version available in the node using the following command:
# cat /etc/CommVaultRegistry/Galaxy/Instance001/MediaAgent/.properties | grep -I sHyperScaleImageidentifierThe output from the above command will display the software version available in the node. For example:
sHyperScaleImageidentifier Commvault HyperScale 2.1 -
Login to a Windows based computer that can connect to the nodes.
-
Download the HSHotfixMedia-<version> from Commvault Store.
For example, if the software version available in the nodes (step 2 above) is
Commvault HyperScale 2.1, then download HSHotfixMedia-2.1 from Commvault Store . -
Attach the downloaded media (ISO) as a virtual media using either the KVM or IPMI console:
-
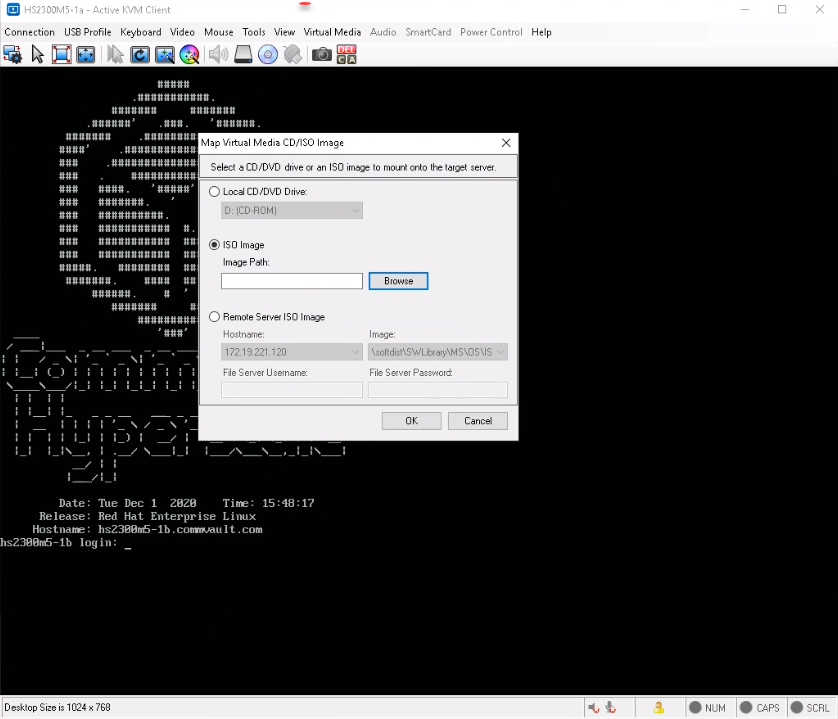
KVM Management Console: Map the downloaded ISO image as a virtual media.
Click here to view a sample image
-
IPMI Management Console: Mount the ISO image as a Virtual Media.
Click here to view the steps
-
Login to a remote workstation, that has access to the HyperScale nodes.
-
Open a web browser from a remote workstation and enter the static IP associated with the IPMI.
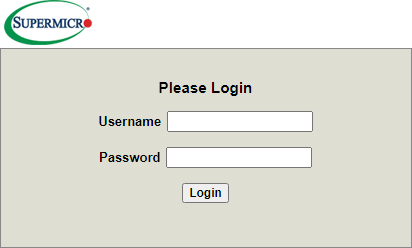
The login screen is displayed.
-
Type in the credentials for the default administrator account as follows:
Username: ADMIN
Password: ADMIN
-
Click Login.
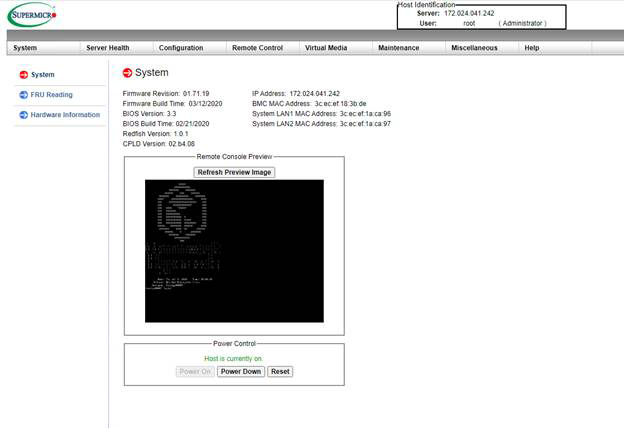
The IPMI Web Server interface is displayed.
-
Launch the Remote Console window as follows:
-
Click inside the Remote Console preview.
This will launch a Java Applet.
-
Run the Java applet to start the Remote Console Window.
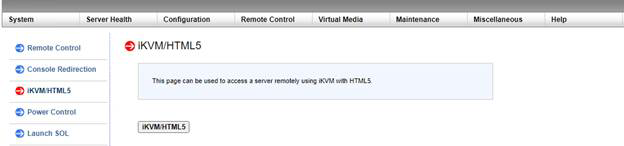
Alternatively, if you do not want to use Java Applet, you can use HTML5 viewer. Click Remote Control > iKVM/HTML5 and then click the iKVM/HTML5 button.
The Remote Console window will be displayed.

-
Login using the following default credentials:
Login:root
Password:cvadmin
Press < Alt> + <Ctrl> + <F2> if the login prompt is not displayed.
-
-
Map the downloaded ISO image as follows:
-
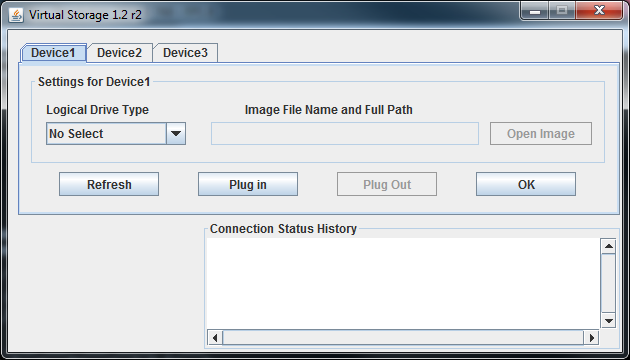
From the menu, click Virtual Media > Virtual Storage.
The Virtual Storage dialog box is displayed.
-
From the Logical Drive Type list, select ISO File.
-
Click the Open Image button and navigate to the folder containing the downloaded package.
-
Select the file and then click Open.
-
Click the Plug in button.
Ensure that the Connection Status History displays the message VM Plug-In OK!!.
-
Click OK.
-
-
-
-
-
Verify that the ISO image is visible to the Operating System using the following command:
# lsblk | grep -I sr*The output from the above command will display the ISO image as
/dev/sr0(orsr1orsr2) with typerom. For example: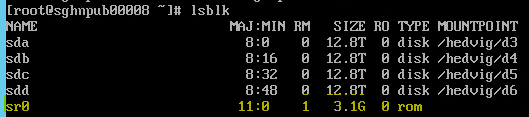
Perform the following steps, if the ISO image is not visible:
-
Run the following commands:
# modprobe --ignore-install usb_storage # modprobe uas -
Re-run the
lsblkcommand to ensure that the ISO image is visible.
-
-
Create a directory for the media.
# mkdir /UpdateMediaFolder -
Mount the directory.
# mount /dev/sr0 /UpdateMediaFolder (or
sr1orsr2) -
Navigate to the mount directory.
# cd /UpdateMediaFolder -
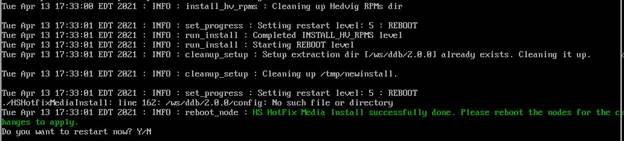
Run the script to install the updates.
# ./HSHotfixMediaInstallThe script will install the updates and will log the progress in the following log file:
/var/log/commvault/Log_Files/CVFixedMediaInstall.log
Tip
During the installation, a blank output screen may be displayed. If that happens, press any key to correctly display the output.
Once the installation is complete, the restart prompt will be displayed.
-
Type N and press <Enter>.
You must configure the network for Data Protection Network and Storage Pool Network, and also Configure the Block, before rebooting the node.