The workflow design task guides you through creating and configuring a workflow, setting up the CheckReady activity, and setting up the email activities to send notifications for client connectivity results.
Create a New Workflow
-
From the navigation pane, go to Developer tools.
The Developer tools page appears.
-
Click the Workflows tile.
The Workflows page appears.
-
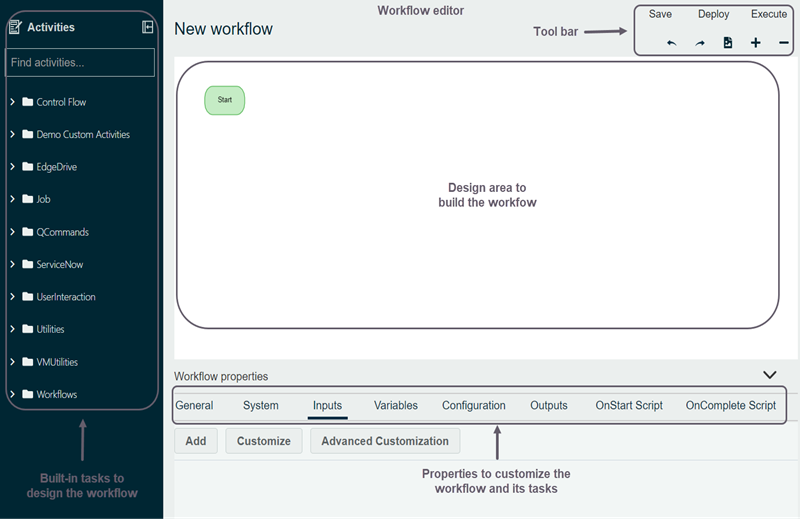
In the upper-right corner of the page, from the All tasks list, select New workflow.
The workflow editor opens in a new browser tab, with the Start activity in the design area.
-
Click the white space in the design area.
The workflow properties appear at the bottom of the design area.
Configure the Workflow
-
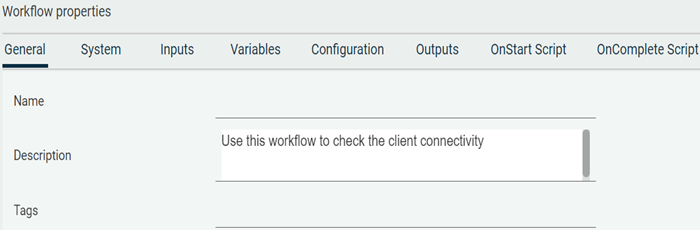
On the General tab, complete the following:
-
In the Name box, enter a name for the workflow.
-
In the Description box, enter a brief description about the workflow.
-
-
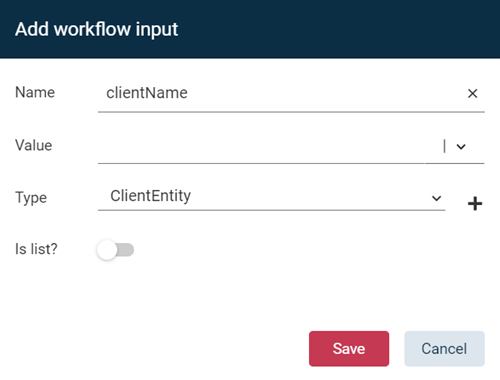
On the Inputs tab, define a variable for the client name:
-
Click Add.
The Add workflow input dialog box appears.
-
In the Name box, enter clientName.
-
Beside the Type list, click +.
The Select Type dialog box appears.
-
Expand CvEntities, and then select ClientEntity.
-
Click OK.
-
Click Save.
-
Set Up the CheckReady Activity
-
From the Activities pane, go to QCommands > Operations.
-
Select and drag the CheckReady activity into the design area.

Note
This activity runs the qoperation checkready command.
-
Select the CheckReady activity.
The properties for the CheckReady activity appear at the bottom of the design area.
-
On the General tab, complete the following:
-
In the Display Name box, rename the activity to Check Readiness Report.
-
To continue to the next activity even if the activity fails, move the Continue after maximum restarts toggle key to the right.
-
To run the activity once, in the Maximum restarts box, enter 0.
-
-
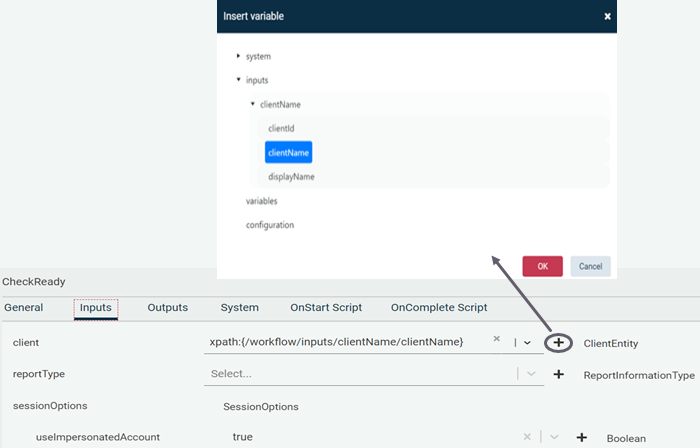
On the Inputs tab, complete the following:
-
Beside client, click +.
The Insert variable dialog box appears.
-
Go to system > workflowEngine, and then select clientName.
-
-
Click OK.
-
From the reportType list, select the level of detail that you want to see in the report.
Configure the Decision Activity
-
From the Activities pane, go to Control Flow > Decision.
-
Select the Decision activity, and then drag it into the design area.
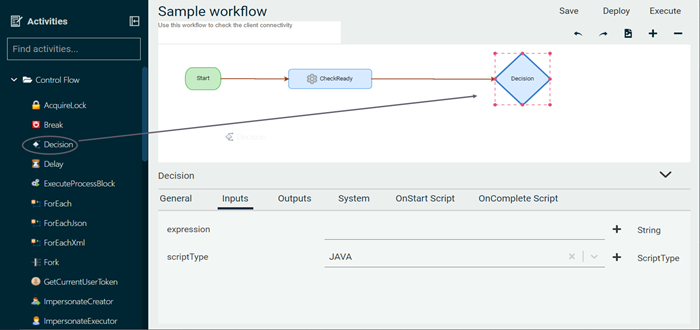
The Decision activity verifies that the Client Readiness Report activity completed successfully.
-
In the design area, select the Decision activity.
The properties for the Decision activity appears at the bottom of the design area.
-
On the General tab, in the Display Name box, rename the activity to Report Ready?.
-
On the Inputs tab, complete the following:
-
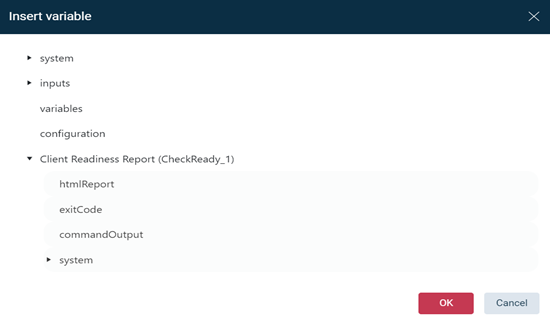
Beside Expression, click +.
-
The Insert variable dialog box appears.
-
Go to Client Readiness Report, and then select exitCode.
-
Click OK.
-
Add ==0 to the expression value.
The value should look as:
xpath:{/worfkflow/CheckReady_1/exitCode} ==0. This expression verifies that the exit code of Client Readiness Report is 0.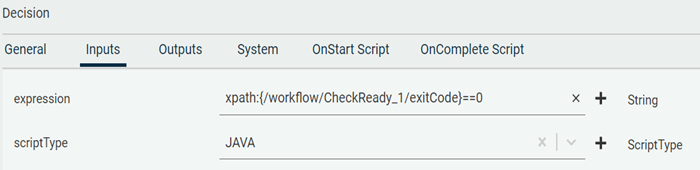
-
Set Up an Email Activity to Send a Notification When the CheckReady Command Succeeds
-
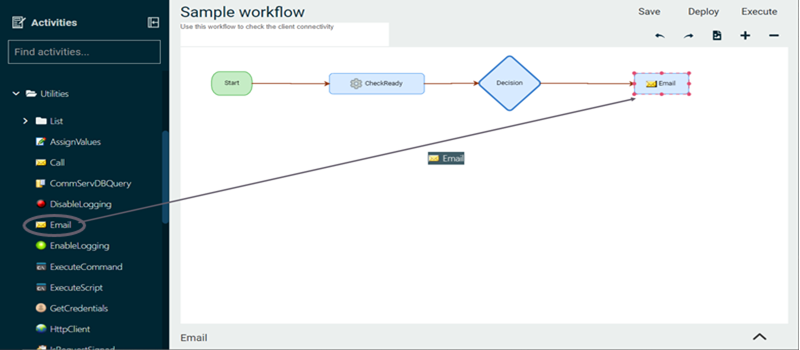
Go to Activities > Utilities.
-
Select the Email activity, and then drag it into the design area.
-
In the design area, select the Email activity.
The properties for the Email activity appears at the bottom of the design area.
-
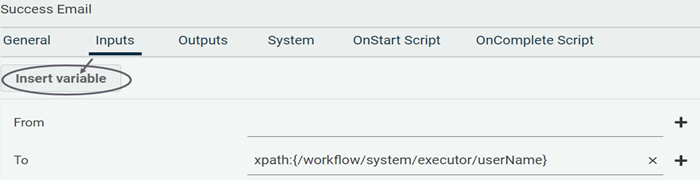
On the General tab, in the Display Name, rename the activity to Success Email.
If the qoperation CheckReady command succeeds, the Success Email activity sends an email notification to the specified email address.
-
On the Inputs tab, do the following:
|
Step |
Procedure |
|---|---|
|
Specify the email recipient |
|
|
Specify the email subject |
|
|
Configure the email body |
|
Set Up an Email Activity to Send a Notification When the CheckReady Command Fails
-
Go to Activities > Utilities.
-
Select the Email activity, and then drag it into the design area.
-
In the design area, select the Email activity.
The properties for the Email activity appears at the bottom of the design area.
-
On the General tab, in the Display Name box, rename the activity to Failure Email.
If the qoperation CheckReady command fails, the Success Email activity sends an email to the workflow creator.
-
Remove the connector (arrow) between Success Email activity and Failure Email activity.
-
Mouse hover over the Is Report Ready activity, and then click the arrow to pull the connector into the Failure Email activity.
-
On the Inputs tab, do the following:
-
Step
Procedure
Specify the email recipient
-
Beside the To box, click the Insert variable + button,
The Insert variable dialog box appears.
-
Go to system > executor, and then select userName.
-
Click OK.
-
In the To box, enter a semicolon (;) next to the variable, and enter xpath:{/workflow/system/executor/userName}
Specify the email subject
-
Beside the Subject box, click the Insert variable + button.
The Insert variable dialog box appears.
-
Go to inputs, and then select clientName.
-
Click OK.
Specify the email body
-
Place the cursor in the body.
-
In the upper-left corner, click Insert Variable .
The Insert variable dialog box appears.
-
Go to system, and then select jobID.
-
Click OK.
-
Similarly, insert the commandOutput variable.
-
-
Configure the true and false transitions for the Is Report Ready activity:
-
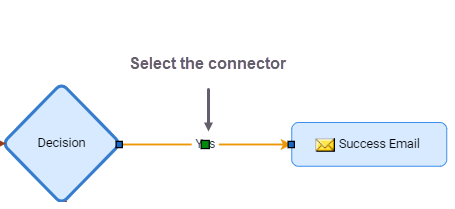
Specify the true conditional transition:
- Select the connector (arrow) between Is Report Ready activity and Success Mail activity.
-
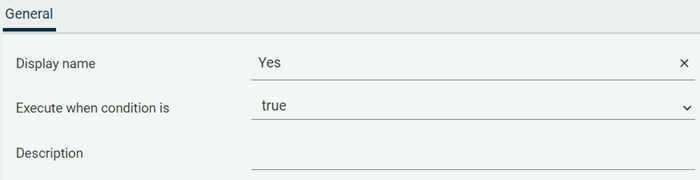
On the General tab, complete the following:
-
In the Display Name box, enter Yes.
-
From the Execute when condition is list, select true.
-
Specify the false condition:
-
Select the connector (arrow) between Is Report Ready activity and Failure Mail activity.
-
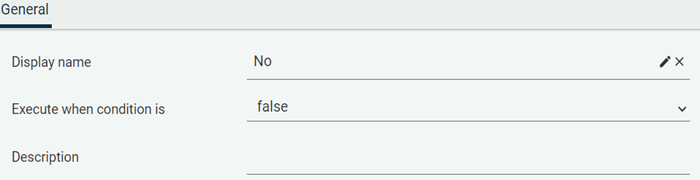
On the General tab, complete the following:
-
In the Display Name, enter No.
-
From the Execute when condition is list, select false.
-
-