When you add a data or pivot table to a report, you can configure additional options for each of the columns in the table.
Before You Begin
-
To build and deploy reports, your CommCell user account requires a role with the Add Report permission and an association with the CommCell entity.
For more information on users, permissions, and associations, see User Administration and Security - Overview.
Procedure
-
On the Web Console for the Private Metrics Reporting Server, click Reports.
The Worldwide Dashboard appears.
-
To open a report where you have already added a data set, from the navigation pane, click Configuration > Reports, and next to the Report Name under Actions, click Edit.
-
Optional: If your report has multiple pages, click the tab for the page that you want to edit.
-
To create a data table, drag Data Table into the Drop components to build the report box.
- From the Data Sets list, drag field names to the table in the order that you want the columns to appear.
-
To create a pivot table, drag Pivot Table into the Drop components to build the report box.
-
From the Data Sets list, drag a field name into the Drop Pivot Row box.
This field becomes the first column in the table, after you drag a field into the Drop Pivot Column box.
-
Drag a field name into the Drop Pivot Column box.
By default, the Drop Pivot cell box will display a count of the field that you selected for the Drop Pivot Column.
-
If you want to configure something other than default, delete the Drop Pivot cell selection, and from the Data Sets list, drag another field name to the Drop Pivot cell box.
-
-
To configure column settings, select the table or column:
-
Select the table, and on the Properties tab, click Fields
 .
. -
Select the column, and on the Properties tab, click General
 .
.
-
-
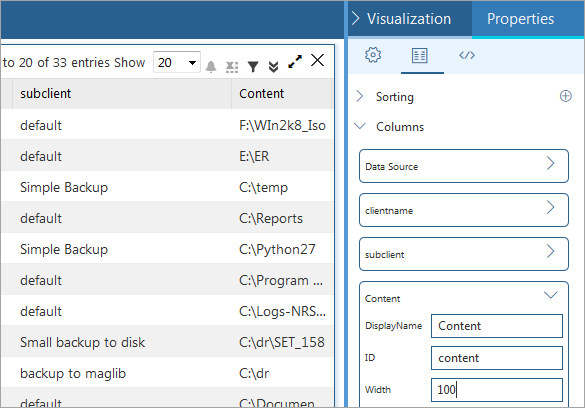
Configure the column settings under each Column Name section:
-
In the Display Name box, type a name for the column.
-
To specify the width of the column, in the Width box, type the number of pixels.
-
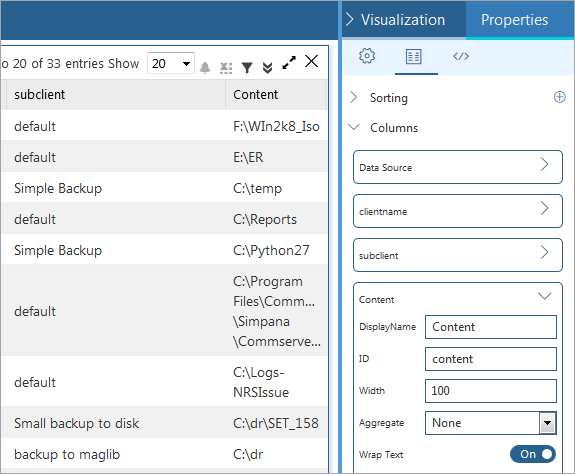
To specify the type of numeric content to display in the column, under Aggregate, select one of the available options, such as Distinct or Count.
-
To make the text inside the column wrap to multiple lines in the same cell, set Wrap Text to On.
-
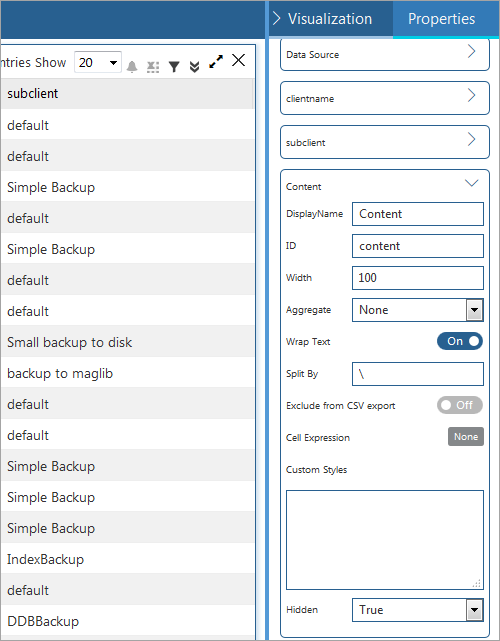
To make text separated by characters like commas break to a new line inside the same cell, in the Split By box, enter the character that divides the data, such as a comma (,), period (.), or semicolon (;).

-
To exclude the column from CSV output of the report, set Exclude from CSV export to On.
-
To hide the column in the report display for end users, from the Hidden list, select True.
-
-
To configure Cell Expression, see Formatting Data in Components for Build Your Own Reports.
-
To configure Custom Styles or settings under Custom Code
 , see Configuring Custom Code and Custom Styles for Reports.
 -
To save this version of your report specification in the Reports Manager, at the top of the Report Builder page, click Save.
-
To make the report available to end users on the Reports page, at the top of the page, click Deploy.